Have you ever taken a bite of a dessert so perfect, so evocative, that it silences the room for just a moment? It’s more than just flavor; it’s a memory unlocked, a story told in sugar, butter, and citrus. For so many, that dessert is a true, authentic Key Lime Pie. It’s a dish that carries the warmth of the Florida sun and the weight of family tradition in every creamy, tart, and crumbly bite.
I recently came across a story about a home cook who decided to make a classic Key Lime Pie for a family gathering. It wasn’t just any dessert; it was a recipe their grandmother used to make, a taste no one had experienced in years. The reaction wasn’t just polite praise. It was emotional. It was tears of joy and shared memories flooding back. That’s the power of food, isn’t it? It’s an emotional bridge connecting us to our past and to each other.
But what makes a Key Lime Pie capable of wielding such magic? The secret isn’t some complex, cheffy technique. It’s about honesty and a deep respect for a very special ingredient. The difference between a pretty good lime pie and an unforgettable Key Lime Pie comes down to one fundamental question: are you using the real deal?
The Soul of the Pie: What Exactly IS a Key Lime?
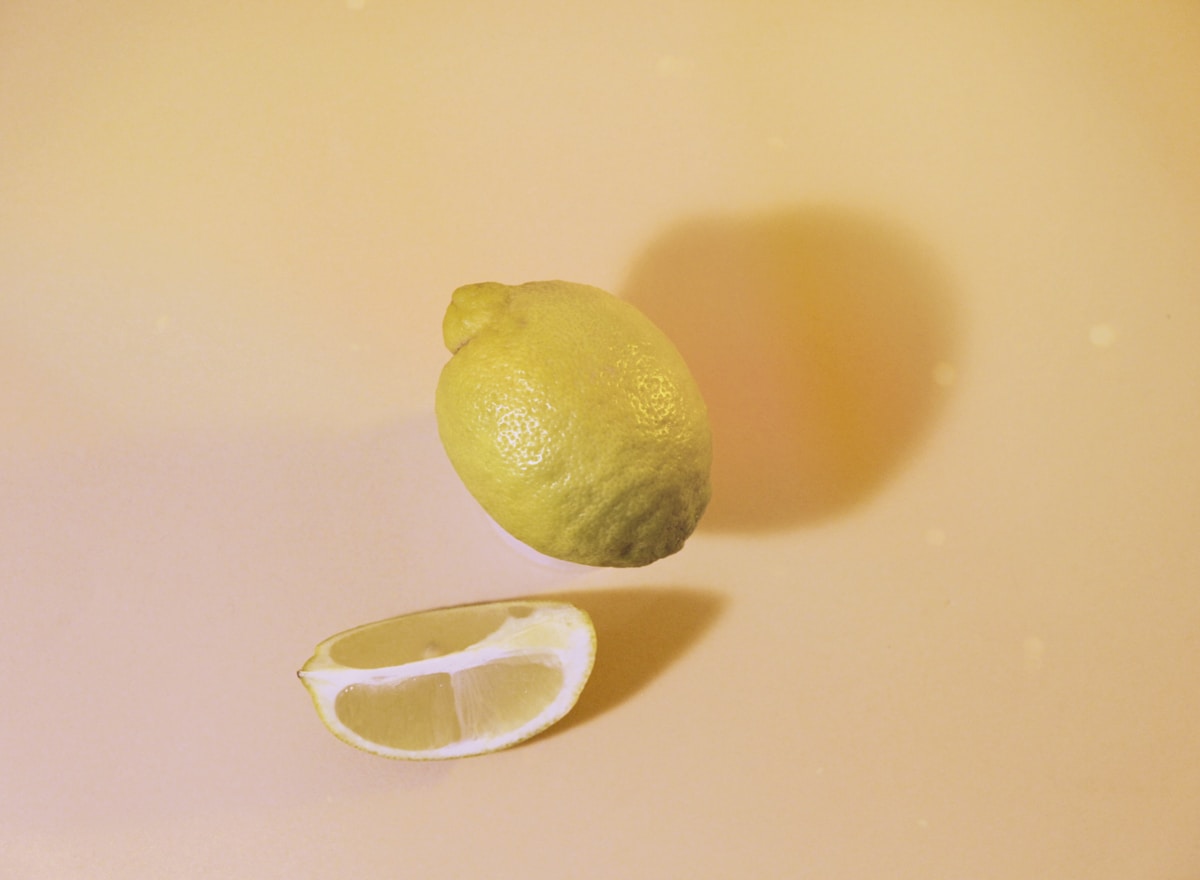
Let’s start with the heart of the matter. A Key lime, or Citrus aurantiifolia, is not just a smaller version of the standard lime you find in every supermarket. That common, larger lime is typically a Persian lime (Citrus latifolia), and the two are worlds apart in flavor.
Imagine a standard Persian lime: it’s tart, acidic, and straightforward. It’s great for marinades and margaritas. Now, picture a Key lime. It’s smaller, about the size of a golf ball, with thinner, yellowish skin and more seeds. The real difference, however, is in its aroma and taste. Key lime juice has a powerful, almost floral fragrance. Its flavor is less bitingly acidic and more intensely aromatic, with a complex tartness that finishes with a hint of sweetness. This unique profile is what gives a Key Lime Pie its signature, inimitable taste.
Sourcing fresh Key limes can be a treasure hunt depending on where you live. They are delicate and have a shorter shelf life, which is why the larger, hardier Persian lime dominates the market. If you can find them fresh, you’re in for a treat! The process of juicing dozens of these tiny fruits is a labor of love, filling your kitchen with an incredible scent. (A little tip: roll them firmly on the counter before cutting to help release more juice.)
But here’s the good news for the rest of us: you don’t need fresh Key limes to make an authentic pie. For decades, the gold standard has been bottled Key lime juice. And when it comes to bottled, one name stands above all: Nellie & Joe’s Famous Key West Lime Juice. It’s 100% pure juice, not from concentrate, and it captures that authentic floral tang perfectly. Using this is not a shortcut; it’s the traditional method for countless bakers, even in Florida. Using standard lime juice will give you a lime tart, which is lovely, but it won’t be a Key Lime Pie.
Building the Perfect Foundation: The Graham Cracker Crust
The perfect Key Lime Pie is a study in contrasts. The filling is smooth and creamy, so it needs a crust that is crumbly, buttery, and sturdy. A soggy crust is the enemy of a great pie. The classic choice, and in my opinion the only choice, is a graham cracker crust.
The beauty of this crust is its simplicity. It’s a humble foundation that elevates everything it holds. Here’s how to build one that will stand up to the creamy filling:
-
Ingredients: About 1 1/2 cups of graham cracker crumbs (from about 10-12 full crackers, like Nabisco’s Honey Maid), 1/3 cup of granulated sugar, and 6 tablespoons of unsalted butter, melted.
-
The Process: You can buy pre-made crumbs, but crushing the crackers yourself gives you better texture. A food processor makes quick work of it, but placing them in a zip-top bag and using a rolling pin is both effective and wonderfully therapeutic. Mix the crumbs and sugar in a bowl, then pour in the melted butter and stir with a fork until every crumb is moistened and it looks like wet sand.
-
Kitchen Hack: For a little extra warmth and complexity, add a 1/4 teaspoon of ground cinnamon or a pinch of nutmeg to your crumb mixture. It’s not strictly traditional, but it adds a beautiful aromatic note that complements the lime.
-
Pressing is Key: Dump the mixture into a 9-inch pie plate. Use the flat bottom of a measuring cup or glass to press the crumbs firmly and evenly across the bottom and up the sides of the plate. A tightly packed crust is a crisp crust.
-
The Pre-Bake: This step is non-negotiable for avoiding sogginess. Bake the crust in a preheated oven at 375°F (190°C) for about 10 minutes. It should be lightly golden and fragrant. Let it cool completely before you even think about adding the filling.
The Creamy, Dreamy Filling: A Simple Act of Alchemy
Now for the main event. You might expect a long list of ingredients for a filling this luxurious, but the traditional recipe is shockingly simple. It’s a beautiful act of kitchen chemistry.
The magic trio of ingredients is sweetened condensed milk, egg yolks, and, of course, Key lime juice. That’s it. (Yes, it really is that simple!)
Here’s a classic ratio:
- Ingredients: 4 large egg yolks, one 14-ounce can of full-fat sweetened condensed milk (a brand like Eagle Brand is perfect), and 1/2 to 2/3 cup of Key lime juice (Nellie & Joe’s works beautifully).
In a medium bowl, whisk the egg yolks for a minute until they are pale and slightly fluffy. Gradually pour in the sweetened condensed milk, whisking until smooth. Now, slowly whisk in the Key lime juice. As you add the acidic juice, you will feel the mixture begin to thicken almost instantly. This is the alchemy: the acid in the lime juice reacts with the proteins in the yolks and milk, causing it to set. This is why some very old recipes are actually “no-bake.”
One crucial point: the color. A real Key Lime Pie is a pale, creamy yellow from the egg yolks. It is never, ever green. (Don’t even think about the green food coloring!) That neon green pie you see in some diners is an impostor.
Pour the luscious filling into your cooled graham cracker crust. Bake it at 350°F (175°C) for about 15-18 minutes. You’re not trying to cook it through so much as to set the eggs completely. The pie is done when the edges are set, but the very center still has a slight jiggle to it when you gently nudge the pan. Do not overbake, or the texture will become rubbery.
Let the pie cool on a wire rack for about 30 minutes before transferring it to the refrigerator to chill for at least 3 hours, but preferably overnight. This chilling time is essential for the filling to firm up completely.
The Finishing Touch: Meringue vs. Whipped Cream
The final question is how to top your masterpiece. This is a topic of great debate among pie purists, but both options are wonderful.
-
The Traditionalist’s Meringue: The original “Conch” style pie was often topped with a glorious, billowy meringue, which was a clever way to use the leftover egg whites. To make it, you’d beat the 4 egg whites with some cream of tartar and gradually add sugar until stiff, glossy peaks form. You spread this cloud over the filled pie and bake it until the peaks are beautifully browned.
-
The Modern Classic - Whipped Cream: Today, a topping of lightly sweetened fresh whipped cream is arguably more popular. Its cool, light airiness provides a perfect balance to the rich, tart filling without adding too much extra sweetness. A simple dollop on each slice right before serving is pure elegance.
Ultimately, the choice is yours. Both are delicious, so you can’t go wrong. Your pie, your story.
More Than a Dessert, It’s a Connection
Making a Key Lime Pie from scratch is about so much more than following a recipe. It’s about taking part in a tradition. It’s the scent of the toasting graham cracker crust, the bright yellow of the egg yolks, the magical thickening of the filling as you pour in that fragrant, floral juice.
When you serve a slice of this pie, you’re not just offering dessert. You’re offering a slice of sunshine, a taste of history, and a connection to a place and a tradition. You’re creating one of those special moments—the kind that might just bring a tear to someone’s eye as they remember a taste they haven’t had in years. And that, in the end, is what makes time in the kitchen so incredibly worthwhile.

 Lucas
Lucas
