You followed the recipe. You measured precisely. You watched the dough for hours. Then, after all that work, you pull it from the oven… and it’s a rock. It lands on the cooling rack with a discouraging thud. The crust is pale, the crumb is tight and gummy, and it has the density of a paving stone. Every sourdough baker has been there. It’s a frustrating, but fixable, rite of passage.
Baking sourdough isn’t just following steps; it’s managing a living ecosystem of wild yeast and bacteria. When that loaf fails to spring into a light, airy masterpiece, it’s telling you something about the chemistry inside. Let’s put on our lab coats and perform an autopsy on that sourdough boulder to figure out exactly what went wrong and how to ensure your next bake is a resounding success.
Suspect #1: A Weak or Inactive Starter
Your starter is the engine of your bread. If it isn’t strong, active, and bubbling with life, it simply won’t have the power to lift and aerate your dough. A sluggish starter is the single most common cause of a dense loaf.
Think of it this way: the yeast in your starter consumes the starches in the flour and releases carbon dioxide gas. This gas gets trapped in the gluten network, creating the beautiful open crumb we all chase. If the yeast is sleepy, you get very little gas production, and thus, very little lift.
The Diagnostic Test: Before you even think about mixing your dough, test your starter’s readiness. About 4-6 hours after feeding it, perform the “float test.” Drop a small spoonful of your starter into a glass of room-temperature water. If it floats, it’s full of C02 and ready to work. If it sinks, it needs more time or another feeding. (Yes, it’s that simple.)
The Fix: Maintain a rigorous feeding schedule. For a powerful starter, I recommend a 1:2:2 ratio by weight. That means one part starter, two parts warm water (around 80°F / 27°C), and two parts flour (a 50/50 blend of bread flour and whole wheat works wonders). Discard all but a small amount of your starter before each feeding to ensure the yeast has plenty of fresh food.
Suspect #2: The Mystery of Bulk Fermentation
Bulk fermentation, or the first rise, is where the magic happens. It’s also where most things go wrong. The goal is to let the yeast produce enough gas to aerate the dough, but not so much that it exhausts its food supply or weakens the gluten structure. The result of getting this wrong is almost always a dense loaf.
- Under-proofed Dough: This is the most likely culprit for a true “boulder.” You didn’t give the yeast enough time to work. The dough didn’t expand enough, so there was no internal structure for the oven heat to expand. The result is a tight, gummy crumb and a weak oven spring.
- Over-proofed Dough: This is less common but also problematic. The yeast has consumed too much sugar, and the gluten structure has started to break down. The dough will feel slack, sticky, and will likely collapse when you try to shape it or score it. It won’t have the strength to hold its shape in the oven.
The Diagnostic Test: Ignore the clock and watch the dough. Your dough is properly fermented when it has increased in volume by about 50-75% (not necessarily doubled!), feels airy and full of life, has a slightly domed top, and you can see a few bubbles on the surface. A great trick is the “jiggle test”—if you gently shake the bowl, the dough should jiggle like a firm gelatin. An under-proofed dough will be stiff, and an over-proofed dough will be soupy.
The Fix: Control your temperature. Yeast activity is highly dependent on temperature. The ideal range for bulk fermentation is 75-80°F (24-27°C). If your kitchen is cold, your fermentation will take much longer. Find a warm spot, like inside your oven with the light on (and a note on the door so no one turns it on!), or use a proofing box. A small investment in a digital thermometer will pay huge dividends.
Suspect #3: Poor Shaping and Lack of Surface Tension
Even with a perfect starter and flawless fermentation, your loaf can fail if it’s not shaped correctly. Shaping isn’t just about making the dough look pretty; it’s about creating a tight outer “skin” that traps gasses and directs the oven spring upwards. A loosely shaped loaf will spread outwards in the oven, not upwards.
Think of it like a balloon. A weak, floppy balloon can’t hold much air. A strong balloon with a tight surface can expand dramatically. Your dough is that balloon.
The Diagnostic Test: After your final shape, does the dough hold its form? If you gently poke it, does the indentation spring back slowly? If it feels slack and immediately starts to spread out on the counter, you haven’t built enough tension.
The Fix: Practice your technique. During pre-shaping and final shaping, your goal is to stretch the outer layer of the dough while tucking it under itself. Use a bench scraper to help you push and pull the dough across the counter, creating that critical tension. It takes a bit of practice, but when you get it right, the dough will feel taut and alive under your hands.
Suspect #4: The Baking Environment - Steam is Everything
That explosive rise in the first 20 minutes of baking is called “oven spring.” For this to happen, the crust of your loaf needs to stay soft and elastic for as long as possible, allowing the loaf to expand. The secret ingredient for that is steam.
Without steam, the hot, dry air of your oven will immediately form a hard crust. This crust sets prematurely, trapping the loaf and preventing it from rising to its full potential. It’s like trying to bake a cake in a tiny, rigid box.
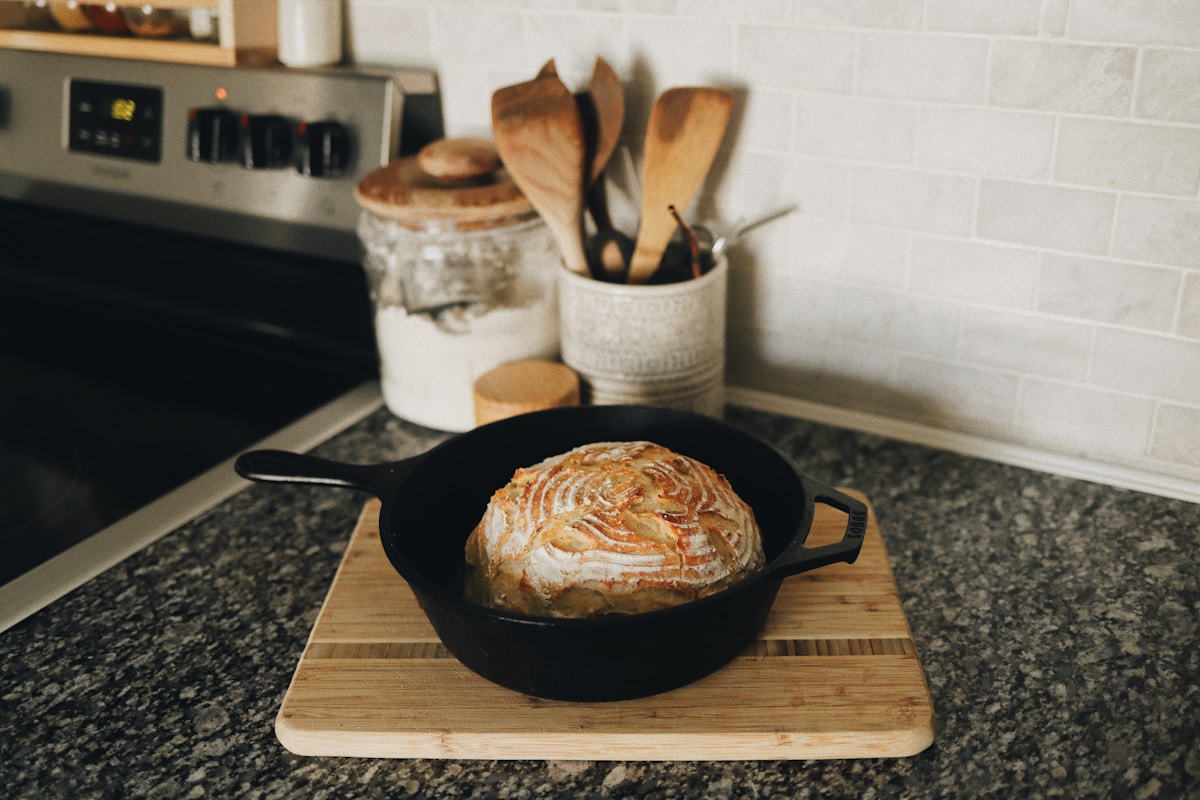
The Fix (and my #1 Kitchen Hack): Use a Dutch oven. A heavy, lidded pot like a Lodge cast iron combo cooker or a Le Creuset is the home baker’s best friend. Pre-heat the Dutch oven with your oven to a blistering 500°F (260°C). When you place your dough inside and put the lid on, the moisture from the dough itself gets trapped, creating a perfectly steamy micro-environment. This keeps the crust soft for the first 20-25 minutes of baking, allowing for maximum oven spring.
Bake with the lid on for 20 minutes at 475°F (245°C), then remove the lid and bake for another 20-25 minutes to develop that deep, golden-brown, crackly crust. (Trust me on this one. It’s a total game-changer.)
So You Baked a Boulder… Now What?
Don’t you dare throw it away! That dense loaf is still made of good flour and time. It’s a learning experience you can eat. Here’s how to salvage it:
- Make Epic Croutons: Cube the bread, toss with olive oil, salt, and herbs, and toast at 375°F (190°C) until golden and crunchy. They will be the best croutons you’ve ever had.
- Create Breadcrumbs: Let the bread dry out completely, then blitz it in a food processor. Store your homemade breadcrumbs in the freezer for coating chicken or topping casseroles.
- Whip up Panzanella: A classic Tuscan bread salad is the perfect use for sturdy bread. Cube it and let it soak up a vinaigrette with tomatoes, cucumbers, and onions.
Every single baker has a story about their first brick. It’s not a failure; it’s a data point. By analyzing the starter, the proof, the shaping, and the bake, you’re not just baking bread—you’re becoming a scientist in your own kitchen. Keep at it, and soon you’ll be pulling beautiful, airy, and delicious loaves from your oven every time.


 Lucas
Lucas
