Have you ever baked a batch of chocolate chip cookies that were… fine? They were sweet, they had chocolate, but they lacked that certain something—a depth, a richness that makes you close your eyes and savor the bite. That missing element, that professional-bakery secret, is often one simple, transformative ingredient: brown butter.
Many home bakers see “brown butter” in a recipe and either skip the step or feel a bit intimidated. It sounds fussy, doesn’t it? But I’m here to tell you it’s one of the easiest, most rewarding techniques you can master. It’s not just about melting butter; it’s about fundamentally changing its chemical and flavor profile. This is baking chemistry you can eat, and today, we’re going to become experts.
The Simple Science of Liquid Gold
So, what is happening in the pan when you brown butter? To understand the magic, we first need to understand butter itself. Butter isn’t just pure fat. It’s an emulsion, a delicate balance of about 80-82% butterfat, 16-18% water, and 1-2% milk solids. Those humble milk solids, composed of proteins and sugars (lactose), are the stars of our show.
When you gently heat butter in a saucepan, you set off a sequence of events. First, the water content begins to simmer and then boil away. You’ll hear it sputtering and see it foam up. This is simply the water turning to steam and escaping. Once the water is mostly gone, the temperature of the butterfat can rise above the boiling point of water (212°F / 100°C).
This is where the transformation begins. The temperature climbs, and those little milk solids, now suspended in the pure butterfat, begin to toast. This toasting process is a beautiful example of the Maillard reaction—the same chemical reaction responsible for the brown crust on bread, the sear on a steak, and the deep flavor of roasted coffee. The proteins and sugars in the milk solids react under heat, creating hundreds of new, complex aromatic compounds. The result is a flavor that is nutty, toasty, and reminiscent of caramel or toffee. You are literally creating flavor molecules that did not exist in the original stick of butter. (Your kitchen will smell absolutely incredible.)
How to Brown Butter Perfectly Step-by-Step
Ready to create your own liquid gold? The process is quick—it only takes about 5-8 minutes—so the most important rule is to never walk away from the stove.
What You’ll Need:
- 1/2 cup (113g) unsalted butter (Using unsalted gives you full control over the saltiness of your final recipe.)
- A light-colored saucepan or skillet. A stainless steel or enameled pan is perfect because it allows you to see the color of the milk solids change. Avoid dark, non-stick pans if you can; they make it impossible to judge the color.
- A heatproof bowl or jar (like a Pyrex measuring cup) to pour the finished butter into.
The Process:
-
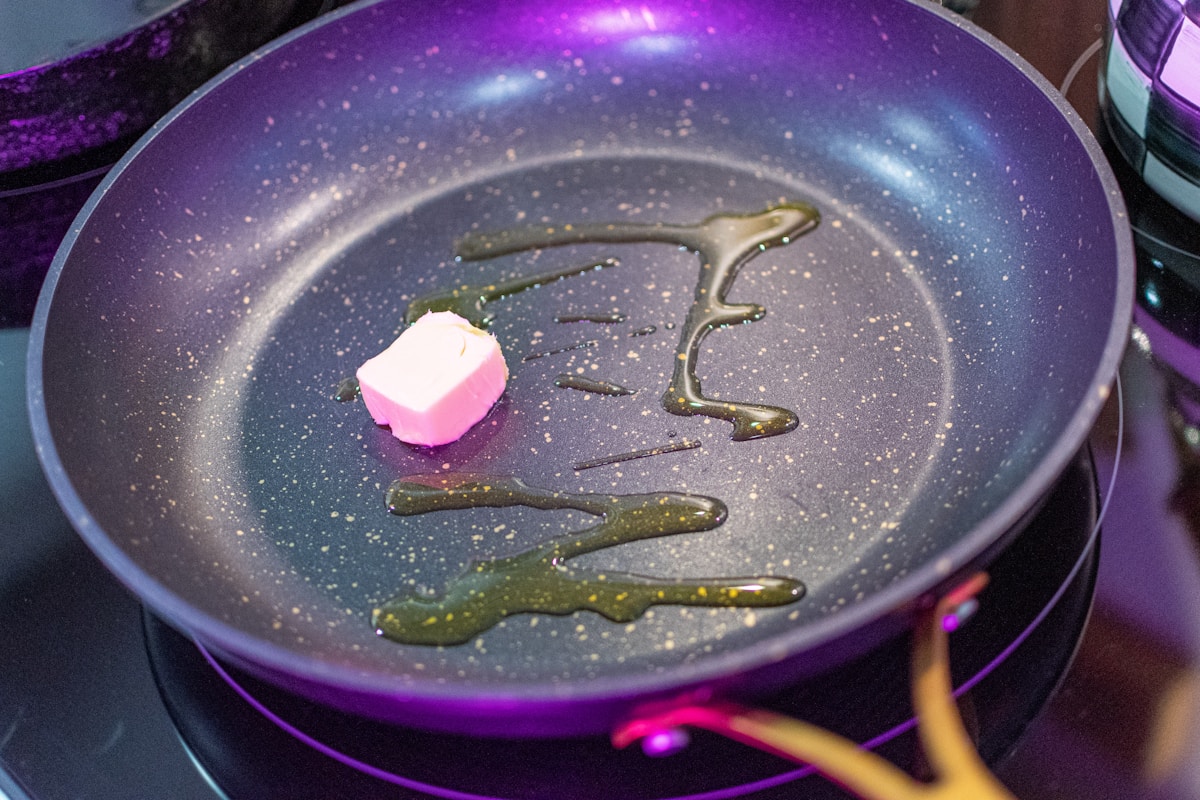
Cut and Melt: Cut your butter into tablespoon-sized pieces. This helps it melt more evenly. Place the pieces in your light-colored saucepan over medium-low heat.
-
The Sputtering Stage: The butter will melt, then begin to foam and sputter. This is the water boiling off. Swirl the pan occasionally to ensure even heating. This stage lasts for a few minutes.
-
The Quiet Stage: As the water evaporates, the sputtering will quiet down, and the foam will subside. You’ll start to see clear, golden butterfat and tiny solid particles beginning to settle at the bottom of the pan. These are the milk solids. Pay close attention now.
-
The Browning Stage: The milk solids will quickly turn from pale white to a toasted tan, and then to a deep, nutty amber. You’ll notice a distinct change in aroma—it will go from simply smelling like melted butter to a rich, nutty, and intoxicating scent. This is the Maillard reaction in full swing. Keep swirling the pan gently to prevent the solids from sticking and burning. This is the moment of truth.
-
Stop the Cooking: Once the solids are a beautiful amber brown and the aroma is perfect, immediately remove the pan from the heat. Pour the brown butter, including all the toasted brown bits at the bottom, into your heatproof bowl. (Don’t leave it in the hot pan, as the residual heat will continue to cook it and can easily take it from brown to burnt.)
Congratulations! You’ve just made brown butter. Let it cool for at least 15-20 minutes before incorporating it into most cookie doughs.
Troubleshooting Common Brown Butter Mistakes
Even a simple process can have a few pitfalls. Here’s how to navigate them.
-
Problem: My butter went from brown to black and smells burnt.
- Cause: The heat was too high, or you left it on the heat for a few seconds too long. The window between perfect brown and burnt is very small.
- Fix: Unfortunately, there’s no saving burnt butter. The acrid flavor will ruin your baked goods. The best solution is to discard it and start again, using lower heat and watching it like a hawk.
-
Problem: My butter isn’t browning, and I don’t see any specks.
- Cause: You might be using ghee or clarified butter, which has had its milk solids removed. Or, you simply haven’t cooked it long enough for the water to evaporate.
- Fix: Make sure you’re using standard block butter (unsalted is best). Be patient and wait for the sputtering to stop; that’s the signal that the browning is about to begin.
-
Problem: My cookies turned out greasy or spread too much.
- Cause: This is a crucial scientific point! When you brown butter, you cook off about 15-20% of its volume as water. This concentrates the fat and changes the hydration of your recipe. If a recipe isn’t specifically developed for brown butter, this moisture loss can affect the final texture.
- Kitchen Hack: For recipes you’re adapting, you can compensate for the water loss. For every 1/2 cup (113g) of butter you brown, add 1 to 1.5 tablespoons of water, milk, or even coffee to your wet ingredients to restore the lost moisture. This helps maintain the cookie’s intended structure and chewiness.
Putting It Into Practice The Ultimate Brown Butter Chocolate Chip Cookie
This recipe is designed to let the brown butter shine. The nutty flavor pairs perfectly with the dark chocolate and a sprinkle of sea salt.
Yields: About 24 cookies Prep Time: 25 minutes (includes browning/cooling butter) Chill Time: 1 hour (minimum) Bake Time: 11-13 minutes
Ingredients:
- 1 cup (226g) unsalted butter
- 1 cup (220g) packed dark brown sugar
- 1/2 cup (100g) granulated sugar
- 2 large eggs, room temperature
- 2 teaspoons pure vanilla extract
- 2 1/2 cups (300g) all-purpose flour (like King Arthur)
- 1 teaspoon baking soda
- 1 teaspoon kosher salt
- 1 1/2 cups (255g) semi-sweet or dark chocolate chunks
- Flaky sea salt (like Maldon), for sprinkling
Instructions:
- Brown the butter following the step-by-step guide above. Pour all of it (including the brown bits) into a large mixing bowl and let it cool for about 15 minutes until it’s no longer hot to the touch.
- Add the brown sugar and granulated sugar to the cooled brown butter. Whisk vigorously for about 2 minutes until the mixture is smooth and combined.
- Whisk in the eggs one at a time, followed by the vanilla extract.
- In a separate bowl, whisk together the flour, baking soda, and kosher salt.
- Add the dry ingredients to the wet ingredients and mix with a spatula until just combined. Do not overmix.
- Fold in the chocolate chunks.
- Cover the bowl with plastic wrap and chill the dough for at least 1 hour, or up to 48 hours. (This is critical. Chilling solidifies the fat and allows the flavors to deepen, preventing the cookies from spreading too much.)
- When ready to bake, preheat your oven to 375°F (190°C). Line two baking sheets with parchment paper.
- Scoop dough into 2-tablespoon-sized balls and place them a few inches apart on the prepared sheets. Sprinkle the tops with flaky sea salt.
- Bake for 11-13 minutes, or until the edges are golden brown and the centers are set but still soft.
- Let the cookies cool on the baking sheet for 5 minutes before transferring them to a wire rack to cool completely.
Beyond Cookies Where Else Can You Use Brown Butter
Once you master this technique, you’ll find excuses to use it everywhere. It’s not just for cookies.
- Blondies & Brownies: Swapping regular melted butter for brown butter gives these classic bars an incredible toffee-like depth.
- Rice Krispie Treats: Remember those simple childhood treats? Make them with brown butter and a sprinkle of sea salt. They are transformed into a gourmet confection. (Trust me on this one.)
- Pastry & Pie Crusts: Chilling brown butter until it’s solid again and then using it in a pie crust recipe adds a wonderful, nutty flavor that pairs beautifully with apple or pecan fillings.
- Savory Dishes: Don’t limit yourself to baking! Toss pasta in brown butter with sage, drizzle it over roasted asparagus or pan-seared scallops. It’s a five-minute sauce that tastes like it took hours.
Browning butter is more than a step in a recipe; it’s a lesson in flavor creation. It’s proof that with a little heat and a little patience, you can take a simple ingredient and turn it into something extraordinary. Now go forth and brown!
