Let’s be honest. For most of us, the waffle iron lives a lonely life. It’s tucked away in a high cupboard or the back of the pantry, brought out only for the occasional lazy Sunday breakfast. It performs its one job beautifully, then gets put away, sticky with batter residue, for another few months. We treat it like a single-purpose novelty gadget.
But what if I told you that this neglected appliance is secretly one of the most versatile tools in your kitchen? What if it could crisp up potatoes better than your skillet and press a sandwich just as well as a dedicated panini maker? The truth is, a waffle iron is just two small, hot, patterned cooking surfaces that press together. That simple mechanism is a game-changer for texture and speed, and it’s time we unlocked its full potential.
I’ve spent weeks putting my collection of waffle irons to the test on everything but waffle batter. The results were surprising, delicious, and frankly, have changed my weeknight cooking routine. Forget buying another single-use gadget. The key to a more efficient kitchen might already be gathering dust in your cabinet.
The Science of the Waffle: Why It Works for Everything
Before we dive into recipes, you need to understand why a waffle iron is so effective. It’s not just about the cute little squares. It’s about heat, pressure, and surface area.
First, you get dual-sided cooking. Unlike a skillet where you have to flip everything, a waffle iron applies high, direct heat to the top and bottom simultaneously. This cooks things incredibly fast and creates an even crust. Second, the grid pattern drastically increases the surface area. More surface area touching the hot metal means more crispy, browned, delicious bits—a principle known as the Maillard reaction.
There are two main types of waffle irons, and the one you have will influence your results:
- American (or Classic) Waffle Irons: These have shallow pockets and create a thinner, crispier waffle. They are fantastic for pressing things like paninis, grilled cheese, and quesadillas because they provide more even contact.
- Belgian Waffle Irons: These have deep, 1-inch (or deeper) pockets. They’re perfect for foods that need a little room to expand or for creating reservoirs to hold sauces and toppings. Think waffled cornbread or brownies.
Both work, but knowing your iron’s strengths is key. For most of these recipes, a good non-stick surface is your best friend. If your iron’s coating is peeling, it might be time for an upgrade. (We’ll get to that later.)
Your New Savory Go-To Appliance
This is where your waffle iron graduates from breakfast novelty to weeknight workhorse. The speed and texture it imparts to savory foods is nothing short of revolutionary.
1. The Crispiest Hash Browns Ever Forget soaking, rinsing, and babysitting a skillet. The waffle iron method is faster and yields a perfect texture every time.
- The Method: Take about 2 cups of shredded potatoes (thawed frozen ones or freshly grated Russets work best). The most important step: squeeze out as much water as possible using a cheesecloth or a clean kitchen towel. Water is the enemy of crispiness. Toss the dry shreds with 1 tablespoon of olive oil, salt, and pepper. Grease your preheated waffle iron (medium-high heat, around 375°F / 190°C) and pack the potato mixture in, filling the entire grid. Close the lid—you might need to press firmly—and cook for 8-12 minutes, or until golden brown and sizzling. Don’t peek for the first 5 minutes!
- Why It’s Better: The constant pressure and dual-sided heat create a hash brown that is essentially a crispy lattice on the outside with a steamy, tender potato interior. No flipping required.
2. Perfect Paninis and Grilled Cheese Why own a separate panini press? A classic waffle iron does the same job, creating toasted bread with melted, gooey cheese inside.
- The Method: Use sturdy bread like sourdough or ciabatta. Butter the outside of both slices. Layer your fillings—I like provolone, turkey, and a little pesto—and place the sandwich in your preheated iron. Close the lid and cook for 3-5 minutes. The divots are a feature, not a bug; they create little pockets of crunch.
3. Leftover Mac and Cheese Bites This is the kitchen hack you didn’t know you needed. It transforms leftover pasta into an incredible snack.
- The Method: Take cold, solidified mac and cheese straight from the fridge. Scoop a portion (about the size of a tennis ball) into your greased, preheated waffle iron. Close the lid and cook for 5-7 minutes. What emerges is a golden-brown disc that’s crunchy on the outside and still wonderfully creamy and cheesy on the inside. It’s unbelievable.
Sweet Treats in Minutes (No Oven Required)
The waffle iron’s speed makes it a dessert champion, especially when you don’t want to wait for the oven to preheat.
1. 3-Minute Cinnamon Rolls This is pure magic. Pop open a can of refrigerated cinnamon rolls (like the ones from Pillsbury).
- The Method: Preheat your waffle iron to medium. Place one roll in the center of each quadrant. Close the lid and cook for 2-4 minutes. They puff up and cook through, becoming caramelized and crispy on the outside while staying soft and gooey inside. Drizzle with the included icing and serve immediately. It’s faster than making toast.
2. Waffled Cookies (or “Wookies”) This creates a cookie with a totally unique texture.
- The Method: Use pre-made cookie dough (a tube of Toll House works perfectly). Place balls of dough on your preheated waffle iron, leaving space between them. Close and cook for about 90 seconds to 3 minutes, depending on your iron’s heat. The result is a thin, crispy cookie with soft, chewy pockets. They cool almost instantly and are dangerously easy to eat.
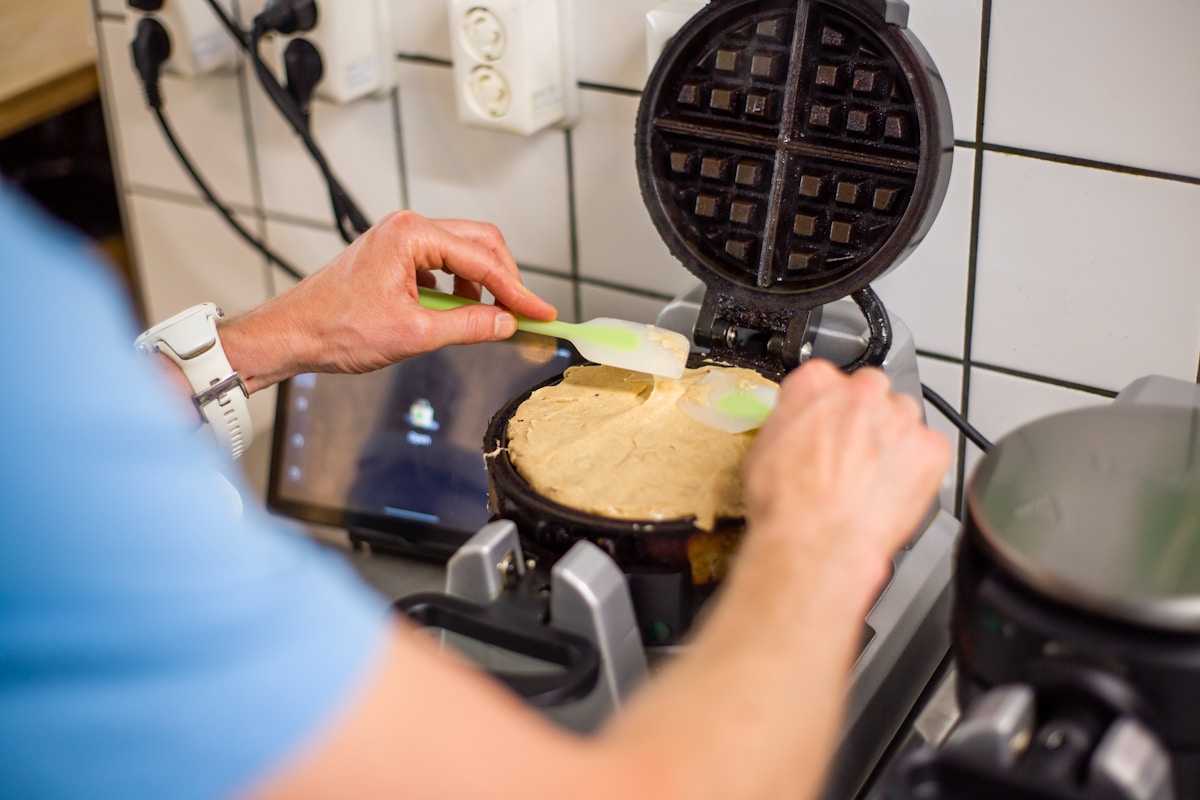
3. Fudgy Brownie Waffles For this, you need a thick brownie batter (a “fudgy” mix is better than a “cakey” one) and a Belgian waffle iron to contain the batter.
- The Method: Grease your Belgian iron well and preheat to medium. Pour in just enough batter to cover the bottom grid. Cook for 4-6 minutes. It’s important to not overcook them; you want the center to be slightly molten. Serve warm with a scoop of vanilla ice cream for a truly decadent dessert.
The Practical Side: Cleaning and Choosing an Iron
All this fun is pointless if cleanup is a nightmare. The biggest complaint about waffle irons is that they are notoriously difficult to clean. But they don’t have to be.
My Ultimate Cleaning Hack: Once you’re done cooking and have unplugged the iron, let it cool for just a minute so it’s not dangerously hot. Soak a paper towel in water, wring it out so it’s damp but not dripping, and lay it inside the waffle iron. Close the lid. The residual heat will create steam, loosening all the cooked-on bits. After 5-10 minutes, open it up and most of the gunk will wipe away effortlessly with the paper towel. (Your future self will thank you.)
If you’re in the market for a new iron, here’s what I look for:
- Removable Plates: This is the single best feature for easy cleaning. Being able to pop the plates off and wash them in the sink is a luxury you won’t regret. The Cuisinart WAF-300P1 (~$100) is a great model with this feature.
- A Good Non-Stick Surface: Look for ceramic or a high-quality traditional non-stick. Cheap coatings will scratch and fail quickly. The Breville “No-Mess” Waffle Maker (BWM520XL, ~$150) has a fantastic non-stick surface and a clever moat to catch batter overflow.
- Adjustable Temperature: This is crucial for cooking different types of food. You need low heat for a brownie and high heat for a hash brown. Even a simple dial is better than a fixed-temp iron. A budget-friendly workhorse like the Cuisinart WMR-CA Round Classic (~$30) lacks this but is a solid starting point.
Conclusion: Free Your Waffle Iron
Your waffle iron is not a one-trick pony. It’s a fast, efficient, and creative cooking tool that can crisp, press, and bake better and faster than many of its kitchen counterparts. It saves you from buying a separate panini press and makes leftovers exciting again.
So go ahead. Dig that appliance out from the back of the cabinet. Plug it in on a Tuesday night. Make a waffled grilled cheese, some crispy mac and cheese bites, or a batch of 3-minute cinnamon rolls. Your kitchen is a place for fun and discovery, and one of its best-kept secrets has been hiding in plain sight all along.


