Introduction: The Dough That Tells a Story
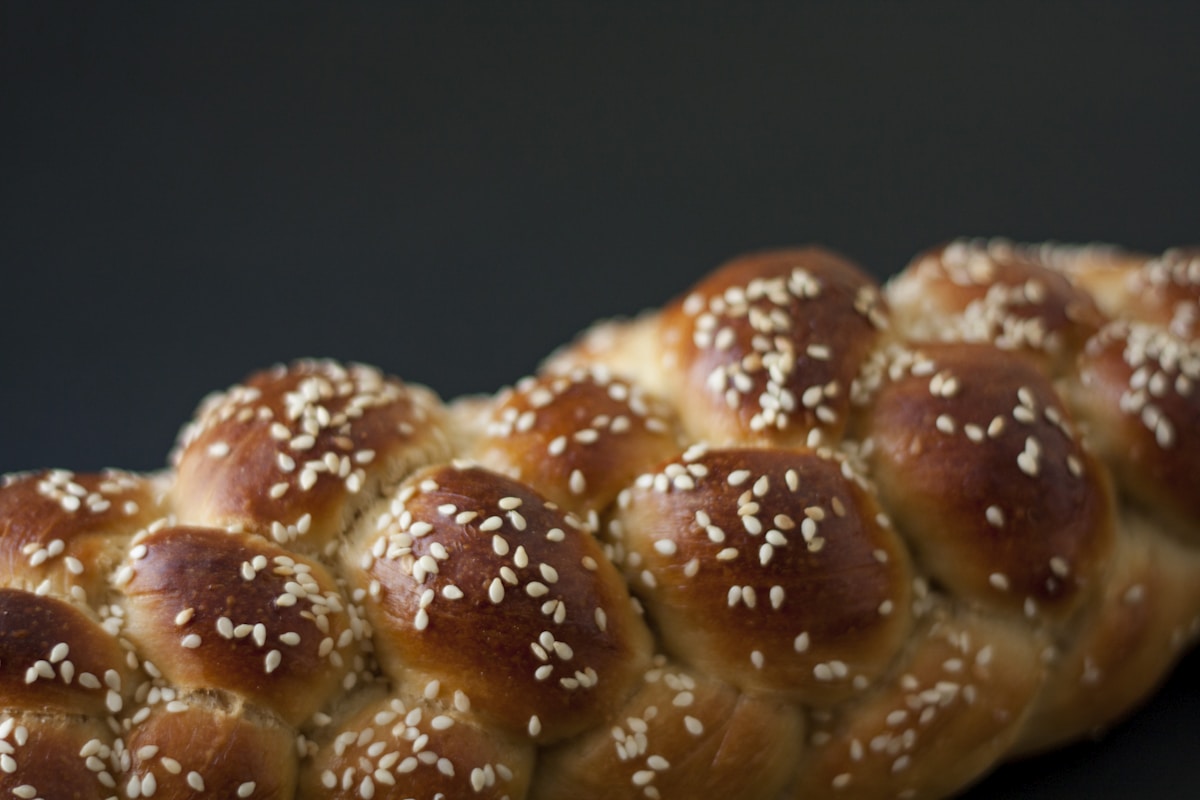
Picture this: a golden-brown challah fresh from the oven, its braided surface glistening with a honey-egg wash. Now imagine slicing into it and revealing ribbons of soft pink, sky blue, and creamy white. That is the magic of a three-color pride challah, a bread that carries not just the sweetness of tradition, but a message of inclusion and joy. A Reddit user in r/Baking recently wowed the community by stacking blue, pink, and white dough and braiding it into an intricate French braid boule. Their creation sparked something—it reminded us that food can be a canvas for celebration. Whether you are baking for Pride Month, a special gathering, or simply to brighten your Shabbat table, this guide will walk you through every step, from dough to dazzling braid.
The Cultural Roots of Challah and Its Colorful Evolution
Challah is more than a bread; it is a symbol of hope and unity in Jewish tradition. This rich, eggy loaf is traditionally braided for Shabbat and holidays, often with six strands to represent the 12 loaves of the showbread in the Temple. But home bakers have long experimented with color to mark special occasions—think golden turmeric for Rosh Hashanah or green spinach-dyed loaves for spring. The three-color pride challah takes this tradition forward, using the trans pride flag palette of light pink, light blue, and white. It is a beautiful way to honor both the cultural heritage of challah and the spirit of Pride Month, which celebrates love and authenticity. As with any cultural dish, approach it with respect. The methods here are adapted from classic recipes, but the heart remains true: food tells the story of a community.
Gathering Your Ingredients: Simple, Reliable, and Color-Ready
To create a three-color challah, you will first need a reliable base dough. I recommend the classic recipe from King Arthur Flour, known for its consistent results. For a single large loaf (about 1.5 pounds of dough), you will need:
- 3 1/2 cups (420g) bread flour (King Arthur Bread Flour is my go-to)
- 2 teaspoons instant yeast (SAF Instant Yeast works well)
- 1/4 cup (50g) granulated sugar
- 1 teaspoon salt
- 2 large eggs, plus 1 for the wash
- 1/3 cup (80ml) neutral oil, like canola or avocado
- 1 cup (240ml) warm water (about 110°F/43°C)
For the colors, you will need three natural food coloring options that produce soft, pastel shades:
- Light blue: 1-2 teaspoons blue spirulina powder (or butterfly pea flower powder)
- Light pink: 1-2 teaspoons beet powder (or freeze-dried raspberry powder)
- White: Leave one portion uncolored; the natural egg batter gives a warm cream tone.
Natural dyes give a softer hue than artificial gels, but they also add subtle flavor—beet powder adds a hint of earthiness, spirulina a slight grassy note. If you prefer vivid colors, a few drops of gel food coloring (like Wilton or Americolor) work too. Just be mindful that strong artificial colors can stain countertops and hands.
Dividing and Dyeing the Dough: Even Distribution Is Key
After mixing your dough, let it rise in a greased bowl for about 1.5 hours, until doubled in size. Punch it down and turn it onto a lightly floured surface. Divide the dough into three equal portions by weight—use a kitchen scale for accuracy (each portion should be around 230-250g). Place each portion in a separate bowl. Now it is time to color them.
To dye each portion, create a small well in the center and add your powdered colorant (or a few drops of gel). Knead the dough by hand for 4-5 minutes until the color is even and no streaks remain. This can be a sticky process, so keep a little extra flour nearby. If using powders, you may need to add a teaspoon of water to help them dissolve. The goal is a uniform pastel shade. For the white portion, simply knead it a bit more to redistribute the yeast. Let all three portions rest for 10 minutes before shaping—this relaxes the gluten and makes braiding easier.
Braiding Techniques: From Simple Strands to a French Braid Boule
The Reddit user created a spiral boule wrapped in braids, a stunning but slightly advanced technique. For beginners, I recommend a simpler approach: the three-color braided loaf. Here is how it works.
- Roll each colored dough portion into a rope about 14 inches long (the ends should be slightly tapered). Line the three ropes side by side—pink on the left, white in the middle, blue on the right, for example.
- Braid them using a three-strand braid: cross the left strand over the middle, then the right over the new middle, and repeat until you reach the end. Pinch the ends tight and tuck them under the loaf.
- Place the braid on a parchment-lined baking sheet (or in a greased loaf pan for a more uniform shape).
For the French braid boule effect (as seen on Reddit), try this variation: after coloring, divide each colored dough portion into 4-5 small balls. Arrange them in a spiral pattern in a greased 9-inch round cake pan or cast-iron skillet (Lodge is perfect). Then take three strands of different colors, braid them loosely, and wrap the braid around the edge of the pan, pressing gently to join. Bake as directed. The result is a beautiful swirl with a braided border.
Baking to Perfection: Temperature, Timing, and a Golden Crust
After shaping, cover the loaf with a clean kitchen towel and let it rise for 30-45 minutes, until it looks puffy but not doubled. Meanwhile, preheat your oven to 350°F (175°C). In a small bowl, whisk the remaining egg with 1 tablespoon of water to make an egg wash. Brush this gently all over the surface—being careful not to deflate the dough. For extra shine, add a sprinkle of poppy seeds or sesame seeds (optional). Bake on the middle rack for 25-30 minutes, rotating the pan halfway through. The challah is done when it sounds hollow when tapped on the bottom and registers about 190°F (88°C) on an instant-read thermometer. Let it cool on a wire rack for at least 20 minutes before slicing—this allows the colors to set and the crumb to firm up.
Serving and Celebrating: Sharing the Joy
Slice into your pride challah and watch faces light up as the three colors reveal themselves. Serve it warm with a dab of butter or alongside a savory meal. This bread is especially meaningful during Pride Month, but it is welcome year-round. The colors are subtle, the taste is classic challah: soft, slightly sweet, and enriched with egg and oil. Remember to acknowledge the cultural roots—this is a Jewish bread adapted for a modern celebration, not a fusion without context. Share the story with your guests: how challah connects generations, and how this twist honors both tradition and diversity.
Practical Tips for Success (Your Future Self Will Thank You)
- Keep dough slightly on the stickier side for a tender crumb. Resist adding too much flour during kneading.
- If natural colors fade during baking, that is normal. Next time, increase the powder slightly or add a pinch of vitamin C powder to brighten pink hues.
- Use a bench scraper (Dexter-Russell makes a good one) to cut clean ropes without tearing the dough.
- For a more dramatic contrast, use a higher ratio of white dough (e.g., 40% white, 30% pink, 30% blue).
- Leftover challah makes fantastic French toast—the colors swirl into beautiful patterns when dipped in custard.
Baking a three-color pride challah is more than a weekend project; it is a way to weave meaning into your kitchen. So preheat your oven, roll up your sleeves, and let the dough tell its story. Happy baking and happy Pride!


