You just came home from the farmers’ market with two kilos of fresh oregano and a fat bunch of thyme. Maybe your garden went wild, or a well-meaning neighbor dropped off a grocery bag full of green. Now you’re staring at a mountain of herbs that will wilt in the fridge by Wednesday. I’ve been there, and I promise you can save every last leaf. The good news? Preserving herbs is one of the simplest, most satisfying projects you can do with children. It teaches them where food comes from, how to reduce waste, and that patience (and a little bit of string) can stretch summer flavors all the way into January. Let me walk you through the best methods for keeping oregano and thyme vibrant and tasty, with tips that make it fun for little hands.
Why oregano and thyme are perfect for preservation
Oregano and thyme are Mediterranean herbs with low moisture content and strong essential oils. That means they dry beautifully and keep their flavor far better than delicate herbs like basil or mint. When you dry them correctly, the taste actually intensifies. Thyme’s tiny leaves hold their shape, and oregano becomes crumbly and sweet. These two are also forgiving: even if you leave them hanging a little too long, they rarely mold. For families, this is a low-stress introduction to food preservation. Plus, both herbs are excellent in winter soups, roasted vegetables, and homemade seasoning blends.
Method one: Air drying — the easiest kitchen project with kids
Air drying is the oldest trick in the book, and it’s practically foolproof. You need only the herbs, some kitchen twine, and a dry, dark spot with good airflow. A pantry, a closet, or even a corner of the kitchen away from the stove works. Here’s how to do it step by step, with age-appropriate tasks for your helpers.
Step 1: Wash and dry the herbs. Rinse the oregano and thyme in cool water to remove any soil or tiny bugs. Pat them gently with a clean kitchen towel or spin them in a salad spinner. This is a great job for a child who can handle a towel without squeezing too hard. Make sure the leaves are mostly dry — excess moisture invites mold.
Step 2: Bundle the stems. Gather four to six stems of oregano or thyme together and tie them at the base with kitchen twine. Leave a loop at the top for hanging. For little ones, you can pre-cut the twine and let them practice tying simple knots. They’ll feel proud when they see their bundle hanging. Keep the bundles small so air circulates around every leaf.
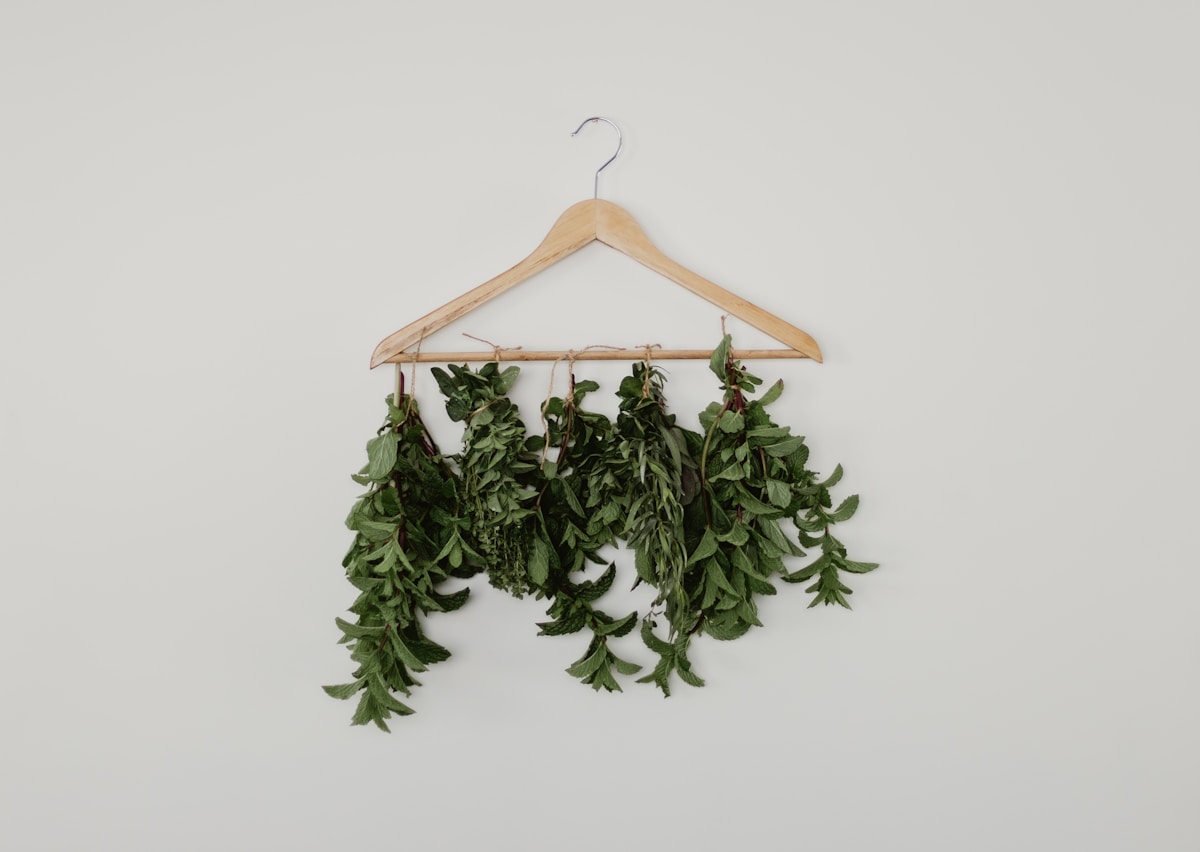
Step 3: Hang in a dark, dry place. Direct light destroys the herb’s color and oils, so choose a spot like a pantry or a cupboard you don’t use often. I’ve used a coat closet with a wooden rod — it worked perfectly. Hang the bundles upside down. If you have a dehydrator, you can also use it at 95°F (35°C) for about 4 to 6 hours. But air drying is free and magical for children to observe day by day.
Step 4: Check after one to two weeks. The herbs are ready when the leaves crumble easily between your fingers. Thyme might take a little longer because its leaves are smaller and denser. If you see any sign of moisture, give them another day or two. Once dry, strip the leaves from the stems (kids love this part — it’s like pulling apart a little green puzzle) and store them in airtight jars. I use Weck or Ball jars with rubber seals. Label with the date and herb name, and keep them in a dark cupboard. Dried oregano and thyme last up to a year this way.
Method two: Freezing in oil — lock in that fresh taste
Freezing herbs in oil is a brilliant hack because it preserves the herb’s fresh flavor almost perfectly. You don’t have to worry about wilting or freezer burn. And it’s so easy that even a three-year-old can help spoon leaves into ice cube trays.
What you’ll need: Fresh oregano and thyme leaves (picked from stems), good quality olive oil or avocado oil, ice cube trays (silicone ones are easiest for popping out the cubes), and a freezer-safe bag or container.
Step-by-step:
-
Pick the leaves off the stems. For oregano, you can slide your fingers down the stem to strip them quickly. Thyme leaves are tiny — a fun patience-builder for older kids. Let them do a bowlful while you prep other things.
-
Finely chop the leaves or leave them whole. For oregano, I like to roughly chop because it distributes better in the cubes. Thyme can stay whole.
-
Fill each ice cube compartment about two-thirds full with herbs. Pour olive oil over the herbs until they are completely submerged. Tap the tray gently to release air bubbles.
-
Freeze for several hours or overnight. Once solid, pop the cubes out and transfer to a labeled freezer bag. Each cube is about one tablespoon of herb-infused oil — perfect for dropping into a pan when you’re sautéing vegetables or making a quick sauce.
Pro tip: Use a neutral oil like grapeseed if you don’t want the olive flavor. And don’t overfill the compartments — the oil expands slightly as it freezes. A silicone tray from OXO or a standard plastic tray works fine. This method keeps the herbs tasting fresh for six to eight months.
Kid-friendly twist: Let your child use a small spoon to drop the herbs into each cube. It’s like a tiny cooking game. They’ll love seeing the green cubes later when you pull one out for dinner.
Method three: Herb salt — a simple seasoning that kids can mix
Herb salt is the easiest preservation method that doesn’t require any heat or freezer space. You just layer fresh herbs with coarse salt, let them dry together, and then grind or crumble. The salt draws out moisture and infuses with the herb oils, creating a beautiful green-flecked seasoning.
What you’ll need: Fresh oregano and thyme leaves, coarse sea salt or kosher salt (avoid fine table salt because it clumps), a baking sheet, and a food processor or mortar and pestle (optional).
Steps:
-
Strip the leaves from the stems. For this method, you want about one part herbs to two parts salt by volume. If you have two cups of herbs, use four cups of salt. Don’t worry about being exact; it’s forgiving.
-
In a bowl, mix the herbs and salt together with your fingers. Rub the herbs into the salt to release their oils. Kids adore this sensory step — it feels like making sand art.
-
Spread the mixture on a baking sheet in a thin layer. Let it sit at room temperature for 24 to 48 hours, stirring occasionally, until the herbs are completely dry. A warm, dry spot near a window (but out of direct sunlight) works well.
-
Once dry, you can leave it chunky or pulse it in a food processor to a finer texture. I keep mine coarse for a rustic look. Store in a glass jar with a tight lid. This herb salt is amazing on roasted potatoes, grilled meats, or even popcorn.
Safety note: If you use a food processor with kids, make sure they are at a safe distance and you handle the pulsing. For younger children, use a mortar and pestle — letting them grind the salt and herbs is wonderfully satisfying.
How to get the whole family involved
The key to making preservation a family activity is breaking the process into small, doable jobs. Here’s a quick age guide:
- Ages 2–4: Washing herbs in a colander (lots of splashing fun), placing leaves into ice cube trays, stirring salt and herbs with a spoon.
- Ages 5–7: Stripping leaves from stems (thyme is a great fine-motor challenge), tying bundles with help, spooning herbs into jars.
- Ages 8–12: Measuring salt, using a mortar and pestle, labeling jars with dates, hanging herb bundles in the pantry.
Make it a mini science lesson: talk about why we dry herbs (to remove water so mold can’t grow) and how salt preserves by drawing out moisture. Let them taste the fresh herb versus the dried herb after a week. They’ll notice the flavor concentration.
One more tip for using up your herbs fast
If you only have a few days before the herbs start to wilt, make a big batch of compound butter. Soften a stick of unsalted butter, mix in a generous handful of chopped oregano and thyme, add a pinch of salt, roll it in parchment paper, and freeze. (I love using Kerrygold butter for this, but any good butter works.) Slice off a coin of herb butter to melt over steak, vegetables, or toast. Kids can help by mashing the herbs into the butter with a fork — a great way to build hand strength.
Common questions from parents
Can I dry herbs in the oven? Yes, but it’s trickier because ovens don’t go low enough for many models. The ideal temperature for drying herbs is 100°F to 110°F (38°C to 43°C). Most ovens’ lowest setting is 170°F (77°C), which can scorch the delicate leaves. If you use the oven, prop the door open with a wooden spoon and watch carefully. It might take only 45 minutes to 2 hours. Convection ovens work better. For families, air drying or a dehydrator is safer.
What if the herbs get moldy? Discard the whole bundle. Mold usually means the herbs were too wet when bundled or the air was too humid. Next time, make smaller bundles and choose a drier spot. You can also dry the herbs flat on a baking sheet lined with paper towels, turning them daily.
Can I freeze oregano and thyme without oil? Yes. Spread clean, dry leaves on a baking sheet and freeze them in a single layer. Once frozen, transfer to a bag. This method works, but the leaves will be less flavorful than oil-packed ones and will turn mushy when thawed. They’re still great for soups and stews where texture doesn’t matter.
A little memory from my kitchen
The first time I dried herbs with my niece, she was five. We hung nine bundles of oregano from a clothes hanger in the pantry, and she checked on them every morning before school. After ten days, we stripped the leaves into a big bowl, and she announced, “This smells like pizza!” That’s when I knew she was hooked. Now she’s fifteen and makes her own herb salt for Christmas gifts. Starting these traditions when children are small plants a seed that grows into a lifelong love of cooking. So grab those herbs, tie up some bundles, and get the kids into the kitchen. You’ll save money, reduce waste, and fill your home with the aroma of summer all year long.
Final encouragement
Don’t stress about perfection. If a few leaves get a little brown, that’s fine. If your child spills salt all over the counter, sweep it up together. The goal is connection and learning, not a perfectly uniform jar of dried herbs. Oregano and thyme are forgiving — they want to be used, and they love a little chaos. So go ahead, make a mess, laugh, and preserve something beautiful. Your future self (and your winter spaghetti sauce) will thank you.


