You’ve been there. It’s Saturday morning, the sourdough starter is bubbling, and you’re ready to create magic. But your countertop is a war zone. The stand mixer is crammed next to the toaster, a bag of flour is dangerously close to the sink, and you’re trying to roll out dough on a surface the size of a postage stamp. We dream of sprawling kitchen islands, but the reality for most of us is a constant battle for space.
Enter the unlikely hero of the home baker: the humble potting bench.
I know what you’re thinking. A bench meant for dirt and seedlings… in your kitchen? Stick with me. I’ve tested enough gear to know that ingenuity often beats a high price tag. With a little bit of know-how, a simple wooden potting bench can be transformed into a functional, beautiful, and affordable baking center. But—and this is a big but—it has to be done right.
The Allure of the Bench Why It Works
Before we get into the critical safety stuff, let’s talk about why this idea is so appealing in the first place. A dedicated kitchen island or a proper butcher block cart can easily set you back $500 to over $1,000. A sturdy, unfinished cedar or fir potting bench? You can often find one for under $200.
The design is practically tailor-made for baking. Most have two levels:
- The Top Surface: This becomes your primary workspace. It’s usually at a comfortable working height, perfect for kneading dough or rolling out pastry without hunching over.
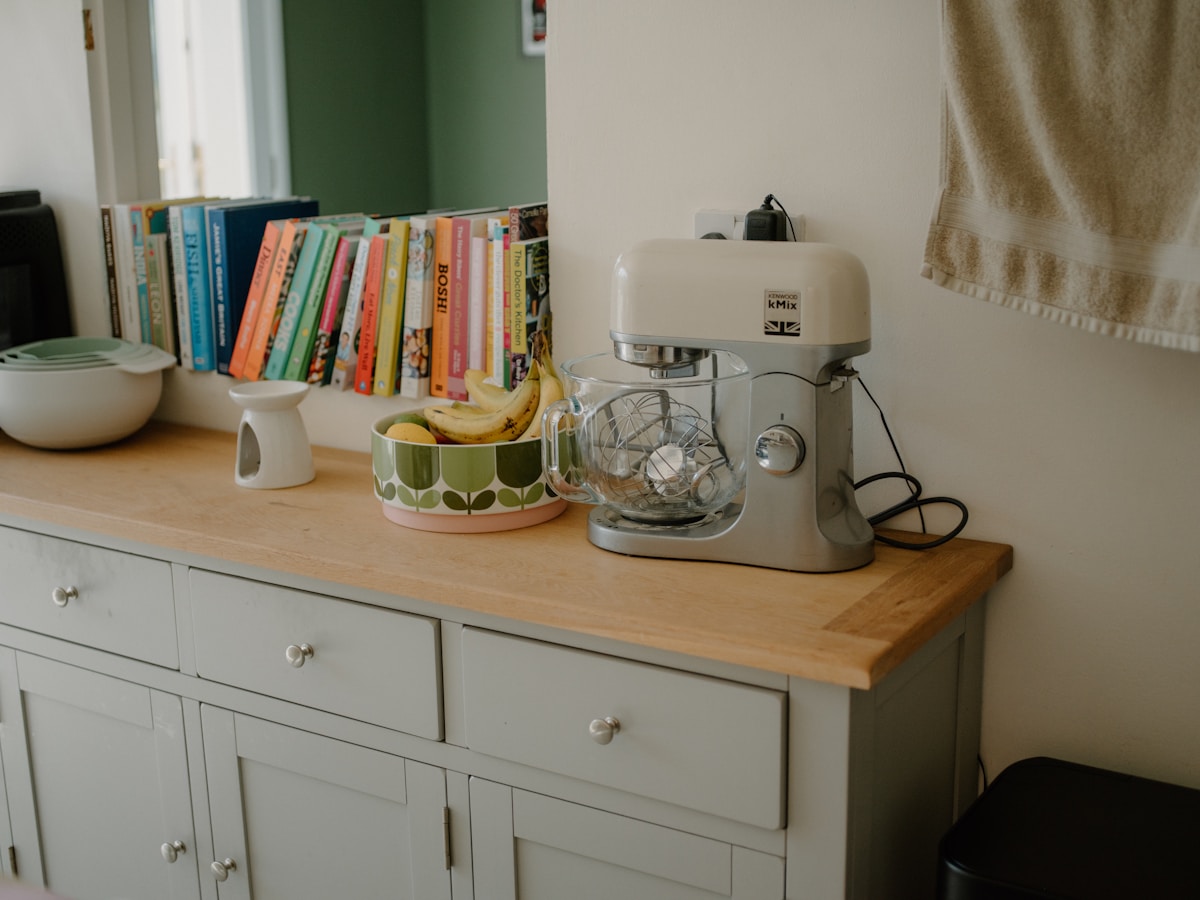
- The Lower Shelf: This is the game-changer. It’s the ideal home for heavy or bulky items. Your KitchenAid or Ankarsrum stand mixer can live here, freeing up precious counter space. It’s also perfect for storing large bags of flour, sugar, or your collection of mixing bowls.
Many even come with a small upper hutch or hooks, giving you a ready-made spot for hanging measuring spoons, spatulas, or storing small jars of sprinkles and spices. It creates a self-contained “baking zone” that can bring a sense of order to even the most chaotic kitchen.
The Food Safety Warning You Cannot Ignore
Okay, let’s get serious. Bringing an item designed for outdoor use into your food prep area requires careful consideration. You can’t just unbox it and start rolling out cookies. (Please, don’t do that.)
Raw, untreated wood is porous. It’s a sponge for moisture, bacteria, and odors. Spilling raw egg or smearing butter onto an unsealed wood surface is asking for trouble. Flour dust will get trapped in the grain, making it impossible to truly clean. This is where food safety becomes paramount.
Here’s my non-negotiable checklist before you even consider this project:
- Buy New and Unfinished: DO NOT repurpose an old potting bench that’s been used for actual potting. It could be contaminated with pesticides, chemical fertilizers, or mold from years of exposure to damp soil. Start with a clean slate. Look for benches made from untreated cedar, fir, or pine.
- Inspect the Wood: Check for splinters, deep cracks, or large knots that could trap food particles. A smooth, high-quality surface is easier to seal and clean.
- Avoid Pressure-Treated Lumber: Never, ever use anything made from pressure-treated wood for a food surface. The chemicals used to preserve the wood (like chromated copper arsenate in older wood) are toxic and not meant for human contact.
If you follow these rules, you’re starting from a safe place. Now, let’s make it food-grade.
Prep and Seal Your Surface Like a Pro
This is the most important step. Your goal is to create a non-porous, durable, and easily cleanable surface that is 100% food safe. You have a few excellent options.
Step 1: The Prep Regardless of the finish you choose, the prep work is the same. Sand the entire top surface of the bench, starting with a medium-grit sandpaper (around 120-grit) and finishing with a fine-grit (220-grit). This smooths the wood grain and opens it up to accept the finish. After sanding, wipe it down thoroughly with a tack cloth or a damp rag to remove every speck of dust. Let it dry completely.
Option A: The Classic Oil & Wax Finish (Good) This is the same method used for traditional butcher blocks and cutting boards. It gives a beautiful, natural finish but requires the most maintenance.
- What you need: Food-grade mineral oil and a food-grade beeswax conditioner (like Boos Block Board Cream or a similar product).
- How to apply: Liberally apply the mineral oil to the wood, spreading it evenly with a clean cloth. Let it soak in for at least 4-6 hours, or overnight if possible. The wood will drink it up. Wipe off any excess. Apply another coat if the wood still looks dry. Once the oil has cured, apply the beeswax conditioner. This top layer provides a bit of water resistance.
- Pros: Easy to apply, non-toxic, beautiful matte finish.
- Cons: Not waterproof. It needs to be reapplied every month or so to keep the wood protected. It can feel slightly oily at first.
Option B: The Hardening Oil Finish (Better) Pure Tung Oil or food-safe hardwax oils penetrate the wood and then cure to a harder, more durable finish than mineral oil.
- What you need: 100% Pure Tung Oil (make sure it’s not a “Tung Oil Finish,” which can contain chemical additives).
- How to apply: Thin the first coat with a food-safe solvent like citrus solvent (50/50 ratio) to help it penetrate. Wipe it on, let it sit for 30 minutes, then wipe off all excess. (This is critical—if you let it pool, it becomes gummy.) Allow it to cure for 24 hours. Apply 3-5 more coats of pure oil, wiping off the excess each time. Full cure time can take weeks, but it will be usable after a few days.
- Pros: More durable and water-resistant than mineral oil. Still has a natural look and feel.
- Cons: Long cure time. The application process is more involved.
Option C: The Epoxy Resin Seal (The Best for Durability) If you want a bulletproof, non-porous, glassy surface that you can wipe clean like a granite countertop, a food-safe epoxy pour is the way to go.
- What you need: A food-safe, bar-top epoxy resin kit.
- How to apply: Follow the kit’s instructions precisely. You’ll mix the two parts, pour it over the surface, and spread it evenly. You’ll likely need a small propane torch or heat gun to pop any air bubbles that rise to the surface. It needs to cure, undisturbed, in a dust-free area for at least 72 hours.
- Pros: Completely waterproof and non-porous. Extremely durable and very easy to sanitize. Great for messy work with dough or raw eggs.
- Cons: The application can be intimidating for a first-timer. The look is very glossy, which might not be what you want. It’s the most expensive option.
Setting Up Your Ultimate Baking Station
Once your surface is cured and ready, the fun begins. The goal is to make it as functional as possible.
- Tool Storage: Install a magnetic strip (like the ones for knives) on the backboard of the bench. It’s perfect for holding metal bench scrapers, offset spatulas, and whisks. Add some simple S-hooks to hang your measuring cups and spoons for easy access.
- Ingredient Bins: Use clear, stackable, airtight containers for your most-used ingredients like all-purpose flour, bread flour, sugar, and brown sugar. Label them clearly. Keeping them on the lower shelf makes them easy to grab and keeps your main workspace free of clutter.
- The Power of Verticality: If your bench has a small hutch, use it for smaller items. Think jars of yeast, baking powder, vanilla extract, and food coloring. You want everything you need within arm’s reach.
- A Kitchen Hack: Place a non-slip silicone baking mat on the surface when you’re working. It gives you a perfect, non-stick surface for kneading, contains the mess, and when you’re done, you can just pick it up and wash it in the sink. It also helps protect your newly finished wood surface.
The Final Verdict: Is It A Smart Move?
So, is a potting bench a legitimate kitchen hack? My answer is a resounding yes—with a major condition. You must be willing to do the prep work to make it food safe. If you cut corners on sealing the surface, you’re creating a hazard, not a help.
But if you take the time to sand it, seal it properly with a food-grade finish, and organize it thoughtfully, you can create a highly functional and charming baking station for a fraction of the cost of traditional kitchen furniture. It solves a real problem (lack of space) with a practical, hands-on solution. And for me, that’s what smart kitchen gear is all about. It’s not about the price tag; it’s about finding the right tool for the job. Even if that tool usually lives in the garden shed.


