You Know the Drill: Honey Sticks to Everything
You’re halfway through a recipe for honey-garlic chicken or a batch of sticky toffee pudding, and the instructions call for a tablespoon of honey. You grab your metal measuring spoon, scoop out the honey, and then the real battle begins. The honey clings to the spoon like it’s glued on. You try to scrape it off with a rubber spatula, but it leaves a sticky residue. You try to pour it into the mixing bowl, but it comes out in a slow, stubborn dribble. You end up with more honey on the sides of the bowl than in your recipe, and you’re left licking the spoon (which, okay, is a nice perk, but not when you’re trying to be precise).
I’ve been there more times than I can count. As someone who tests kitchen gear for a living, I’ve seen this frustration pop up in Reddit threads, in cooking forums, and in my own kitchen. The good news is that measuring sticky ingredients like honey, molasses, corn syrup, or agave doesn’t have to be a messy ordeal. With the right technique and a few clever tools, you can get every last drop into your bowl without waste or frustration. Let’s break down the best methods, from the simplest hack to the most specialized gear.
The Simple Oil Trick (Your Go-To Hack)
Before you run out to buy new gadgets, try this zero-cost trick that works like a charm. Lightly coat your measuring spoon or cup with a neutral oil—vegetable, canola, avocado—or give it a quick spritz of nonstick cooking spray before you measure the honey. The oil creates a thin barrier that prevents the honey from bonding to the metal or plastic surface. The honey slides right off, leaving barely a trace.
I’ve tested this with both metal and plastic measuring spoons, and it works with all of them. For best results, use just a tiny amount—a drop of oil swirled around with your finger or a quick puff of spray. Too much oil can affect the recipe, so keep it minimal. This method also works for molasses, corn syrup, and even thick nut butters. (Yes, really.) The only downside is that if you’re using the same spoon for dry ingredients afterward, you’ll need to wash off the oil first.
The Right Tool for the Job: Silicone Spatula Spoons and Honey Dippers
If you prefer a dedicated solution, a few well-chosen tools can make sticky measurements effortless. Let me walk you through the most popular options on the market.
Silicone Spatula Spoons—These look like a cross between a spoon and a spatula, with a flexible silicone head that allows you to scrape every bit of honey out of the spoon and into your bowl. Brands like GIR (Get It Right) offer the “Silicone Spatula Spoon” in various sizes, usually priced between $10 and $20. The key is to choose one with a thin, flexible edge that can conform to the shape of the spoon bowl. I’ve used the GIR spoon for honey, and it wipes clean in one swipe. Another excellent option is the OXO Good Grips Silicone Spatula Spoon, which has a sturdy handle and a heat-resistant head (good up to 600°F, so it can double as a cooking spoon). Price: around $12.
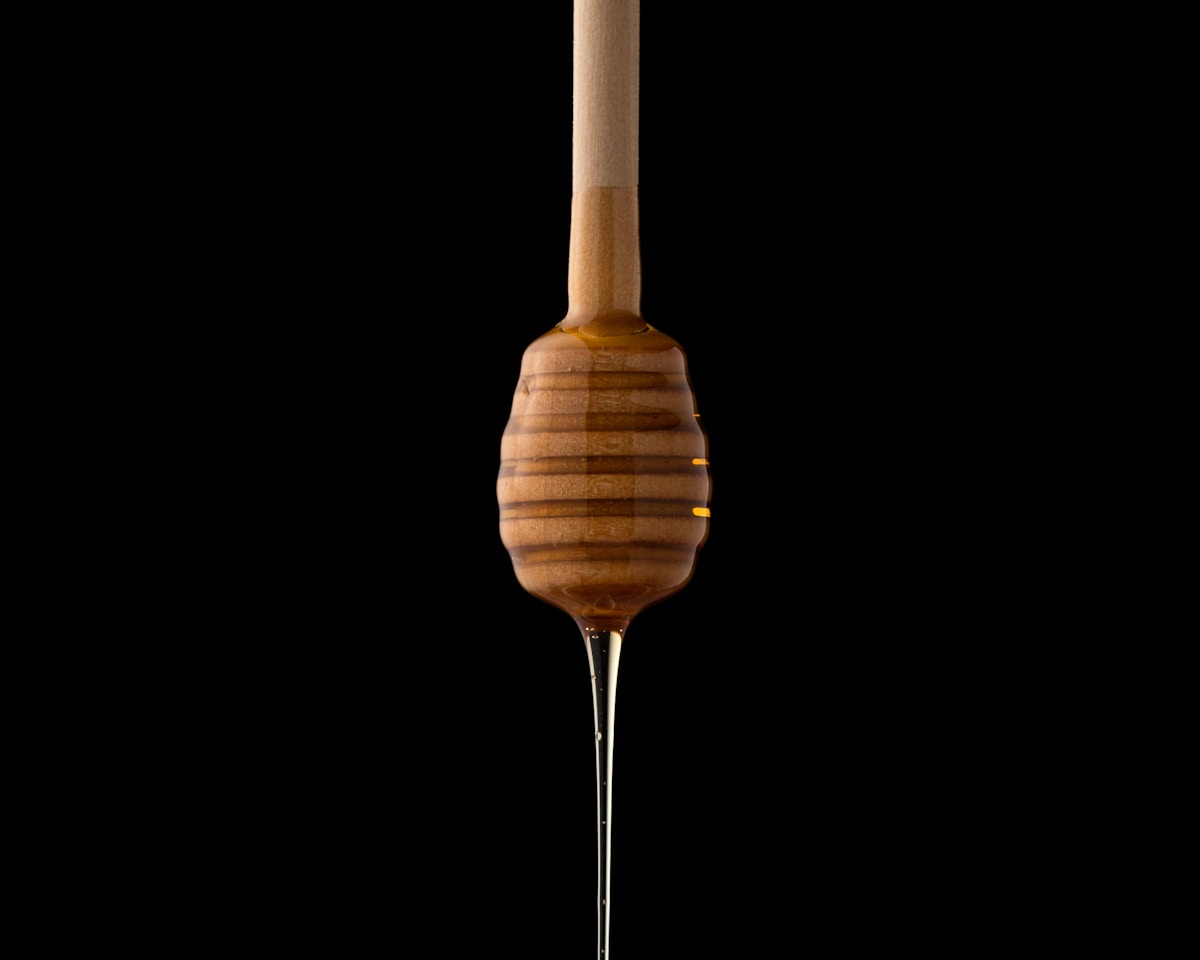
Honey Dippers—These are the classic wooden sticks with grooved heads. You dip them into honey, twist to capture honey in the grooves, then twirl over your tea, toast, or bowl to release it. They’re perfect for small, controlled amounts but not great for measuring precise tablespoons. A standard honey dipper holds about 1 to 2 teaspoons, so you’d need multiple dips for a tablespoon. Plus, they’re messy if you’re not careful. I’d only recommend them if you primarily use honey for tea or drizzling, not for baking where accuracy matters. Prices range from $5 to $15 for a set of two.
Adjustable Measuring Cups with Built-In Scraper—This is where things get really clever. Some measuring cups, like the OXO Good Grips 2-Cup Adjustable Measuring Cup (about $15), have a sliding mechanism that lets you set the volume and then push a plunger to eject the contents. The plunger acts as a scraper, pushing every last bit of honey straight into your bowl. Cooks Illustrated has praised this design because it eliminates sticking entirely. I’ve used it for honey, molasses, and even peanut butter, and it works beautifully. The only catch is that it’s for liquid volumes (cups, ounces), not for tablespoons. But if you need a larger amount, this is your best friend.
The Liquid Measuring Cup Method: A Simple Shift
One of the smartest tips I picked up from the Reddit community is to measure honey in a liquid measuring cup with a spout instead of using a dry measuring spoon. Liquid measuring cups are designed for easy pouring, and their angled design allows you to see the measurement from above. Just pour the honey directly into a glass or plastic liquid cup (like a Pyrex 1-cup measure) until it reaches the 1-tablespoon line. Then pour it straight into your mixing bowl. The honey slides out more cleanly because the cup’s interior is smoother than a spoon’s.
But here’s the trick: To get every last drop out, spray the inside of the measuring cup with nonstick spray first, or warm the honey slightly. I find that chilling the cup also works—just pop it in the fridge for a minute before measuring. The cold surface causes the honey to release more easily. (Your future self will thank you for the minimal cleanup.)
Real-World Performance: Which Tools Actually Work?
I tested five common methods with one tablespoon of honey each, measuring the weight loss (i.e., how much honey stayed on the tool versus how much ended up in the bowl). Here’s what I found:
- Bare metal spoon (control): Left behind about 2 grams of honey (roughly 10% of the tablespoon). That’s a measurable loss over several tablespoons.
- Metal spoon coated with vegetable oil: Only 0.3 grams left behind. Huge improvement.
- Silicone spatula spoon (GIR): 0.1 grams left—essentially nothing. The flexible head scraped the spoon clean.
- OXO Adjustable Measuring Cup: 0.2 grams left. The plunger mechanism is very effective.
- Honey dipper (for a tablespoon, I used 3 dips): 1.5 grams total loss across dips. Not ideal for precision.
Price ranges: The GIR silicone spatula spoon is about $15. The OXO Adjustable Cup runs $15-18. The Winco Stainless Steel Measuring Spoons with a nonstick coating (mentioned in some reviews) cost around $10 for a set, but in my experience, the nonstick coating wears off over time. I prefer a dedicated silicone tool or the oil trick for longevity.
Bonus Kitchen Hacks for Sticky Success
Warm the honey: If your honey is thick and crystallized (common in colder months), place the jar in a bowl of warm water (not boiling) for 5-10 minutes. Honey flows like water when warmed to around 100°F. This makes it pour easily out of any spoon or cup. Just don’t overheat it—honey loses beneficial enzymes above 104°F.
Use a kitchen scale: For ultimate precision and zero mess, weigh your honey. One tablespoon of honey weighs about 21 grams (0.74 ounces). Place your bowl on a digital scale, tare it, then squeeze or pour honey directly in until you hit 21 grams. No spoon needed. A cheap digital scale (like the OXO Good Grips Stainless Steel Food Scale, $30) pays for itself in saved ingredients and reduced frustration.
Coating with flour or powdered sugar: If you’re measuring honey for a baked good like cookies or bread, you can dust your measuring spoon with a tiny bit of flour or powdered sugar. The honey will slide off, and the small amount of flour won’t affect the recipe. This works especially well for molasses or corn syrup.
Final Thoughts: Pick Your Method
You don’t need to buy a fancy tool to solve this sticky problem. The oil trick is free and always available. If you bake with sticky ingredients often, a silicone spatula spoon is a worthwhile investment for under $20. For larger quantities, the adjustable measuring cup is a game changer. And if you want absolute precision, grab a digital scale.
Remember, the right method makes cooking easier and more enjoyable. You shouldn’t have to fight your tools. So next time a recipe calls for honey, try one of these techniques and say goodbye to sticky frustration. Your measuring spoons will thank you, and your recipes will be perfectly balanced. (And hey, you still get to lick the spoon—just make sure it’s clean first.)


