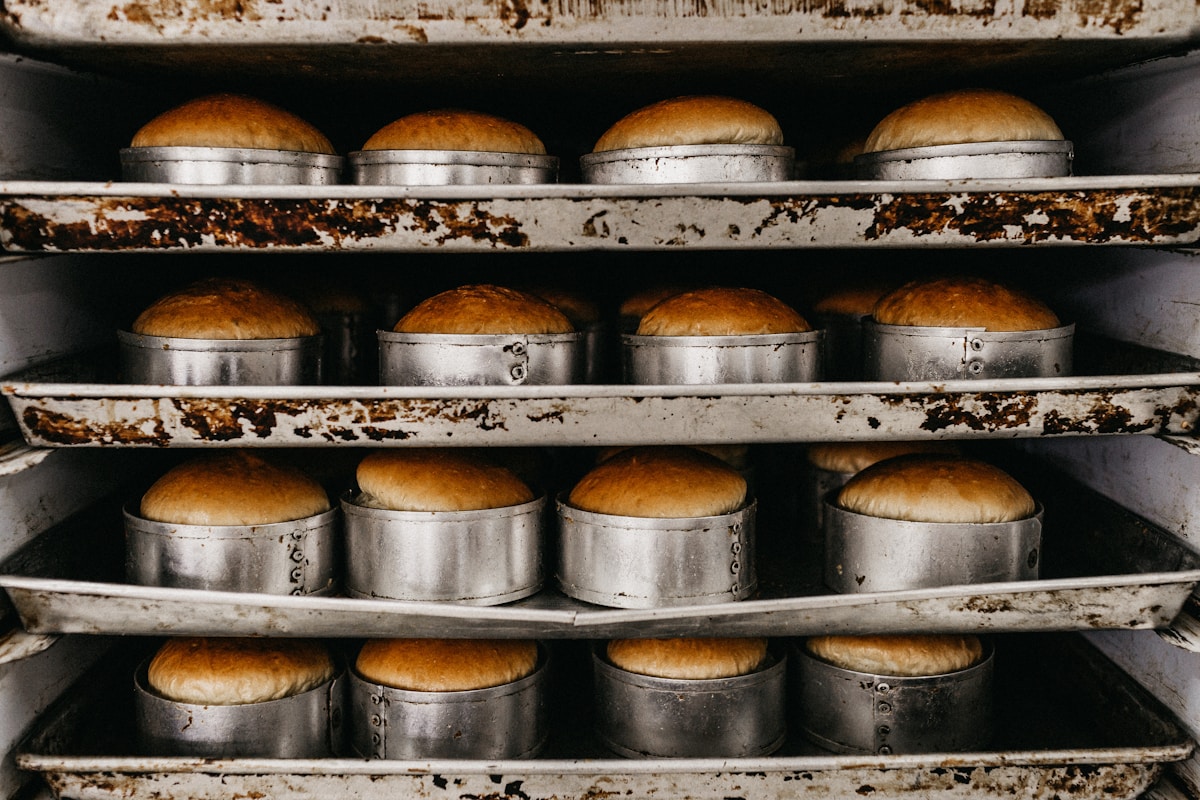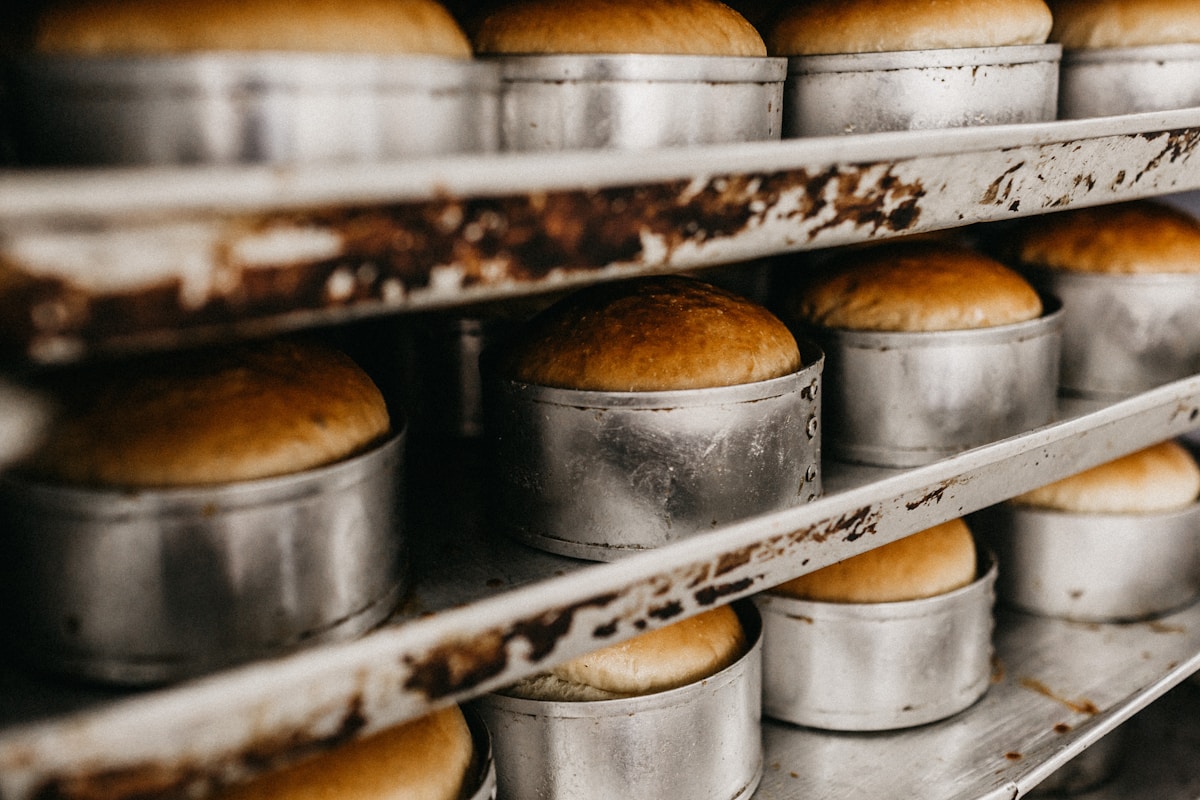
You followed the recipe to the letter. You measured the flour correctly, your butter was the perfect room temperature, and you even set a timer. Yet, when you pull your beautiful cake from the oven, you’re met with disappointment. The edges are dark brown and a little tough, pulling away from the sides of the pan, while the center has domed up and cracked, and a tester comes out just a little too moist.
Sound familiar? We’ve all been there. It’s one of the most common frustrations in baking. But I’m here to tell you it’s probably not your fault. And it’s probably not your oven’s fault, either. The culprit is very likely hiding in plain sight: your cake pan.
Here at kitchen-fun.com, I test a lot of gear. And one of the most dramatic performance differences I see comes from a single, simple variable: the color and finish of the pan. It’s not about brand names or fancy features. It’s about basic physics, and understanding it will change your baking forever. (Yes, really.)
The Science of Shiny vs. Dull Pans
To understand why your dark, nonstick pan bakes so differently from a classic shiny aluminum one, we need to talk about heat transfer. Ovens cook with a combination of convection (circulating hot air) and radiant heat (think of the heat you feel from a campfire or a hot burner). That radiant heat is where the pan’s color comes into play.
Think about wearing a black shirt on a sunny day versus a white one. The black shirt absorbs far more light and heat, making you feel hotter. The white shirt reflects it, keeping you cooler. The exact same principle applies inside your oven.
-
Dark, Matte Pans: These pans, which often have a nonstick coating, are champions at absorbing radiant heat. They get hotter and transfer that heat to your batter much more quickly and aggressively. This causes the edges and bottom of the cake to set and brown rapidly.
-
Light, Shiny Pans: These pans, typically made of natural aluminum, act like mirrors. They reflect a significant amount of radiant heat. This means they heat up more gently and evenly, transferring heat to the batter in a much more controlled way.
This isn’t just theory; it’s a visible, tangible difference in every single bake. The aggressive heat of a dark pan is what creates those over-browned edges and forces the wet, uncooked center batter to rise up quickly in a dome, often before it has a chance to cook through properly.
The Real-World Bake-Off Results
I ran a simple side-by-side test using the same batch of classic yellow cake batter to illustrate the difference. One was baked in a standard dark nonstick 9-inch pan, the other in a professional-grade light aluminum 9-inch pan. Both were baked in the same oven, at the same time, at 350°F (177°C).
The Dark Pan Cake: After 30 minutes, the edges were already a deep brown. The top had a pronounced dome with a crack running across the center. The final cake had a definite crust on the sides and bottom, about a quarter-inch thick. While the flavor was fine, the texture was inconsistent—tender in the middle but dry and crusty at the perimeter. This is the kind of cake that requires a lot of trimming to stack into a neat layer cake.
The Light Pan Cake: This cake baked more slowly. At 30 minutes, it was just beginning to turn a pale golden color. It needed about 8 more minutes to finish baking. The final result was a baker’s dream. The color was a uniform, beautiful golden-brown from edge to edge. The top was nearly perfectly flat, ideal for frosting and stacking. The crumb was soft, light, and consistent all the way through. No tough crust, no overly dark bottom.
The verdict is clear: for gentle, even baking, especially for delicate cakes, a light-colored pan is the superior tool. It gives you a level of control that a dark pan simply can’t match.
My Go-To Pan Recommendations
The most expensive tool isn’t always the right one. You don’t need to spend a fortune to get professional results. It’s about choosing the right material for the job.
For the Serious Baker: Heavy-Gauge Aluminum This is the industry standard for a reason. These pans are workhorses that provide the most predictable results.
- Models to Look For: Nordic Ware Naturals series, Fat Daddio’s ProSeries Anodized Aluminum Pans.
- Price Range: $15 - $25 per pan.
- Pros: Exceptional heat distribution for even baking, durable and warp-resistant, will last a lifetime.
- Cons: They are not nonstick, so you must grease and flour them properly or use parchment paper. (A small price to pay for perfection.)
For Everyday Convenience: Light-Colored Coated Pans If you want good performance with easier cleanup, look for aluminized steel pans with a light-colored nonstick or ceramic coating.
- Models to Look For: USA Pan Bakeware (their signature feature is a light, silicone-based nonstick coating), Caraway Bakeware.
- Price Range: $20 - $35 per pan.
- Pros: Combines the great heat conduction of steel/aluminum with an easy-release surface.
- Cons: The coating will eventually wear down over years of use, and you must avoid using metal utensils that can scratch it.
How to Tame Your Dark Baking Pans
What if you already have a set of dark nonstick pans? Don’t throw them out! They are perfectly usable, as long as you know how to compensate for their aggressive heating. Think of it like learning to drive a sports car—it’s powerful, so you just need a lighter touch.
Here are the three rules for baking successfully with dark pans:
-
Reduce Oven Temperature: This is the most important adjustment. Lower your oven temperature by 25°F (about 14°C). If the recipe calls for 350°F, you set your oven to 325°F. This gives the center of the cake more time to cook before the edges get scorched.
-
Check for Doneness Sooner: Because the pan is cooking faster, your bake time will be shorter. Start checking for doneness—using a toothpick or cake tester—at least 5 to 10 minutes before the earliest time suggested in the recipe.
-
Use an Insulator (Kitchen Hack!): This is a great trick. Placing your dark cake pan on a shiny, light-colored cookie sheet can help deflect some of the intense radiant heat from the bottom of your oven. This helps prevent an over-baked, dark bottom crust.
It’s Not Just About Cakes
This principle applies to almost everything you bake. Pay attention to your pan color when making these items, too:
-
Brownies: This is one area where a dark pan can be a benefit if you love those super chewy, crusty corner pieces. The dark metal helps create that desirable texture. For a more uniform, fudgy brownie, a light pan is better.
-
Quick Breads: Banana bread and zucchini bread are notorious for getting a thick, dark, almost-burnt crust in a dark loaf pan while the dense center remains undercooked. Reducing the oven temperature is absolutely critical here.
-
Cookies: A dark cookie sheet will give you cookies with very brown, very crispy bottoms. A light, shiny aluminum sheet will produce cookies that are more evenly baked with soft, chewy centers and lightly golden bottoms.
The Final Word: Knowledge is Power
Understanding how your equipment works is the key to becoming a more confident and successful baker. The difference between a light and dark pan isn’t a matter of quality, but of thermal properties. One absorbs heat, the other reflects it.
For the most reliable, even, and forgiving results, especially with cakes, I will always recommend a set of light-colored, heavy-gauge aluminum pans. They are a modest investment that will pay you back with perfectly baked goods for decades.
But if you have dark pans, you’re now armed with the knowledge to manage them. Lower the heat, check early, and you can still get a delicious result. The next time you bake, take a moment to look at your pan. You now hold the secret to why it behaves the way it does, and you have the power to make it work for you.