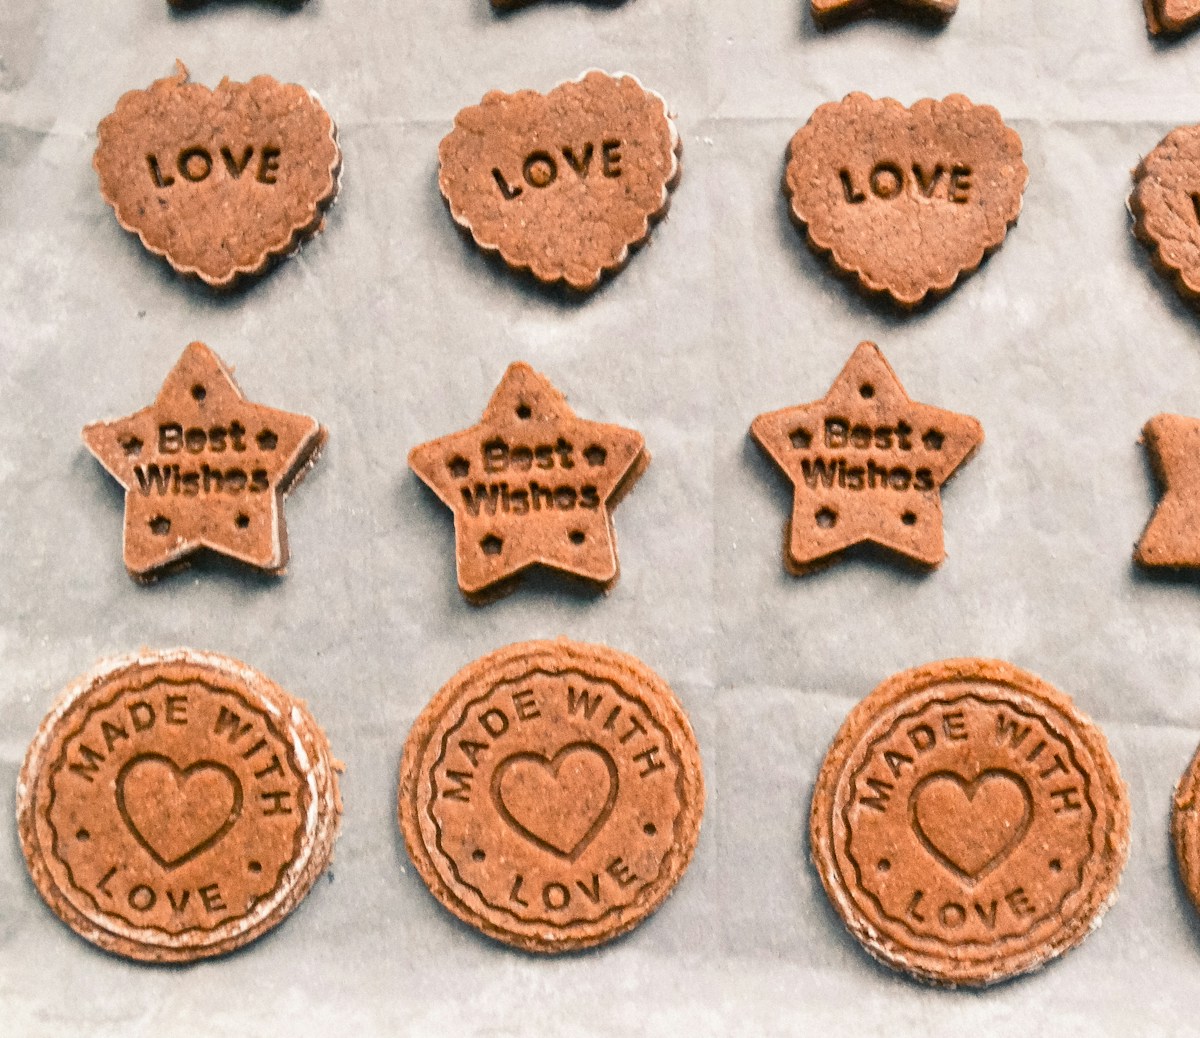
There’s a special kind of kitchen heartbreak that I think many of us know all too well. You spend a lovely afternoon with a beautiful new set of cookie stamps—perhaps elegant florals or intricate holiday patterns from a brand like Nordic Ware. You meticulously press each design into your carefully prepared dough, admiring the sharp, gorgeous imprints. You slide the baking sheet into the oven, filled with anticipation.
Ten minutes later, you pull them out, and… disappointment. Your detailed cherry blossoms have puffed into indistinct blobs. Your sharp snowflakes have melted into soft, rounded suggestions of their former selves. It’s a frustrating moment that can make you want to toss those stamps right into the back of a drawer. But please don’t! The problem isn’t your stamps; it’s the science of the dough and the temperature of your kitchen.
Creating those bakery-window-perfect stamped cookies isn’t about magic; it’s about understanding how ingredients work together. It’s a story of fat, flour, and temperature. Let’s walk through the process together, and I promise you’ll be making edible works of art in no time.
The Secret Is In the Dough (Not Just the Stamp)
The number one reason stamped cookie designs disappear is spread. And the number one cause of spread is leavening. Think about your favorite chocolate chip cookie recipe. It almost certainly contains baking soda or baking powder. These ingredients are designed to react with heat and moisture to create carbon dioxide gas, which makes cookies rise and spread into that classic chewy, soft texture. That’s wonderful for a chocolate chip cookie, but it’s the sworn enemy of a stamped design.
To hold a sharp, deep impression, you need a dough that is specifically formulated to be “no-spread.” These doughs have a few key characteristics:
- High Fat Content: They are typically butter-based, like a classic shortbread. The high amount of butter provides flavor and a tender, crisp texture without needing extra moisture that would create steam and cause spreading.
- No Leavening Agents: This is the golden rule. Your recipe should have zero baking soda and zero baking powder. We want the cookie to stay dense and compact.
- Low Moisture: The recipe will rely on butter and maybe a single egg yolk for binding, rather than milk or a lot of egg whites, which add water that turns to steam in the oven, puffing up the cookie.
Your goal is a firm, pliable dough that feels almost like modeling clay. A great starting point for a reliable stamped cookie dough is a simple butter cookie recipe. It’s a fantastic blank canvas for flavors like vanilla, almond, or citrus zest.
A Simple, Reliable Stamped Butter Cookie Dough:
- 1 cup (227g) unsalted butter, softened but still cool
- 2/3 cup (80g) powdered sugar (also called confectioners’ sugar)
- 1 egg yolk
- 1 teaspoon pure vanilla extract
- 1/4 teaspoon salt
- 2 cups (240g) all-purpose flour (like King Arthur brand, which is very consistent)
To make it, you’ll cream the butter and powdered sugar until light and fluffy. Beat in the egg yolk, vanilla, and salt. Then, gradually add the flour on low speed until just combined. Do not overmix! The dough will be soft. Divide it in half, flatten each half into a disk, wrap tightly in plastic wrap, and now we move to the most important step of all.
Mastering the Art of the Chill
If the dough recipe is the foundation, temperature control is the entire frame of the house. Cold dough is your best friend. I cannot emphasize this enough. Chilling your dough at multiple stages is the single most effective technique for ensuring your designs stay sharp. Why? Cold butter melts more slowly in the oven. This gives the flour and sugar structure time to “set” before the fat can liquefy and spread outwards, taking your beautiful design with it.
Here is the multi-stage chilling process that guarantees success:
-
The First Chill: After you mix your dough, wrap it and chill it in the refrigerator for at least one hour, or up to two days. This allows the flour to fully hydrate and the butter to firm up completely.
-
The Second Chill: Once the dough is chilled, roll it out between two sheets of parchment paper to about 1/4-inch (6mm) thickness. Now, slide that entire sheet of rolled-out dough (still on the parchment) onto a baking sheet and place it back into the refrigerator for at least 30 minutes, or into the freezer for 15 minutes. (This is the game-changing kitchen hack!) Working with a cold, firm sheet of dough makes stamping infinitely easier and cleaner.
-
The Final Chill: After you stamp and cut out your cookies, place them on a parchment-lined baking sheet. Before they go anywhere near the oven, pop that entire sheet back into the refrigerator for one last 15-20 minute chill. This ensures the cookies are as cold as possible right before they hit the heat, which is your ultimate insurance policy against spreading.
Your Stamping Technique Step-by-Step
Now for the fun part! You have your perfectly chilled sheet of dough ready. The next challenge is preventing the dough from sticking to the intricate details of your stamp. The secret is creating a very thin, dry barrier between the stamp and the moist dough.
Flour is your friend here. Keep a small, shallow bowl of all-purpose flour next to your workspace. Some people prefer powdered sugar, which also works wonderfully, especially if you don’t want any raw flour taste.
Here’s the method:
-
Dip the Stamp: Lightly dip the face of your cookie stamp into the bowl of flour.
-
Tap Off the Excess: This is crucial. Tap the handle of the stamp firmly against the rim of the bowl. You want to knock off all the loose flour, leaving only a microscopic, even dusting in the crevices. Too much flour will result in a pasty, white coating on your cookie.
-
Press Firmly and Evenly: Position the stamp over the dough and press straight down with firm, even pressure. Try not to rock or wiggle the stamp, as this can smudge the design.
-
Lift Straight Up: Pull the stamp directly up and away from the dough to reveal your design.
-
Repeat: You must re-flour and tap the stamp before every single press. (Yes, really.) It seems tedious, but this consistency is what separates frustrating attempts from flawless results.
Once stamped, use a cookie or biscuit cutter that is slightly larger than the stamped design to cut out your cookies.
Baking for Beauty and Taste
All your hard work preparing the dough and chilling it comes down to these final few minutes in the oven. A moderate oven temperature is best. I find that 350°F (175°C) is the sweet spot. If your oven runs hot, you might even dial it back to 340°F (170°C).
Bake the cookies for 10-14 minutes. The visual cue you’re looking for is not a deep golden brown, but rather just a faint touch of color around the very bottom edges. The surface of the cookie should look dry and set, but remain pale. This preserves the visual contrast of the design, making the shadows and highlights pop.
Once baked, let the cookies cool on the baking sheet for 5 minutes. This allows them to firm up before you attempt to move them. Then, carefully transfer them to a wire rack to cool completely. They will become wonderfully crisp and buttery as they cool.
It’s a process that demands a little patience, but there’s a certain meditative quality to it. The rhythmic tap-press-lift becomes a soothing kitchen ritual. And the reward—a batch of stunningly beautiful cookies that look like they came from a high-end patisserie—is so incredibly satisfying. You didn’t just bake a treat; you created a small piece of edible art. So go ahead, dust off those stamps and give it another try. Your kitchen is ready to make some magic.