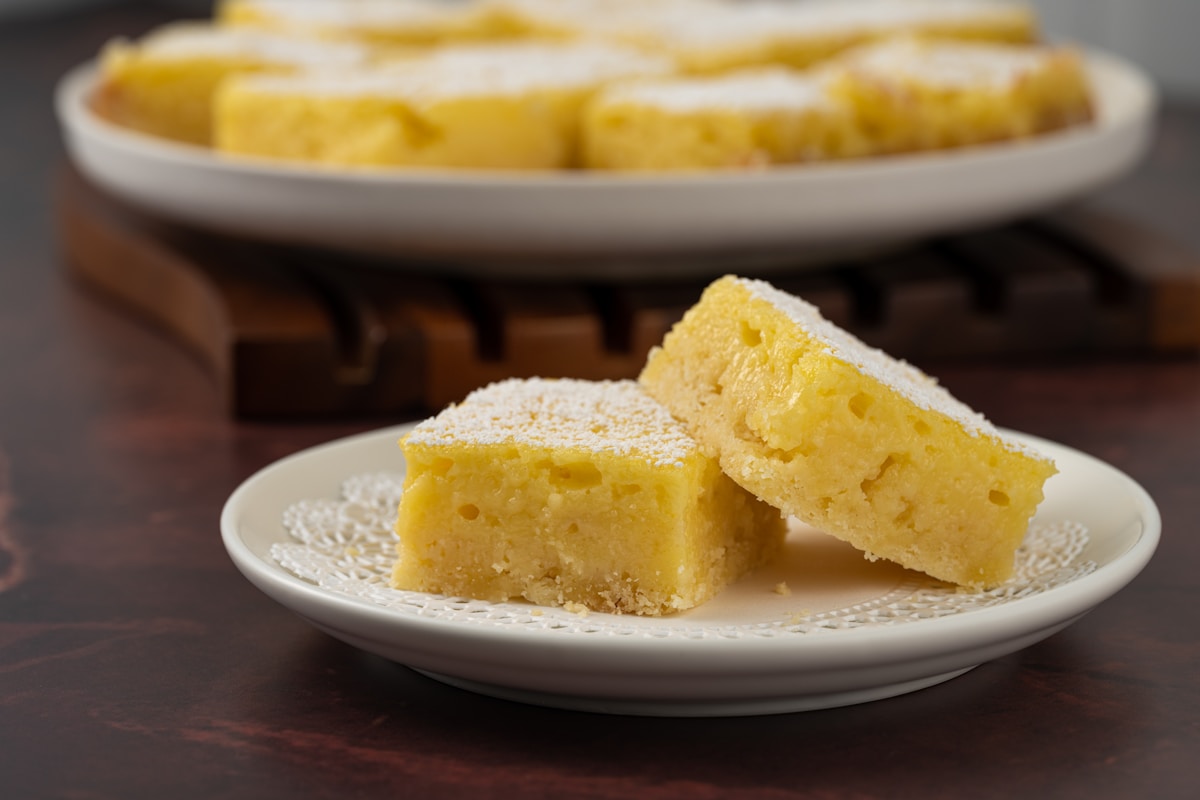
Oh, the glorious lemon bar. It’s the sunshine of the dessert world, isn’t it? That buttery, crumbly shortbread crust holding up a puddle of perfectly sweet, perfectly tart, wobbly lemon curd. When you pull a pan from the oven, the whole kitchen smells like happiness. You see them, golden and gorgeous, and you can already imagine the proud moment you place them on the bake sale table at your child’s school.
But then… the journey happens. You carefully slice them, stack them in your trusty container, and head out the door. When you arrive and lift the lid, your heart sinks. The pristine squares have morphed into a single, sticky mass. The powdered sugar has vanished into a weepy glaze, and the bottom bars are sadly soggy.
If this sounds familiar, take a deep breath. You are not alone! Transporting these delicate treats is a common kitchen conundrum. But I’m here to share the secrets that will ensure your lemon bars arrive as beautiful as when they left your kitchen. It all comes down to a little science and a whole lot of patience.
The Golden Rule: Cool, Chill, and Conquer
The number one mistake we all make when we’re in a hurry is rushing the cooling process. I know, the clock is ticking, and you need to get to the school. But with lemon bars, patience isn’t just a virtue; it’s a structural necessity. That luscious lemon curd is essentially a custard, set with eggs. If you try to cut or move it while it’s still warm, it simply doesn’t have the strength to hold its shape.
Here’s the two-step cooling process that is absolutely non-negotiable for bake sale-worthy bars:
-
The Room Temperature Rest: Once you pull that beautiful pan from the oven (I like using a glass 9x13-inch pan for nice, thick bars), you must let it cool completely on a wire rack at room temperature. Don’t even think about the refrigerator yet. This initial cooling allows the heat to dissipate gently. If you put a hot pan straight into the cold fridge, condensation will form, and condensation is the enemy of a crisp crust. You’re looking at a minimum of two hours for this step. Yes, really. Go fold some laundry or help with homework. Let the bars do their thing.
-
The Refrigerator Firm-Up: After the pan is no longer warm to the touch, cover it loosely with plastic wrap and pop it into the refrigerator for at least another two hours, or even overnight. This is the magic step. The cold solidifies the butter in the crust and, more importantly, fully firms up that egg-set curd. A chilled curd is a stable curd. It will cut cleanly and stand up proudly instead of oozing. This chilling also prevents the moisture from the filling from seeping down and making the lovely shortbread base soggy.
The Art of the Perfect, Clean Slice
Have you ever tried to cut lemon bars only to have the knife drag the filling, creating messy, jagged edges? It’s so frustrating! You did all that work, and now they look like a toddler attacked them. The secret to bakery-perfect squares is a simple one I learned years ago: a hot, clean knife.
This technique creates edges so sharp, they’ll be the envy of the entire bake sale.
Here’s how you do it:
- Fill a tall glass or pitcher with very hot water.
- Take a long, sharp knife (a chef’s knife works well).
- Dip the blade into the hot water for about 10 seconds.
- Quickly and carefully wipe the blade completely dry with a clean kitchen towel.
- Make one single, decisive cut downwards through the chilled bars. Don’t saw back and forth!
- Wipe the knife clean of any crumbs or curd.
- Repeat the entire process—dip, wipe, cut—for every single slice you make.
It might sound tedious, but the results are astonishing. The heat from the knife blade melts the curd just enough as it passes through, creating a flawlessly clean separation. Wiping the blade between each cut prevents any smearing. (Your future self, standing proudly over a tray of perfect lemon squares, will thank you.)
Packing for the Journey: Your Bake Sale Survival Guide
Now that you have beautifully chilled and perfectly cut lemon bars, it’s time to pack them for their big debut. The key here is preventing them from touching and sweating.
First, never, ever stack lemon bars directly on top of each other. They will stick together and become a single lemon brick. Your best friend for this task is parchment paper or wax paper.
Follow these steps for flawless transport:
- Choose Your Container: Use a sturdy, flat-bottomed container with a secure lid. A rectangular baking dish with a lid or a large food storage container works well.
- The First Layer: Line the bottom of the container with a sheet of parchment paper. Arrange your first layer of lemon bars on top, leaving a little bit of space between each one. Don’t overcrowd the pan!
- The Protective Barrier: Place another sheet of parchment paper over the first layer of bars. Make sure it completely covers them.
- The Second Layer: Carefully place your second layer of bars on top of the parchment paper, trying to align them with the bars below to distribute the weight evenly.
- Final Chill: If you have time, pop the entire packed container back into the refrigerator for 30 minutes before you leave. This ensures they are as cold and firm as possible for the car ride. They will travel much better when they are thoroughly chilled.
This layering method protects the bars from sticking, shifting, and getting damaged on their way to the event.
The Powdered Sugar Predicament
The final touch—that snowy dusting of powdered sugar—is what makes a lemon bar look truly finished. But this is where so many well-intentioned bakers go wrong. Do not, I repeat, do not dust your lemon bars with powdered sugar at home before you transport them!
What happens? The moisture from the lemon curd is like a magnet for that fine sugar. Over time (and it doesn’t take long), the sugar will absorb that moisture and dissolve, turning from a beautiful snowy cap into a sticky, transparent glaze. It’s a sad sight.
So, what’s a baker to do?
Beatrice’s Bake Sale Hack: Pack your powdered sugar separately! Find a small, fine-mesh sieve and a little container for your sugar. Tuck them into your bag alongside the container of lemon bars. When you arrive at the school and are setting up your contribution, that’s your moment. Give the bars a generous, fresh dusting right there on the table.
Not only will they look absolutely perfect and professionally made, but you can even let one of the older kids help with this final step. It’s a fun little flourish that makes all the difference and ensures your lemon bars are the star of the show.
Cooking for others is an act of love, and getting those treats to their destination safely is part of the process. With a little extra time for cooling and a smart packing strategy, your lemon bars will arrive looking and tasting like pure sunshine. Happy baking!


