I was reading a story online the other day, a sweet little note about a man whose wife was from South America. He said he could always tell when she was truly cross because her accent, usually softened by years of living elsewhere, would suddenly come back full force. It wasn’t a complaint; it was a loving observation of how our roots are always right there, just under the surface, bubbling up in moments of passion or comfort.
It reminded me of my own kitchen. When I pull out my grandmother’s heavy wooden rolling pin, the one worn smooth from decades of rolling out pasta dough for Sunday dinners, I feel that same connection. It’s more than just a tool; it’s a story. Our family heritage isn’t just in photo albums or last names; it’s tucked into the folds of a dumpling, the spice blend in a stew, and the sizzle of onions in a familiar pan. The kitchen is where our history becomes a living, breathing, and delicious thing.
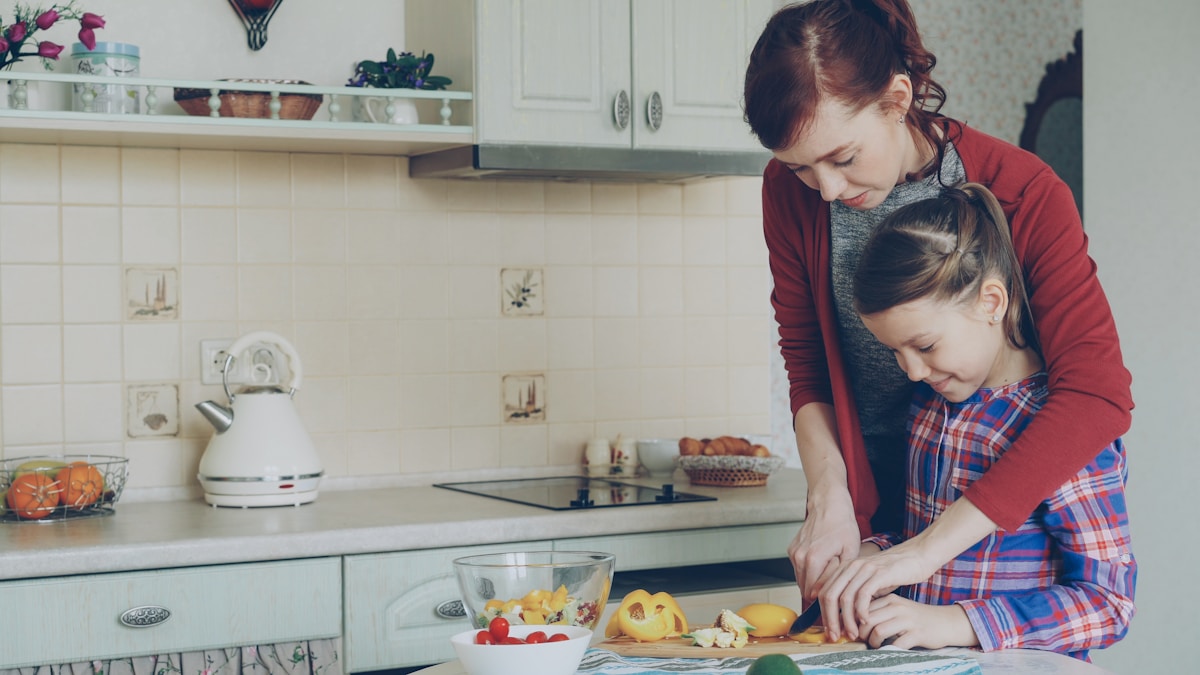
But how do we pass that on? How do we get our little ones, with their wiggling fingers and short attention spans, to feel that same magic? The answer is simpler and messier than you might think. You invite them in. You hand them a spoon, you give them a bowl, and you let them make their own mark on a recipe that has been loved for generations.
Why It’s More Than Just a Meal
Before we get into the nuts and bolts of who-does-what, let’s take a moment to appreciate why this is so wonderfully important. When you cook a heritage recipe with your child, you’re not just teaching them how to follow instructions. You’re giving them a multi-sensory history lesson.
They can smell the cumin and paprika that their great-grandparents might have used. They can feel the sticky, pliable dough that connects them to a tradition of bread-making from a faraway land. They can taste a flavor that says “home” in a language older than words. This is how culture becomes real and tangible, not just a story in a book.
It’s also a secret weapon against picky eating! When a child has a hand in making something—whether it’s washing the potatoes or shaping the meatballs—they have a sense of ownership and pride. They’re far more likely to try a bite of something they helped create. Suddenly, that “weird” new food is their food. It’s a small miracle that I’ve seen happen time and time again.
Cooking together builds core memories that last a lifetime. Your child might not remember every single ingredient, but they will remember standing on a stool next to you, the warm smell of the oven, and the feeling of your hand guiding theirs. (Yes, even the memory of spilling flour all over the floor will one day be a cherished one.)
The Little Hands Playbook: Tasks for Every Age
The key to a joyful (and relatively sane) cooking session is matching the task to the child’s ability. Forcing a toddler to do a task requiring fine motor skills will only lead to frustration for everyone. The goal is participation, not perfection.
Ages 2-3: The Tiny Tasters & Stirrers
At this age, it’s all about sensory exploration. Their main job is to touch, smell, and taste (when it’s safe, of course!).
- Washing Produce: Set up a bowl of water on a towel-covered floor or in the sink and let them scrub potatoes or wash lettuce leaves. They will splash, and that’s okay!
- Tearing Herbs & Greens: Give them a bowl of sturdy herbs like parsley or mint, or lettuce for a salad. Tearing is a fantastic motor skill.
- Stirring Cold Ingredients: Let them use a small spoon to stir pancake batter, a vinaigrette, or a spice mix in a bowl.
- Mashing: A fork and a ripe banana or some cooked sweet potato is a perfect job for a toddler. Super satisfying!
- Sprinkling: Give them a tiny bowl of cheese, sprinkles, or herbs to sprinkle over a finished dish.
Ages 4-5: The Preschool Prep-Chefs
These little ones are gaining coordination and love to feel like they have an important job. They can start following simple, one-step directions.
- Measuring & Pouring: Let them scoop and level dry ingredients like flour or sugar. Expect spills! A deep bowl helps contain the mess. They can also help pour liquid ingredients you’ve pre-measured.
- Kneading Dough: Bread, pasta, or pizza dough is a wonderful tactile experience. Show them how to push, fold, and turn.
- Using Kid-Safe Knives: A nylon knife, like the ones from Curious Chef, can’t cut skin but works wonders on soft items like cheese, bananas, strawberries, or mushrooms. Always supervise, of course.
- Whisking & Mixing: They have the strength to whisk eggs or mix a batch of cookie dough with a sturdy spatula.
- Setting a Timer: Make them the official timekeeper! Pushing the buttons on a digital kitchen timer is a big responsibility.
Ages 6-9: The Growing Gourmets
Now we’re cooking! School-aged kids can begin to understand the sequence of a recipe and handle more complex tools.
- Reading the Recipe: Have them read the ingredients list and simple steps out loud. It’s great reading practice.
- Cracking Eggs: Teach them the trick of cracking an egg on a flat surface (not the bowl edge!) to avoid shell fragments. Have them crack it into a separate small bowl first, just in case.
- Grating & Peeling: With supervision, they can use a box grater for cheese or a vegetable peeler for carrots and potatoes. Teach them to always peel away from their body.
- Greasing Pans & Rolling Dough: These are essential kitchen skills. Show them how to use a pastry brush to oil a pan or a rolling pin to flatten dough evenly.
- Operating Small Appliances: With you right there, they can learn to use a blender (with the lid securely on!) or a stand mixer like a KitchenAid on a low setting.
Ages 10+: The Junior Sous-Chefs
Your tween or teen can now become a true partner in the kitchen. This is the time to build real independence and confidence.
- Following a Full Recipe: Let them take the lead on a simple recipe, with you acting as their assistant.
- Using the Stovetop: Teach them basic stovetop safety—how to turn burners on and off, handle pot handles, and the importance of never leaving a hot pan unattended. Start with simple tasks like scrambling eggs or sautéing vegetables on low to medium heat.
- Learning Knife Skills: This is the age to introduce a real paring knife or small chef’s knife. Invest in a lesson on the “claw” grip for holding food and the proper rocking motion for chopping. An Opinel “Le Petit Chef” set is a wonderful intermediate step.
- Making Decisions: Encourage them to taste and decide if a dish needs more salt, a squeeze of lemon, or another sprinkle of herbs.
Your First Recipe Adventure: Simple Empanadas
Choosing the right recipe is crucial. You want something with lots of hands-on steps that is also very forgiving. Empanadas, dumplings, or pierogi are perfect because everyone can help with the filling and assembly line.
Let’s make a simple beef picadillo filling, a classic in many Latin American homes. We’ll use pre-made dough to keep things easy for our first time. (Your future self will thank you.)
Simple Beef Picadillo Filling
- 1 tbsp olive oil
- 1 small onion, finely chopped
- 2 cloves garlic, minced
- 1 lb (about 450g) lean ground beef
- 1 tsp ground cumin
- 1 tsp smoked paprika
- 1/2 tsp dried oregano
- 1/2 cup tomato sauce
- Salt and pepper to taste
- Optional additions: 1/2 cup chopped green olives or 2 hard-boiled eggs, chopped.
- 1 package of empanada discs (found in the freezer section of most grocery stores)
- 1 egg, beaten (for the egg wash)
The Plan:
- Grown-up Job: Heat the oil in a large skillet over medium heat. Sauté the onion until soft, about 5 minutes. Add the garlic and cook for another minute until fragrant.
- Grown-up/Older Kid Job: Add the ground beef to the skillet, breaking it up with a spoon. Cook until browned. Drain off any excess fat.
- Little Kid Job: Let your little one sprinkle in the cumin, paprika, and oregano. They can also help pour in the tomato sauce.
- Family Job: Stir everything together and let it simmer for about 10 minutes until the sauce has thickened. Season with salt and pepper. If you’re using them, stir in the olives or chopped egg. Let the mixture cool completely. (This is very important! A hot filling will make the dough fall apart.)
- Assembly Line Time! This is the fun part. Give everyone a cooled empanada disc. Spoon about 2 tablespoons of filling onto one half of the circle. Brush the edges with a little water. Fold the dough over to create a half-moon and press the edges to seal.
- Kitchen Hack: For a classic look, show your kids how to crimp the edges by folding little pleats over one another. For a simpler, kid-proof seal, just press the edges down with the tines of a fork!
- Final Touches: Place the empanadas on a baking sheet lined with parchment paper. Let your child brush the tops with the beaten egg wash.
- Grown-up Job: Bake in a preheated oven at 400°F (200°C) for about 15-20 minutes, or until golden brown and puffed up.
The “Oops” Is Part of the Recipe
I must tell you a secret: there will be a mess. Flour will dust every surface. An egg might meet its untimely end on the floor. A little more salt than intended might find its way into the bowl. Please, take a deep breath and smile. This is not a failure; it is the sign of a kitchen filled with life and learning.
When a spill happens, don’t rush to clean it up yourself. Turn it into a lesson. Say, “Oops! Let’s get the cloth and wipe this up together.” You are teaching resilience and responsibility in the most gentle way possible. The goal isn’t a magazine-worthy kitchen; it’s a happy, memory-filled one. Perfection is the enemy of joy here. Your child will remember your patience and laughter far longer than they’ll remember a perfect-looking cookie.
Beyond the Kitchen Table
To make the experience even richer, connect the food to its story. While you’re assembling those empanadas, talk about the grandparent who used to make them. Pull out a map and show your child Argentina, Spain, or wherever your family’s recipe originates. Play some music from that culture while you cook.
These small acts transform a cooking lesson into a celebration of identity. You are handing your child a piece of their own story, a gift they can taste and smell and, one day, pass on themselves. And that, my friends, is the most beautiful recipe of all.