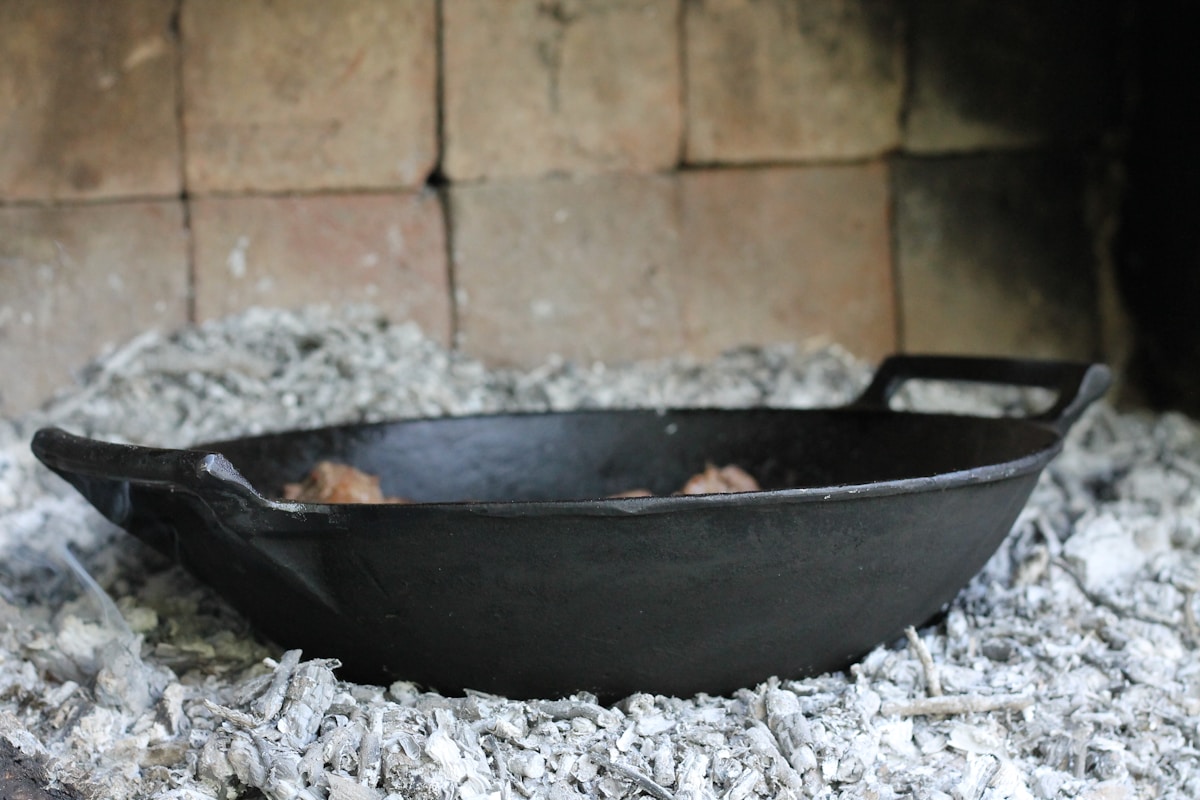
You’ve seen it before. Tucked away on a dusty shelf at a thrift store, buried in a box at a garage sale, or passed down from a grandparent’s kitchen. It’s a cast iron skillet, but it looks more like a shipwreck artifact than a kitchen tool. It’s covered in a crust of black, flaky carbon, maybe with a few blossoms of orange rust peeking through. Most people walk right past it. But you shouldn’t.
Underneath that neglected surface is very likely one of the best cooking tools you will ever own. Vintage cast iron, from iconic makers like Griswold, Wagner, and Favorite Piqua, was made differently than most modern pans. The manufacturing process involved polishing the cooking surface to an almost glass-smooth finish. This is the secret to their legendary non-stick performance.
Bringing one of these old warriors back to life is more than just a weekend project; it’s a way to connect with history and acquire a piece of heirloom-quality cookware for pennies on the dollar. It takes patience and a bit of elbow grease, but the reward is a skillet that will outperform expensive modern pans and will last for generations to come. Let’s walk through the process, step by step.
The Toolkit You’ll Absolutely Need
First, let’s get our supplies in order. The good news is that you don’t need a sandblaster or a professional workshop. This whole process can be done with a few items from the hardware and grocery store.
- Heavy-Duty Yellow-Cap Easy-Off: This is non-negotiable. The active ingredient you need is lye (sodium hydroxide), which chemically dissolves the old, baked-on grease and carbon. (Seriously, get the yellow cap. The blue fume-free version won’t work for this project.)
- Heavy-Duty Contractor Trash Bags: You need bags that won’t leak. The lye can damage surfaces, so a thick, sturdy bag is your best friend.
- Safety Gear: At a minimum, you need thick rubber gloves (like dishwashing gloves) and safety glasses. Lye is caustic and can cause serious burns. Do not mess around with this.
- Stainless Steel Scrubbing Pads: Not steel wool. Steel wool pads can disintegrate and leave tiny metal fragments embedded in your iron. Get the chainmail-style or tightly wound stainless steel scrubbers.
- White Vinegar: Plain old 5% distilled white vinegar is perfect for handling any rust you uncover.
- Basic Dish Soap: You’ll only use this once, right at the end of the cleaning phase.
- A High Smoke-Point Oil: Crisco (vegetable shortening), grapeseed oil, or canola oil are all excellent choices for seasoning.
- Lint-Free Cloths: Old cotton t-shirts or designated shop towels work perfectly. You don’t want to leave any fuzz on your pan.
Step 1 The Stripping Phase - Dissolving Decades of Gunk
This is where the magic happens, but it’s also the part that requires the most patience. We’re going to use the lye in the Easy-Off to do the heavy lifting for us.
First, find a safe spot to work. Outside on the grass, on a concrete patio, or in a well-ventilated garage is ideal. Lay down some cardboard to protect the surface underneath you. Put on your gloves and safety glasses.
Take your crusty pan and give it a thorough, generous coat of the yellow-cap Easy-Off. Spray every single surface—the inside, the outside, the handle, the bottom. Don’t be shy. The foam should be thick and white.
Carefully place the coated pan into one of the heavy-duty trash bags. Squeeze out most of the air and seal it tightly. For extra security, I recommend double-bagging it. Now, find a warm, out-of-the-way spot for it to sit. A sunny spot on your deck is perfect, as the heat helps accelerate the chemical reaction.
And now you wait. Let the pan sit in the bag for at least 24 hours. For a really heavily-caked pan, 48 hours to a full week isn’t out of the question. There’s no harm in letting it sit longer. Let the lye do the work so you don’t have to.
Step 2 The Scrub Down - Revealing the Bare Metal
After a day or two, it’s time for the reveal. Put your safety gear back on before you even think about opening that bag. The contents will be a sludgy, greasy mess. Carefully take the pan out and bring it to an outdoor hose or a utility sink.
Rinse the pan thoroughly with cold water. You’ll be amazed as you see decades of black gunk just melt away. What’s left will be softened and much easier to remove. Now, grab your stainless steel scrubber and start scrubbing. Use hot water and just go to town. You’re trying to get every last bit of black residue off until you see the dull, gray color of the raw iron underneath.
For many pans, one round isn’t enough. If you still have stubborn black patches, dry the pan off and repeat the Easy-Off-in-a-bag process for another 24 hours. Some of my worst restorations have taken three full cycles. (Patience is the secret ingredient here.)
The Rust-Busting Kitchen Hack: Once you’ve scrubbed down to what you believe is bare iron, you might find some rust. Don’t panic! Mix a 50/50 solution of white vinegar and water in a basin large enough to submerge the pan. Place the pan in the solution and set a timer for 30 minutes. No longer! The acid in the vinegar will react with the rust (iron oxide) and make it easy to scrub off, but if you leave it too long, the acid can begin to eat into the iron itself, causing pitting. After 30 minutes, pull it out and give it one last scrub with your stainless pad. The rust should come right off.
Your final cleaning step is a wash with hot water and a little bit of dish soap. This is the only time you should use soap on a cast iron pan you intend to keep seasoned. The goal here is to neutralize any remaining lye or vinegar and remove any final residue. As soon as you rinse it, dry it immediately and thoroughly with a towel. To be extra sure it’s bone-dry and to prevent flash rust, place it in a 200°F (95°C) oven for about 15 minutes.
Step 3 Re-Seasoning for a Glass-Smooth Finish
Your pan is now a blank slate. It’s clean, bare, and a uniform battleship gray. It’s also extremely vulnerable to rust, so we need to season it immediately. “Seasoning” isn’t a layer of oil; it’s a layer of polymerized oil. We’re going to use heat to transform a thin layer of fat into a hard, slick, plastic-like coating that bonds to the metal.
Keep your oven at 200°F (95°C). Remove the warm, dry pan. While it’s still warm to the touch, apply a very small amount of your chosen oil—I’m using Crisco for this example. Using a lint-free cloth, rub that oil over every single millimeter of the pan. Get the handle, the bottom, the logos, everything.
Now for the most important part of the entire process: take a new, clean lint-free cloth and wipe it all off. I mean it. Wipe it off like you made a mistake and you’re trying to remove every last trace of oil. The pan should look dry and matte, not shiny or greasy. (This is the secret. Too much oil will result in a sticky, splotchy, uneven finish.) The tiny amount of oil remaining in the pores of the iron is all you need.
Place the pan upside down on the middle rack of your oven. Placing it upside down prevents any excess oil from pooling. Place a sheet of aluminum foil on the rack below to catch any potential drips.
Crank the oven temperature up to 450°F (232°C). You want to be well above the smoke point of the oil you used. Let it bake for one full hour. It will likely get a bit smoky in your kitchen, so turn on an exhaust fan or open a window.
After an hour, simply turn the oven off. Do not open the door. Let the pan cool down completely inside the oven, which will take at least a couple of hours. Once it’s cool enough to handle, you’ll see a beautiful, dark, even bronze-to-black finish. That’s your first layer of seasoning.
For a truly bulletproof surface, you should repeat this seasoning process—apply oil, wipe off, bake for an hour, cool in oven—at least two more times. Three layers is a fantastic foundation for a lifetime of cooking.
Why Bother With All This Work?
After your third seasoning cycle, your restored skillet is ready to go. The surface will be slick, smooth, and ready to cook. The first thing you should make is something fatty, like bacon or cornbread, to help continue building that seasoning.
So why go through all this trouble? Because the pan you just brought back from the dead is, quite simply, a better cooking instrument. The smooth, polished surface of a restored Griswold offers a non-stick performance that modern, sand-cast pans with their pebbly surfaces can only dream of. They are also often lighter and more comfortable to handle.
You took a discarded object, saw its potential, and invested your time and effort to restore it to its former glory. It’s a satisfying process that leaves you with a top-tier piece of kitchen equipment that cost you next to nothing. Now go cook something amazing. You’ve earned it.