Have you ever looked at a beautifully themed cake and thought, “I could never make that”? It’s a common feeling in the kitchen. We see these incredible edible sculptures—castles, fantasy creatures, and serene landscapes—and assume they require a level of artistry reserved for professionals. But what if I told you that creating a deeply personal and visually stunning cake, like a tranquil koi pond for someone you love, is more about smart planning than superhuman talent?
The kitchen is where we turn ingredients into joy, and a themed cake is one of the most personal gifts you can give. It’s a story told in sugar and crumb. The secret isn’t in mastering every single technique overnight. It’s in knowing where to focus your energy and where to happily accept a little help. Let’s walk through creating a gorgeous pond cake, step-by-step, and prove that you absolutely have what it takes to bring this edible masterpiece to life.
The Blueprint The Foundation of Your Pond
Before we can even think about shimmering water or delicate lily pads, we have to build the land. The foundation of any great decorated cake is, well, the cake itself. For a project like this, where you’ll be stacking, carving, and coating, structural integrity is non-negotiable. This is not the time for an ethereal, whisper-light angel food cake.
You need a cake with a sturdy, yet tender, crumb that can hold its shape. My go-to choices are a reliable Vanilla Bean Butter Cake or a classic Sponge Cake. These cakes have enough structure to support layers of frosting and decorations without compressing or crumbling under the weight. They are the dependable bedrock of your pond.
Let’s talk about a simple, sturdy vanilla cake recipe. You’ll want:
- 3 cups (360g) all-purpose flour
- 1 tablespoon baking powder
- 1/2 teaspoon salt
- 1 cup (226g) unsalted butter, softened
- 2 cups (400g) granulated sugar
- 4 large eggs, at room temperature
- 1 tablespoon pure vanilla extract
- 1 1/4 cups (300ml) whole milk, at room temperature
The process is straightforward: cream the butter and sugar until light and fluffy, beat in the eggs one at a time, followed by the vanilla. Then, alternate adding your dry ingredients (flour, baking powder, salt) with the milk. Bake in two 8-inch round pans at 350°F (175°C) for about 30-35 minutes, or until a skewer comes out clean.
Here is my most important kitchen hack for cake decorating: Bake your cake layers a day or two before you plan to decorate. Once they have cooled completely, level them if needed, then wrap each layer tightly in two layers of plastic wrap and pop them in the freezer. A frozen cake layer is a dream to work with. It’s firm, produces far fewer crumbs when you frost it, and is much easier to handle and stack. (Your future self will thank you for this.)
The Silky Secret Swiss Meringue Buttercream
Now, for the medium that will hold our entire creation together: the frosting. While classic American buttercream (powdered sugar and butter) has its place, it can be achingly sweet and tends to form a crust. For a smooth, professional finish and a more balanced flavor, we turn to its elegant European cousin: Swiss Meringue Buttercream (SMBC).
SMBC is divinely smooth, less sweet, and incredibly stable, making it perfect for coloring and creating sharp edges. It might sound intimidating, but the process is pure kitchen magic.
- The Bain-Marie: You’ll gently heat egg whites and granulated sugar in a heatproof bowl set over a saucepan of simmering water. Whisk constantly until the sugar completely dissolves and the mixture reaches about 160°F (71°C). This step cooks the egg whites, making them safe to eat.
- The Meringue: Transfer the hot mixture to the bowl of your stand mixer (a KitchenAid is fantastic for this) fitted with the whisk attachment. Whip on high speed until you have a stiff, glossy, beautiful meringue and the outside of the bowl feels cool to the touch. This can take 10-15 minutes. Be patient!
- The Butter: Switch to the paddle attachment. With the mixer on low speed, start adding softened, cubed butter a few pieces at a time. Here’s where people sometimes panic. The mixture might look curdled or soupy. Do not worry! This is a normal stage. Just keep mixing. (Trust me on this one.) After a few more minutes, it will suddenly transform into the silkiest, smoothest buttercream you’ve ever seen.
This luscious frosting will serve as your filling, your crumb coat, and your final decorative layer. Its stability is key for the next steps.
Creating the Waterscape Coloring and Assembly
With our frozen cake layers and silky buttercream ready, it’s time to build. Place your first cake layer on a cake board. Pipe a dam of buttercream around the outer edge—this will hold in any filling you might want to add, like a raspberry jam or a lemon curd. Fill the center, then place the next cake layer on top. Repeat for all layers.
Next comes the most crucial step for a clean finish: the crumb coat. Apply a thin, even layer of buttercream over the entire outside of the cake. This layer’s only job is to trap all the loose crumbs. Once coated, place the entire cake in the refrigerator for at least 30 minutes to an hour until the frosting is firm to the touch.
Now for the fun part! Divide your remaining buttercream into a few bowls. Leave some white, and tint the others with various shades of blue and a touch of green using a high-quality gel food coloring like AmeriColor or Wilton. Gel colors provide intense hues without watering down your frosting.
Apply patches of the different colored frostings randomly around the sides and top of the chilled, crumb-coated cake. Then, using a bench scraper or an offset spatula, smooth the frosting in one or two clean swipes. This will blend the colors beautifully, creating a mesmerizing watercolor effect that mimics the shifting depths of a pond. For the very top, you can use a deeper blue, creating a gentle depression in the center to serve as your pond’s surface. A thin layer of blue-tinted piping gel or even slightly warmed, strained apricot jam can be poured into this depression to create a glossy, water-like sheen.
The Finishing Touches Bringing Your Pond to Life
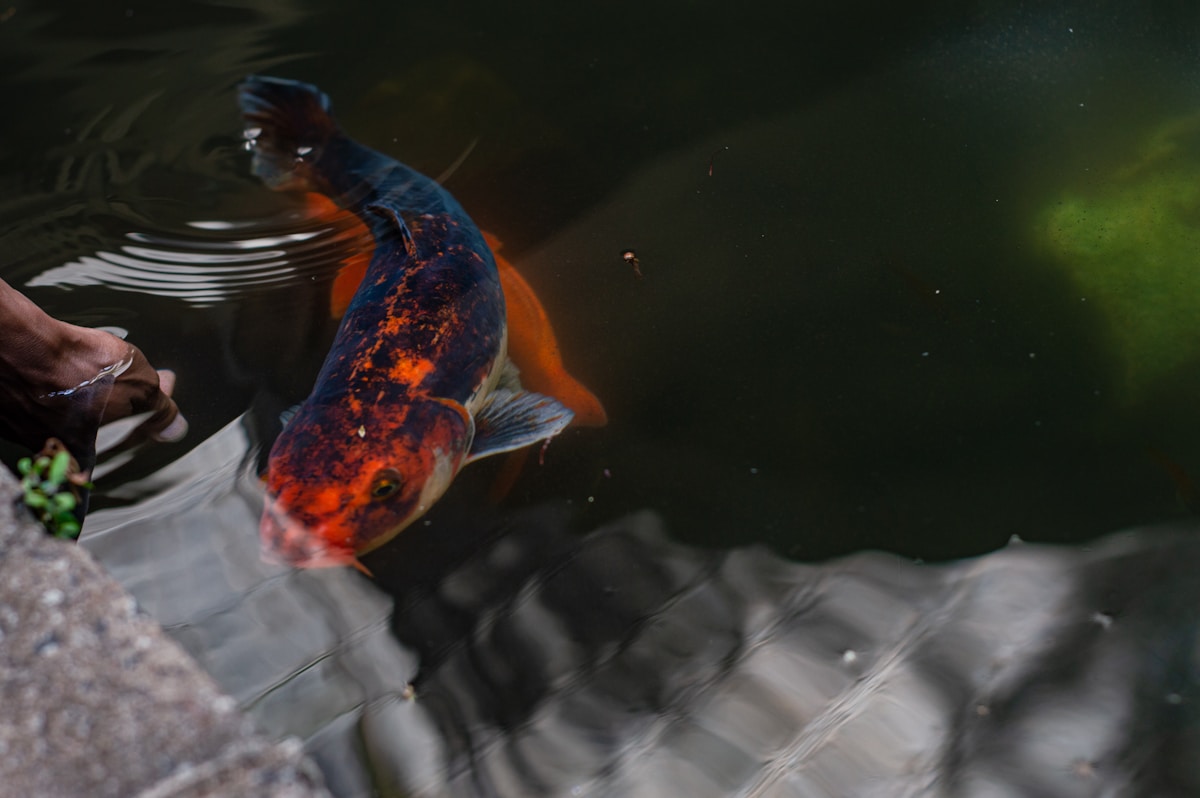
This is where your cake’s personality truly shines, and it’s also where you can give yourself permission to be a curator, not just a creator. Sculpting realistic, tiny koi fish from fondant is a skill that takes years to perfect. Instead of adding that stress to your project, why not source them?
Platforms like Etsy are a treasure trove of incredible cake artistry. You can find stunning, pre-made edible koi, fondant lily pads, and delicate flowers made by talented sugar artists. This isn’t cheating; it’s assembling a team of experts to help you realize your vision! It allows you to focus on the overall design and flavor while ensuring the centerpiece decorations are flawless.
While you wait for your star performers to arrive, you can create the supporting cast with simple, fun techniques:
- Pebbles and Rocks: Chocolate rocks (available at candy stores) are perfect. You can also use grey-tinted fondant rolled into smooth, river-stone shapes or even crushed Oreo cookies for a dark, earthy shoreline.
- Lily Pads: Roll out some green fondant and use a small heart-shaped or round cookie cutter to punch out simple lily pad shapes. A gentle pinch on one side will give them a classic look.
- Reeds and Grasses: Green-tinted buttercream piped with a grass tip around the pond’s edge creates a lovely, soft border. Thin pretzel sticks or Pocky dipped in green candy melts can also look like cattails or bamboo shoots.
Arrange these elements thoughtfully. Place your koi swimming gently across the glossy surface. Cluster a few lily pads together. Settle the rocks along the edge. Step back and admire the little world you’ve built.
Your Masterpiece A Story in Sugar
That final moment, when you place the last cattail or position the final koi, is pure magic. You’ve transformed flour, sugar, and butter into a scene brimming with life and story. You built the foundation, tamed the buttercream, painted the waterscape, and curated a collection of beautiful details.
Every slice of this cake will be a reminder of the thought and care you poured into it. It celebrates a passion, a person, a moment. And the pride you feel won’t just come from a perfect bake, but from the creative journey itself. You didn’t just make a cake; you made a memory. And that is the sweetest reward of all.