I remember the day my niece took one bite of my carefully crafted watermelon cookie and declared it a sweet potato. At 3.5 years old, she was absolutely certain. And honestly? She wasn’t wrong. Those green rind stripes and red interior I had labored over looked more like a lumpy root vegetable than a juicy summer fruit. That moment, which went viral on a Reddit baking thread, captures the exact frustration so many of us face when baking with toddlers. The shapes we think are obvious are often anything but to a little one. But here’s the good news: with a few simple tricks, you can create fruit-shaped cookies that your toddler will actually recognize. And more importantly, you’ll make memories that are far sweeter than any cookie.
Why Toddlers Struggle to Recognize Shaped Cookies
Before we dive into the how, let’s talk about the why. A toddler’s brain is still wiring connections between visual recognition and memory. At age three, children are developing what child development experts call “object permanence” and “categorical sorting.” They know what a watermelon looks like in real life, but when you abstract that shape into a cookie, the details that define it often get lost. The round shape becomes a generic blob. The green and red turn into a strange two-toned disc. It’s not that your child is being difficult. It’s that their brain is processing information differently. This is why the Reddit thread’s advice to “use simple, distinct cookie cutters” is spot on. A highly detailed cookie cutter with intricate curves can confuse a young child. Instead, go for basic outlines that scream the fruit’s silhouette. For instance, a watermelon slice is an arc, a strawberry is a teardrop, and an apple is a circle with a stem. Keep it simple and your toddler will thank you.
Choosing the Right Cookie Cutters for Little Hands
The cookie cutter itself is your first tool for success. Look for stainless steel cutters with clean, bold lines. Wilton’s Fruit Shapes Set (about $8 to $12) includes classic outlines: apple, pear, strawberry, banana and orange. These are large enough—about 3 to 4 inches across—that the shape is unmistakable. Avoid cutters with tiny details like leaf veins or segmented citrus wedges; those look like a mess to a toddler. If you want a watermelon specifically, you may need a crescent-shaped cutter (often sold as a “crescent moon” or “melon slice”). Alternatively, you can use a round cutter and cut a wedge shape with a knife before baking. But honestly? That extra step is not toddler-friendly. My go-to is to use a 4-inch round cutter for a full watermelon cookie, then add details after baking. The round shape is universally recognized as a cookie, and with the right decoration, it becomes a fruit. One more tip: press the cutter into chilled dough for the cleanest shape. Warm dough will spread and lose definition. Chill your cut cookies on a parchment-lined baking sheet in the fridge for 10 minutes before baking. This alone made a world of difference in my results.
Making Cookies Look Like the Fruit They’re Supposed to Be
Here’s where the real magic happens. To help your toddler connect the cookie to the fruit, you need to add those defining visual cues. For watermelon cookies, the classic green rind and red interior with black seeds are non-negotiable. But instead of trying to paint them with icing (which can turn into a globby mess), use a simple decorating technique called “dough layering.” Roll your sugar cookie dough flat. Cut two colors: one green (use matcha powder or natural green food coloring) and one red (beet powder work s beautifully). Place the red disk on the green disk, then gently roll them together to about 1/4-inch thick. When you cut your cookie, the cross-section will have a green ring around a red center. Then, before baking, press black sesame seeds or tiny chocolate chips into the red dough to mimic seeds. Your toddler will immediately see the resemblance. For apple cookies, shape a round cookie and press a pretzel stick into the top for a stem before baking. For orange cookies, use a round cutter and grate a little orange zest into the dough for visual and aromatic cues. The scent alone can trigger recognition in a toddler’s mind. Every detail counts.
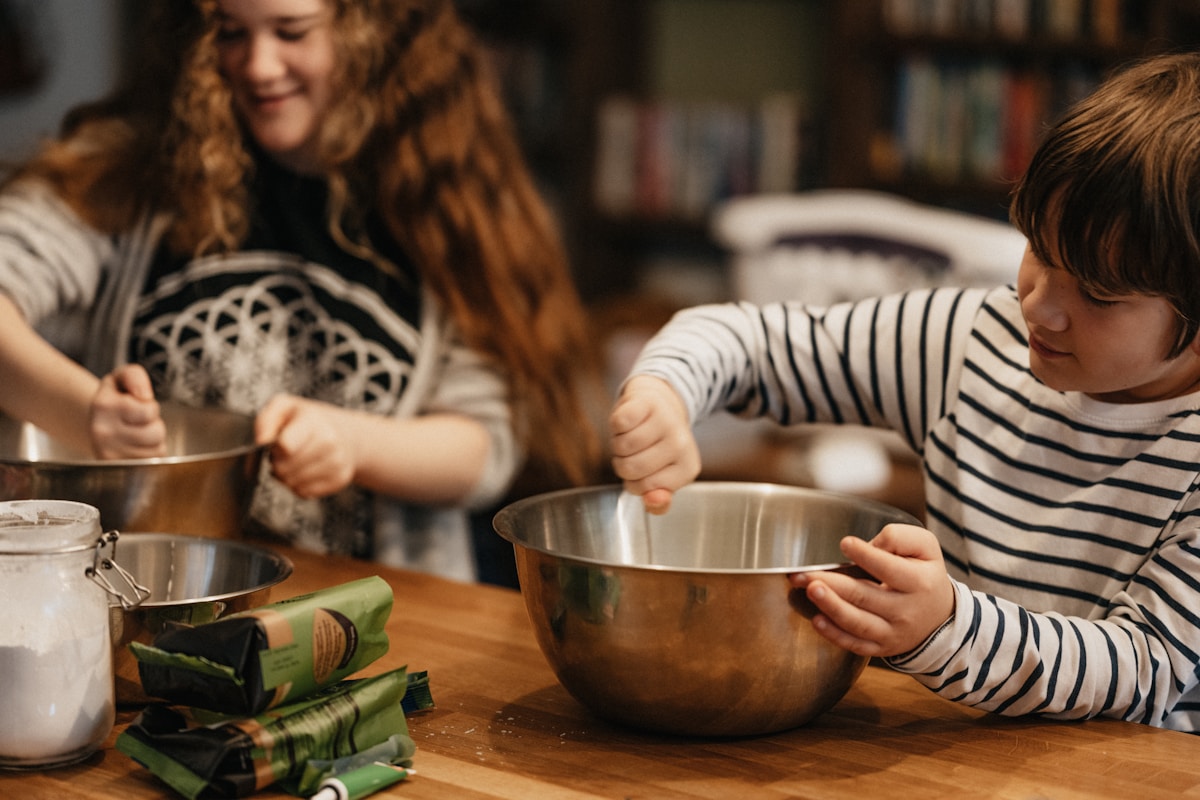
Involving Your Toddler in the Baking Process
The biggest lesson from that Reddit thread? “It’s more about fun than perfection.” At age three, your child’s fine motor skills are developing rapidly. They can press a cookie cutter into dough, sprinkle decorations, and even help roll dough balls with supervision. This is where practice with play dough at the kitchen table can be a lifesaver. Let your toddler press the same cookie cutters into salt dough or play dough first. They learn the motion and the shape without the pressure of wasting real ingredients. When it’s time for the real batch, give them a safe task. Ask them to press the cutter into the dough for you. Show them how to push down firmly and wiggle it free. If the shape is imperfect, celebrate it. Say, “Look at this lovely pear cookie!” Your enthusiasm teaches them that mistakes are just part of the adventure. Another age-appropriate task: sprinkling. Set up a small bowl of natural sprinkles (like India Tree brand’s vegetable-based sprinkles) and let them sprinkle over the cookies before baking. For fruit cookies, try sprinkling coarse sanding sugar that matches the fruit’s color. Red sugar for strawberries, green for watermelon rinds. The sparkle catches their eyes and reinforces the fruit association.
Decorating with Natural Food Coloring for Clear Fruit Colors
If you choose to decorate after baking, natural food coloring is your best friend. Toddlers are sensitive to artificial dyes, and honestly, the natural colors mimic fruits more accurately. Brands like Color Kitchen and Watkins sell gel food colorings made from vegetables, turmeric, and beet. To tint royal icing for apple cookies, use a beet-based red. For pear cookies, use turmeric for a pale yellow. For blueberry cookies, use red cabbage powder mixed with a little baking soda to turn blue. The color will be muted, not neon, which looks more authentic to real fruit. Practice piping simple outlines: a red outline for a strawberry, a green leaf at the top. Let your toddler help by dabbing on icing with a brush—it’s less precise but far more fun. One warning: don’t make the icing too runny or it will drip. A stiff royal icing (add more powdered sugar until it holds a peak) is easiest for little helpers. You can even provide small disposable piping bags with a tiny tip and let your child squeeze (with your hand over theirs). The cookie won’t be perfect, but the pride on their face will be.
The Real Recipe for Success: Simple Sugar Cookie Dough
You don’t need a fancy recipe. A classic, buttery sugar cookie dough that holds its shape is ideal. Try this: cream 1 cup unsalted butter (room temperature) with 1 cup granulated sugar until fluffy. Add 1 large egg and 1 teaspoon vanilla extract. In a separate bowl, whisk 3 cups all-purpose flour, 1/2 teaspoon baking powder, and 1/4 teaspoon salt. Gradually add the dry mixture to the wet, mixing until just combined. Divide the dough into portions if you want different colors. Wrap in plastic and chill for at least 30 minutes. Roll to 1/4-inch thickness. Bake at 350°F (175°C) for 8 to 10 minutes, until edges are just set. Underbake slightly for softer cookies that are easier for little teeth. For fruit shapes, you can add a teaspoon of fruit zest (lemon, orange, or even freeze-dried strawberry powder) to the dough. That extra flavor and scent will help your toddler connect the cookie to the real fruit. I’ve found that King Arthur Flour’s All-Purpose flour gives the most consistent results, but any brand works. The key is to keep the dough cold—warm dough spreads and loses the shape you worked so hard on.
A Quick Note on Safety and Sanity
Baking with a toddler is messy. Expect flour on the floor, icing on the table, and possibly a cookie or two that gets squished before it reaches the oven. That is OK. Your job is not to produce Instagram-perfect cookies. Your job is to create a positive experience that makes your child excited about food shapes and colors. Keep a damp cloth nearby for quick cleanups. Use a plastic tablecloth under your work surface. And most importantly, lower your expectations. If your toddler only eats one cookie and plays with the dough for fifteen minutes? That’s a win. The Reddit baker moms all agreed: the memory of laughing together over a misshapen “sweet potato” cookie is more valuable than any perfectly decorated watermelon. So embrace the imperfections.
When All Else Fails, Play the Naming Game
Here’s a final trick from the trenches. After the cookies are baked and cooled, sit down with your toddler and play a “name that fruit” game. Hold up a cookie and ask, “Is this a watermelon or a banana?” Let them point and giggle. If they say sweet potato? Say, “Hmm, it does look a bit like one! But let’s taste it and see.” The act of naming reinforces the visual connection. Over time, as they see the patterns repeat (green and red = watermelon, red and green = strawberry), their brain builds those recognition pathways. And soon enough, they’ll be the ones telling you, “Look, Auntie! A strawberry cookie!” There is no greater reward than that moment of connection, when your little one’s eyes light up with recognition. That’s the real sweet spot of family baking.
The Takeaway: Fun First, Recognition Second
In the end, making fruit-shaped cookies that toddlers recognize is a delightful challenge, but it’s not something to stress over. The biggest payoff is the time spent together, the laughter over silly mistakes, and the early lessons in following a recipe and making something with your hands. Use simple cutters, add easy visual cues like seeds and stems, involve your child at every safe step, and let natural colors do the heavy lifting. The next time your toddler mistakes your watermelon for a sweet potato, take a picture. It’ll be a story you laugh about for years. And if they actually recognize the fruit? Even better. Either way, you’re building a love of the kitchen that will last a lifetime. Now go ahead, preheat that oven, and make some beautifully imperfect fruit cookies. Your little helper is waiting.


