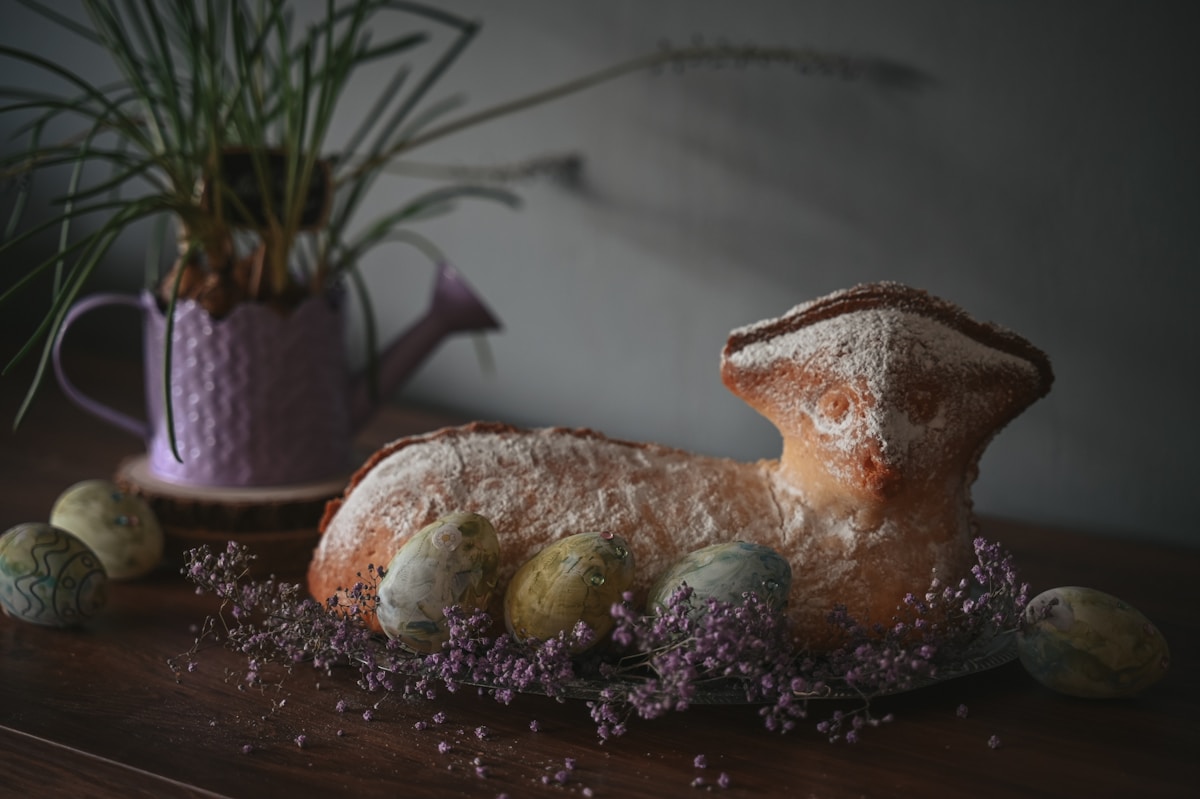
The scent of a holiday meal—roasted lamb, fresh dill, warm bread—hangs beautifully in the air. Laughter from the dining room signals that the main course is winding down. And then, a quiet anticipation builds. It’s the moment of truth for the home baker: the presentation of the Easter dessert. All eyes turn to you as you bring out the cake, the sweet culmination of the day’s celebration. It’s more than just a dessert; it’s the centerpiece, a tradition, and a memory in the making.
Creating a cake that tastes as incredible as it looks can feel like a monumental task, especially amidst the happy chaos of a family gathering. But what if I told you the secret to a show-stopping Easter cake isn’t about professional-level skills, but about a thoughtful plan and a touch of seasonal spirit? Together, let’s explore how to craft a centerpiece that will not only dazzle your guests but will also become a cherished part of your family’s story.
The Heart of the Matter Choosing Your Easter Flavor Story
Before you even touch a whisk, the first step is to decide on the story your cake will tell through its flavor. Easter is a celebration of renewal and spring, so flavors that are bright, fresh, or deeply comforting are always the right choice.
-
The Timeless Classic: Carrot-Walnut Cake. You simply cannot go wrong with this icon. A truly great carrot cake is unbelievably moist, fragrant with spices like cinnamon and nutmeg, and studded with the delightful crunch of toasted walnuts or pecans. The key is freshly grated carrots (please, skip the pre-shredded bagged kind!) and a luscious, tangy cream cheese frosting. For a little twist, add a teaspoon of orange zest to your frosting to brighten the entire profile. It’s a flavor that feels both nostalgic and celebratory.
-
A Whisper of Spring: Lemon & Thyme or Lemon & Blueberry. To capture the essence of the season, nothing works better than citrus. A lemon-based cake is bright, zesty, and cuts through the richness of a holiday meal. Pairing it with the subtle, savory notes of fresh thyme creates a surprisingly sophisticated cake that feels elegant and modern. For a more classic pairing, folding fresh or frozen blueberries into a lemon batter results in a cake bursting with juicy flavor. These lighter cakes are perfectly matched with a Swiss meringue buttercream, which is less sweet and silkier than its American counterpart.
-
The Decadent Favorite: Chocolate Nest Cake. For some families, a celebration isn’t complete without chocolate. A deep, dark devil’s food cake is the perfect foundation. Its intense cocoa flavor, made richer with a bit of brewed coffee or espresso powder in the batter, is pure indulgence. I recommend using a high-quality Dutch-process cocoa powder, like Valrhona, for a truly luxurious result. This cake is the perfect canvas for a rich chocolate fudge frosting and, of course, a decorative chocolate nest filled with pastel candy eggs.
The Baker’s Secret A Three-Day Plan for a Stress-Free Cake
The most valuable kitchen hack I can share for holiday baking is this: never, ever try to do it all in one day. Spreading the work over three days transforms the process from a frantic race into a calm, creative activity. (Your future self will thank you.)
Day 1 (Friday): Bake, Cool, and Freeze
This is your foundation day. Prepare your cake batter and bake your layers. A great tip for getting beautifully flat cake layers that don’t require much trimming is to bake them at a slightly lower temperature for a bit longer. Instead of 350°F (175°C), try 325°F (163°C) and check for doneness a few minutes past the recipe’s recommended time. Once the cakes are baked, let them cool in their pans for about 15 minutes before turning them out onto a wire rack to cool completely—and I mean completely. Even a hint of warmth can create steam and ruin the texture. Once fully cooled, wrap each layer tightly in two layers of plastic wrap and place them in the freezer. This isn’t just for convenience; freezing the cake layers actually locks in moisture, resulting in an even more delicious final product.
Day 2 (Saturday): Make Frosting and Apply the Crumb Coat
Today is for assembly. Start by making your buttercream. While it’s mixing, you can take your cake layers out of the freezer. You don’t need them fully thawed; in fact, they are easier to handle when they are still firm and cold. Stack your layers, spreading a generous amount of frosting or filling between each one. Then, using an offset spatula, apply a very thin, almost transparent layer of frosting over the entire outside of the cake. This is called a “crumb coat,” and it is a non-negotiable step for a clean finish. Its job is to trap all the loose crumbs so they don’t end up in your final, beautiful layer of frosting. Once the cake is coated, place it in the refrigerator to chill for at least 30-60 minutes, or even overnight.
Day 3 (Sunday - The Big Day!): Final Frosting and Decoration
This is the fun part! With your chilled, crumb-coated cake as your canvas, applying the final layer of frosting will be a dream. The surface is firm and smooth, allowing you to get those clean edges or rustic swirls you’ve been imagining. Now, let your creativity shine as you decorate.
Decorating Techniques That Whisper Spring
You don’t need a pastry degree to create a visually stunning cake. Simple, elegant techniques often have the biggest impact.
-
Rustic Buttercream Swirls: Forget perfectly smooth sides. Use the back of a spoon or a small offset spatula to press into the fresh frosting and pull away, creating beautiful, organic peaks and swirls. It’s artistic, forgiving, and requires no special tools.
-
The Speckled Egg Effect: This is one of my favorite techniques. On a cake frosted with a pale color (like white, pastel blue, or soft yellow), mix a teaspoon of vanilla extract with a few drops of brown or black gel food coloring. Dip a clean, stiff-bristled paintbrush or even a new toothbrush into the mixture, aim it at the cake, and use your thumb to flick the bristles. This will create a fine spray of speckles that looks just like a robin’s egg. (Yes, really.)
-
Simple Chocolate Nest: To make an edible nest, melt about 1 cup of chocolate chips. Lightly grease the outside of a small ladle or the inside of a small bowl lined with plastic wrap. Drizzle the melted chocolate back and forth over the form to create a nest-like structure. Let it set completely in the refrigerator before gently removing it. Fill with your favorite candy eggs and place it on top of your cake.
-
Edible Floral Garnishes: The simplest and arguably most beautiful decoration is fresh, edible flowers. Ensure you are using flowers that are food-safe and grown without pesticides. Pansies, violas, chamomile, and small rosebuds are all wonderful choices. A gentle cascade of blossoms down the side of a cake is breathtakingly elegant.
A Recipe to Begin Your Tradition Classic Lemon-Blueberry Layer Cake
Ready to start? Here is a straightforward recipe that is a proven crowd-pleaser.
For the Cake (Makes three 8-inch layers):
- 3 cups King Arthur All-Purpose Flour
- 1 tbsp baking powder
- 1/2 tsp salt
- 1 cup (2 sticks) unsalted butter, softened
- 2 cups granulated sugar
- 4 large eggs, room temperature
- 1 cup whole milk, room temperature
- 1/4 cup fresh lemon juice
- Zest of 2 lemons
- 2 cups fresh or frozen blueberries, tossed in 1 tbsp of flour
For the Lemon Swiss Meringue Buttercream:
- 5 large egg whites
- 1 1/2 cups granulated sugar
- 2 cups (4 sticks) unsalted butter, cubed and softened
- 1 tsp pure vanilla extract (like Nielsen-Massey)
- 1/4 cup fresh lemon juice
- Pinch of salt
Instructions:
- Preheat your oven to 350°F (175°C). Grease and flour three 8-inch round cake pans.
- In a medium bowl, whisk together the flour, baking powder, and salt.
- In a large bowl, cream the butter and sugar together until light and fluffy. Beat in the eggs one at a time, followed by the lemon zest.
- Alternate adding the flour mixture and the milk to the butter mixture, beginning and ending with the flour. Mix until just combined. Fold in the lemon juice, then gently fold in the blueberries.
- Divide the batter evenly among the prepared pans. Bake for 25-30 minutes, or until a wooden skewer inserted into the center comes out clean.
- For the buttercream, whisk egg whites and sugar in a heatproof bowl over a pot of simmering water until the sugar dissolves (it should feel smooth between your fingers, about 160°F / 71°C). Transfer to a stand mixer and whip on high speed until it forms stiff, glossy peaks and the bowl is cool to the touch. Switch to the paddle attachment and, on low speed, add the butter a few cubes at a time. It may look curdled—don’t panic! Just keep mixing, and it will come together. Mix in the vanilla, lemon juice, and salt.
More Than a Cake Capturing the Memory
When your masterpiece is complete and sitting on the cake stand, take a moment to admire it. Then, before you serve it, take a picture. This practice, cherished by bakers everywhere, isn’t about vanity. It’s about documenting your journey, your love, and your traditions.
Years from now, you’ll look back at these photos. You’ll remember the year the cake leaned a little to the left, or the time you experimented with a new flavor that became a family favorite. These cakes, perfect or imperfect, are edible chapters in your family’s story. They represent time spent, care given, and the sweet joy of gathering together—and that is the most unforgettable part of all.