There’s a special kind of baker’s heartbreak that comes from precision work gone wrong. You’ve spent an hour carefully mixing and dividing your dough, tinting it into beautiful, contrasting colors. You’ve painstakingly rolled and cut it into perfect strips, assembling them into a log that looks like a masterpiece of edible geometry. You take a deep breath, pick up your sharpest knife, and make the first slice. And then it happens. The colors smear, the sharp lines blur, and your perfect square squishes into a sad parallelogram. All that work, seemingly undone by a single cut.
If this sounds familiar, I want you to know two things. First, you’re not alone. This is one of the most common frustrations in making patterned icebox cookies. Second, the solution is simpler than you think and rooted in the beautiful science of baking. The secret to those razor-sharp, bakery-window-perfect checkerboard cookies isn’t a magic ingredient or a special tool; it’s all about temperature control. Let’s dive into the why and the how of mastering the chill.
The Science of the Chill Why Temperature is Everything
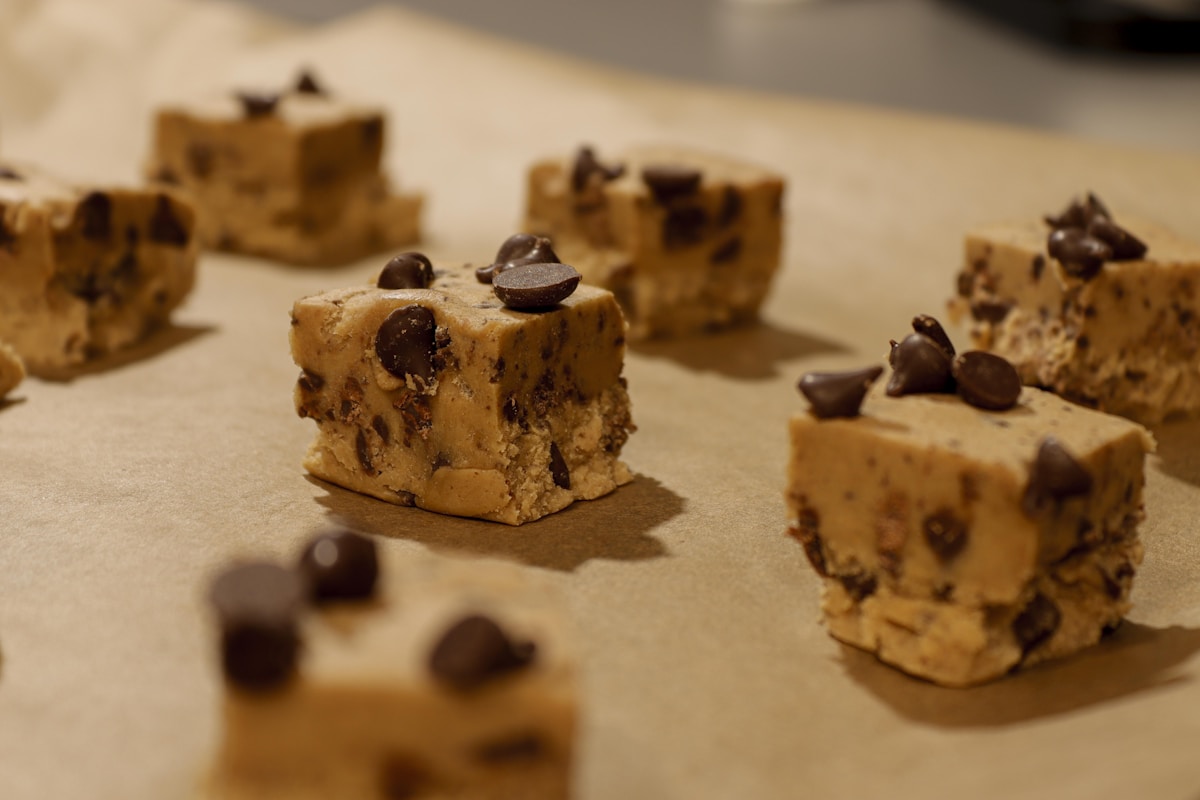
Baking is chemistry you can eat, and in the case of icebox cookies, the star chemical compound is butterfat. Recipes for checkerboard or pinwheel cookies almost always have a high butter content. This gives them that wonderful, short, melt-in-your-mouth texture (think shortbread or sablé cookies). But that same glorious butter is what makes the raw dough so sensitive to handle.
Imagine a stick of butter. Straight from the refrigerator, it’s firm, solid, and brittle. You can cut it and get a clean, sharp edge. Leave that same stick on the counter for an hour, and it becomes soft, malleable, and easy to smear. Your cookie dough behaves in exactly the same way. The butter is distributed throughout the flour in tiny, solid particles. When the dough is warm, those butter particles are soft, and as you slice, your knife drags the soft fat—and the color mixed into it—from one section to the next. This is what causes the dreaded smushing and color bleed.
By thoroughly chilling the assembled dough log, you are re-solidifying all of those tiny butter particles. You are transforming the dough from a soft, pliable mass into a firm, solid block. When you slice through this cold-solidified dough, the knife cleaves through the rigid fat crystals instead of dragging them. The result? A perfectly clean cut with no smearing. The colder the dough, the sharper the line. This principle also extends to the bake. A cookie that goes into the oven ice-cold will hold its shape far better, as the fat takes longer to melt, allowing the cookie’s structure to set before it has a chance to spread.
A Methodical Guide to Assembly and Chilling
Precision in the final product starts with precision in the process. Here’s a step-by-step method that puts the science to work.
1. Start with a Sturdy Dough: You need a reliable icebox cookie recipe that’s designed to hold its shape. A simple butter cookie or shortbread dough is perfect. Here’s a base recipe I trust:
- 1 cup (227g) unsalted butter, softened but still cool
- 1 cup (200g) granulated sugar
- 1 large egg, at room temperature
- 1 teaspoon vanilla extract
- 2 1/2 cups (300g) all-purpose flour (King Arthur is excellent for consistency)
- 1/2 teaspoon salt
Cream the butter and sugar until light and fluffy. Beat in the egg and vanilla. In a separate bowl, whisk together the flour and salt, then gradually add it to the butter mixture until just combined. Do not overmix.
2. Divide and Color: Divide the dough in half. Leave one half plain. To the other half, add your coloring. For a classic chocolate checkerboard, mix in 3 tablespoons (21g) of unsweetened cocoa powder. For vibrant colors, I strongly recommend gel food coloring (like Americolor or Chefmaster) over liquid. Gels are highly concentrated, so you get brilliant color without adding excess liquid that would make the dough sticky.
3. Form Your Strips: Divide each color of dough into an equal number of portions. For a simple 3x3 checkerboard, you’d divide the vanilla dough into 5 equal portions and the chocolate/colored dough into 4. Gently roll each portion into a long, square-sided strip. A ruler and a bench scraper are your best friends here. Aim for strips that are about 1/2-inch (1.25cm) square and all the same length.
4. Assemble the Log: On a piece of parchment paper, lay three strips side-by-side, alternating colors (e.g., vanilla, chocolate, vanilla). Lightly brush the tops with a tiny bit of milk or a beaten egg white to act as glue. Place the next layer of three strips on top, alternating the pattern (chocolate, vanilla, chocolate). Repeat for a third layer. Gently press the entire block together to ensure the strips adhere, using the parchment paper to help you square up the sides.
5. The Critical Chill: Wrap your assembled log tightly in plastic wrap, making sure to keep the square shape. Now for the most important step: place it in the refrigerator for at least two hours. I find that four hours is better, and overnight is practically foolproof. You want that log to feel completely solid and firm to the touch, with no give. Your refrigerator should be set to around 35-40°F (2-4°C).
The Art of the Slice Tools and Technique
Once your dough is thoroughly chilled, the slicing becomes a moment of truth. With the right technique, it’s deeply satisfying.
First, your tool. You need a long, thin, and very sharp knife. A heavy chef’s knife or a long slicing knife works wonders. Avoid serrated knives at all costs, as they will tear the dough. If you have one, a thin-bladed santoku knife is also an excellent choice.
Place the unwrapped, cold log on a stable cutting board. Don’t use a sawing motion. Position your knife and make one clean, decisive, downward cut. Aim for uniform slices, about 1/4-inch (6mm) thick. A ruler can help you keep them consistent.
Here is the game-changing kitchen hack: Rotate the log after every one or two slices. Make a cut, then rotate the log 90 degrees. Make another cut, rotate again. Why? Constant pressure on the same bottom surface can ever-so-slightly flatten it, distorting your perfect squares. By rotating, you distribute that pressure evenly, ensuring every single cookie maintains its geometric integrity. (Your future self will thank you for this extra bit of care.)
From Slice to Bake Preserving the Perfect Shape
Your work isn’t quite done. To guarantee those sharp edges survive the oven’s heat, take a few final precautions.
Place your cold, perfectly cut slices onto a baking sheet lined with parchment paper. Give them at least an inch of space between them. Now, for the ultimate insurance policy against spreading: slide the entire baking sheet into the freezer for 10 to 15 minutes while your oven preheats to 350°F (177°C).
This final flash-freeze makes the butter in the cookies rock-solid. When that intensely cold cookie hits the hot oven, the edges set almost immediately, long before the butter has a chance to melt and spread. Bake for 10-12 minutes, or just until the edges of the vanilla sections are a pale golden brown. Let them cool on the baking sheet for a few minutes before transferring to a wire rack to cool completely.
Troubleshooting Common Checkerboard Catastrophes
Even with the best method, things can sometimes go awry. Here’s how to fix the most common issues.
-
The Problem: My colors are still smearing a little bit.
- The Cause: Your dough probably wasn’t quite cold enough all the way through, or your kitchen is very warm.
- The Fix: Next time, chill it longer. An overnight chill is always the safest bet. Also, if you see color starting to drag on your knife, wipe the blade clean with a damp paper towel between cuts.
-
The Problem: The log is cracking when I try to slice it.
- The Cause: It might be too cold and brittle, especially if it was in the freezer. It could also mean your dough was a bit too dry.
- The Fix: Let the log sit at room temperature for just 5-10 minutes to take the intense edge off the chill. It should still feel very firm, but not like a block of ice.
-
The Problem: My beautiful squares spread into rounded blobs in the oven.
- The Cause: The dough warmed up too much before baking. This can happen if you’re slicing a lot of cookies or if your oven wasn’t fully preheated.
- The Fix: Do not skip the 15-minute pre-bake freeze. It is your single best defense against spreading. Also, invest in an oven thermometer to ensure your oven is actually at the temperature you set it to.
Creating stunning checkerboard cookies is a true celebration of baking as a craft. It requires patience and a little understanding of science, but the reward—a plate of impossibly neat, delicious cookies—is more than worth the effort. Embrace the chill, and you’ll never have to face a smushed, blurry cookie again.


