Remember those foil-wrapped toaster pastries from childhood? Tucked into a lunchbox or warmed up for a quick breakfast, they were a simple little treat. Now, I want you to imagine your child’s face when you pull a pastry out of the oven that’s as big as a dinner plate. Their eyes go wide, a little gasp escapes, and suddenly, you’re not just making breakfast—you’re making magic.
That, my dears, is the pure, simple joy of the Giant Toaster Pastry. It’s one of my all-time favorite ways to turn an ordinary Saturday morning into a core memory. It takes a familiar, kid-loved snack and transforms it into an event, a celebration of time spent together in the heart of the home: our kitchen. And the best part? It’s wonderfully, surprisingly easy to make, and the smiles it creates are absolutely priceless.
Why Go Big? The Simple Magic of a Giant Treat
There’s something inherently delightful about oversized food, isn’t there? It taps into a storybook sense of wonder. For a child, seeing a giant version of a familiar treat breaks the rules of the everyday world in the most delicious way possible. It’s unexpected, silly, and utterly memorable.
But this isn’t just about the novelty. Making a single, shareable pastry shifts the dynamic from “everyone gets their own” to “we all share this amazing thing we made together.” It encourages cooperation and sharing right from the start. It becomes the centerpiece of the table, a testament to your joint effort. Instead of a quick, individual snack, it’s a communal experience. You’ll find your little ones eagerly pointing out the part they helped with—“I spread the jam!” or “I crimped that edge!”
This project is what I call a “low effort, high reward” activity. It uses simple, store-bought ingredients, which means less stress for you and more hands-on fun for the kids. There’s no complicated yeast to bloom or dough to knead for hours. You get all the fun of baking—the rolling, the spreading, the decorating—without the long, drawn-out process that can test a little one’s patience. (And a parent’s sanity, let’s be honest.) It’s the perfect recipe for building kitchen confidence and proving that making something wonderful doesn’t have to be wonderfully complicated.
Gathering Your Giant Pastry Supplies
Before we get our aprons dusty, let’s gather our tools and treasures. The beauty of this recipe is its simplicity. You likely have most of this in your kitchen right now!
For the Pastry:
- Two sheets of refrigerated pie crust: This is your easiest path to success. A box from a brand like Pillsbury usually comes with two rolled-up crusts, which is exactly what you need. This will give you a tender, slightly crumbly pastry, very similar to the classic store-bought version.
- Or, one package of puff pastry: If you want a pastry that’s incredibly light, airy, and flaky with dozens of layers, puff pastry is your answer. A brand like Pepperidge Farm works beautifully. You’ll need to thaw it according to the package directions, but the result is a gloriously puffy, golden-brown crust that shatters when you bite into it. (A delicious, messy experience!)
For the Filling (About 3/4 cup total): This is where you can get creative! Here are a few of our family’s favorites:
- Classic Strawberry: Simply use 3/4 cup of your favorite strawberry jam or preserves. Smucker’s is a classic for a reason!
- Brown Sugar Cinnamon: This tastes just like the inside of a cinnamon roll. Mix 1/2 cup of packed brown sugar with 1 tablespoon of all-purpose flour (to prevent it from getting too runny) and 2 teaspoons of ground cinnamon.
- Triple Berry: Use a thick berry jam, or even a can of blueberry pie filling in a pinch.
- Chocolate Hazelnut: About 3/4 cup of Nutella or a similar spread. Be still my heart.
- Apple Cinnamon: Use about 3/4 cup of apple butter or a thick-style apple pie filling.
For the Icing & Toppings:
- 1 cup powdered sugar (also called confectioners’ sugar)
- 2-3 tablespoons of milk or heavy cream
- 1/2 teaspoon vanilla extract
- Rainbow sprinkles! (Non-negotiable in our house.)
Essential Equipment:
- A large baking sheet
- Parchment paper (The silent MVP of easy cleanup!)
- A fork for crimping the edges
- A small bowl and a whisk or fork for the icing
- A spatula for serving
The Step-by-Step Guide to Giant Pastry Fun
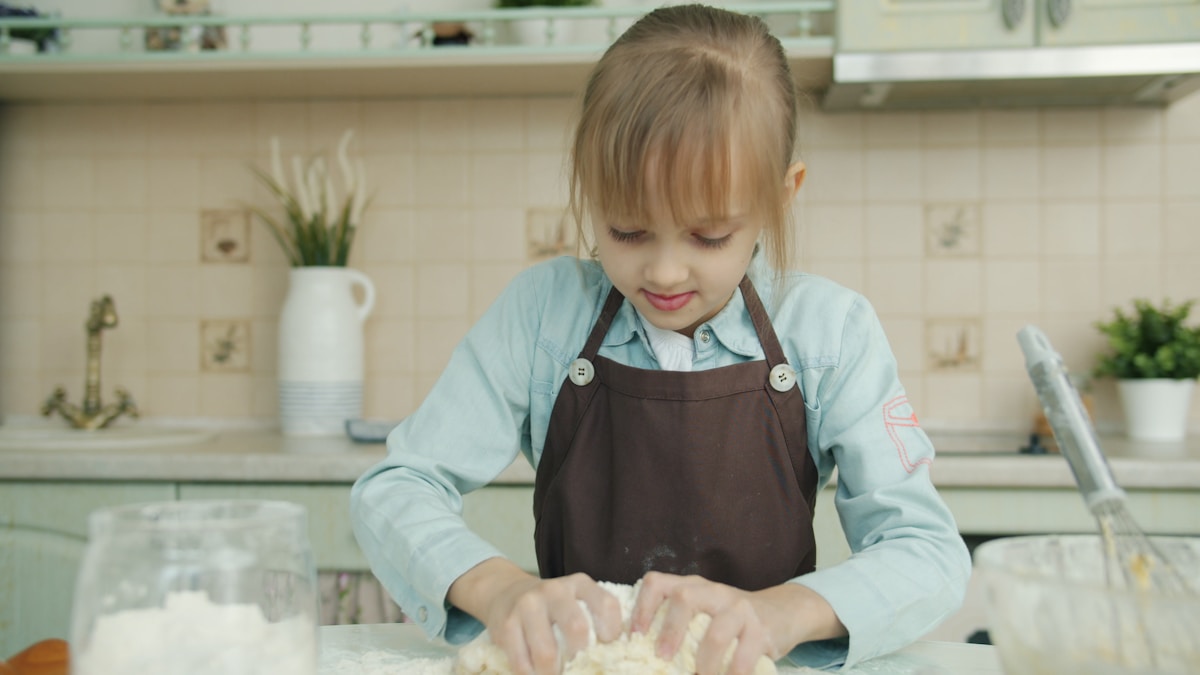
Alright, aprons on? Hands washed? Let’s make some magic. I love to break this down into special “jobs” so everyone feels like an important part of the team.
1. Prepare Your Workspace (The Head Chef’s Job): First things first, preheat your oven to 375°F (that’s 190°C). Line your large baking sheet with parchment paper. This will prevent any sticky filling from burning onto your pan and makes sliding the finished pastry off a breeze. Unroll your pie crusts or puff pastry sheets and let them sit for a few minutes to become pliable.
2. Lay the Foundation (The Builder’s Job): Carefully place one of your pastry sheets onto the center of the parchment-lined baking sheet. If you’re using refrigerated pie crust, gently unroll it. If you’re using puff pastry, unfold it. This will be the bottom of our giant treat. How exciting!
3. Spread the Filling (The Artist’s Job): This is the best part for little hands! Spoon your chosen filling into the center of the bottom crust. Now, give your little helper a spatula or the back of a spoon and let them spread it out. The one rule: leave about a one-inch border all the way around the edge. This clean space is what will allow our top crust to seal properly. Try to spread it as evenly as you can, but don’t stress about perfection! A little rustic charm is part of the fun.
4. Put a Lid On It (The Teamwork Job): Now, gently place the second sheet of pastry directly on top of the first, lining up the edges as best you can. Press down gently around the filling to push out any large air bubbles. This is a great two-person job.
5. Crimp and Seal (The Decorator’s Job): Hand your child a fork and show them how to press the tines down along the 1-inch border, all the way around the pastry. This does two things: it seals the edges together so the delicious filling doesn’t leak out while baking, and it creates that classic, decorative edge. (This is a very important job, you see.)
Beatrice’s Kitchen Hack: For an extra-shiny, golden-brown crust, whisk one egg with a tablespoon of water to create an ’egg wash.’ Brush this lightly over the top of the pastry before baking. You can also use the tines of the fork to poke a few small holes in the top crust to let steam escape, which helps the pastry bake evenly.
6. Bake to Golden Perfection (The Observer’s Job): Slide the baking sheet into your preheated oven. Bake for 20-25 minutes, or until the crust is a beautiful, deep golden brown and you can see the filling gently bubbling through the steam vents. Your kitchen will fill with the most incredible, warm, and sugary scent. This is the hardest part—the waiting!
The Grand Finale Icing and Sprinkles
Once that timer dings, carefully remove the pastry from the oven. Let it cool on the baking sheet for at least 10-15 minutes. (I know, the temptation is real!) If you try to ice it while it’s piping hot, the icing will just melt and run right off. We need it to be warm, not hot.
While it’s cooling, you and your little sous chef can whip up the icing. In your small bowl, whisk together the powdered sugar, vanilla extract, and 2 tablespoons of milk. If it seems too thick, add the last tablespoon of milk, a tiny bit at a time, until you have a smooth, pourable (but not watery) glaze. It should be thick enough to coat the back of a spoon.
Now for the glorious mess! Let your child drizzle or spread the icing over the warm pastry. It doesn’t need to cover every inch. Some lovely, rustic drizzles down the side are perfect. Before the icing sets, hand over the sprinkles and let them go to town! More is more in this situation. The combination of the warm, flaky pastry, the sweet glaze, and the happy crunch of sprinkles is pure bliss.
More Than Just a Recipe A Lesson in Joy
As you slice into that giant, warm pastry and serve up big, flaky squares, take a moment to look around. See the proud smiles? The sticky fingers? This is what it’s all about. You didn’t just bake a treat; you built a memory together.
In this one simple activity, your child practiced following directions, measuring (even if it was just ‘one jar of jam’), and developing fine motor skills by spreading and crimping. They learned patience while waiting for the pastry to bake and cool. Most importantly, they experienced the deep satisfaction of creating something with their own hands and sharing it with the people they love.
That’s the real magic of the kitchen. It’s not just about the food we make, but the love and lessons we fold into it. Every sprinkle that misses the pastry and lands on the counter is a tiny speck of joy. (Your future self will thank you for putting that parchment paper down.) So embrace the mess, celebrate the slightly lopsided crimping, and enjoy every single bite. You’ve earned it.