You have cake layers cooling, party supplies across the counter, and the thought of sculpting a tiny spaceship from fondant suddenly feels unrealistic. The good news: an easy Star Wars birthday cake does not need character figures, flawless piping, or bakery-level tools.
A dark galaxy cake with one clear Star Wars focal point is enough to make the theme recognizable. Choose a round cake, sheet cake, or cupcakes; use deep blue or black buttercream; add a light scattering of stars; then finish with one ship silhouette, planet, lightsaber detail, or edible image.
Key Takeaways
- Choose one visual story, such as a starship in space, instead of adding every character and logo.
- Use dark buttercream with a few blue, purple, and white swipes for an achievable galaxy effect.
- Keep decorations simple: stars plus one edible image, silhouette, planet, or topper.
- Treat only clearly labeled edible products as edible, and remove non-edible toppers before serving.
- Bake ahead when possible, then decorate on party day for the freshest-looking finish.
Choose One Simple Star Wars Cake Story
The easiest way to make a themed cake look intentional is to build it around one visual idea. For this cake, that might be “a starship crossing a galaxy” or “a planet floating in space.” A dark background and one recognizable focal detail give the cake its identity.
Avoid trying to fit every favorite character, logo, toy, and color onto one cake. A crowded design takes longer to decorate and can hide the details that make it feel like a Star Wars celebration. Think of the cake as a movie poster: one strong image is usually more memorable than a collection of unrelated elements.
For a beginner-friendly design, choose one of these options:
- A navy galaxy cake with a black ship silhouette.
- A dark round cake with a large planet topper and white stars.
- A black or deep-purple cake with red and yellow lightsaber-inspired streaks.
- A simple iced cake topped with one licensed edible image.
- A dark sheet cake with one food-contact-safe topper positioned above the center.
Recognizable colors and shapes matter more than detailed fondant work. Deep blue, black, purple, white, silver, yellow, and red suggest outer space and lightsabers even if the frosting swirls are not perfectly smooth.
Choose the cake format based on your guest count and available time:
- Round layer cake: Best for a classic birthday-cake centerpiece. Two 8-inch layers provide a manageable decorating surface.
- 9-by-13-inch sheet cake: A practical choice for a larger group. There is no stacking, and the flat surface works well for a large silhouette or edible image.
- Cupcakes: Useful for busy serving times and built-in portions. They are also a low-stress alternative to a large cake.
If you have less than an hour for decorating, choose the sheet cake. If the birthday child wants candles and a centerpiece for photos, choose the round cake. If you want the easiest serving option, make cupcakes.
Build the Cake Base With Easy Flavor and Frosting Choices
A reliable flavor is more useful than an ambitious recipe during a busy party weekend. Chocolate cake with vanilla buttercream creates a dramatic contrast when sliced, while vanilla cake with chocolate buttercream keeps the flavors familiar.
Other easy pairings include yellow cake with cookies-and-cream frosting or a boxed cake mix paired with homemade buttercream. A cake mix is a practical shortcut when party planning is already taking most of your attention.
For an 8-inch, two-layer cake, plan on about 3 to 4 cups of frosting for filling, crumb coating, and final decoration. A 9-by-13-inch sheet cake may need roughly 4 to 5 cups, depending on how generously you frost it. Making a little extra is helpful because dark frosting often needs mixing and adjustment.
Your tool kit can stay simple:
- Offset spatula or clean butter knife
- Cake board or serving plate
- Parchment strips to protect the plate edge
- Small bowls for tinted frosting
- Spoon or small spatula for color swipes
- Star sprinkles or white confetti sprinkles
- Clean paintbrush reserved only for food use, if making a splatter effect
- Cake comb, optional, for textured sides
For the space backdrop, start with navy, dark gray, deep purple, or black buttercream. Navy is often forgiving because it looks space-like without requiring an extremely dark color. Add coloring gradually and mix fully before adding more, since the shade may deepen as the frosting rests.
If the frosting becomes darker than expected or develops a stronger food-coloring taste than you prefer, stop adding color. A deep blue cake with purple and black accents can look more dimensional than a uniformly black cake.
Use this simple assembly order:
- Bake the cake and cool it completely.
- Trim a domed top only if it prevents the layers from sitting level.
- Place the first layer on a board or plate and spread a modest layer of filling, about 1/4 inch thick.
- Add the second layer, then spread a thin crumb coat over the top and sides.
- Chill briefly if needed to firm the frosting before the final coat.
- Add the final dark frosting layer, smoothing it lightly or leaving intentional texture.
Do not chase absolute smoothness. Galaxy cakes work well with soft ridges, sweeping spatula marks, and uneven color patches. Texture can look deliberate rather than unfinished.
Decorate a Beginner Galaxy Cake in Three Manageable Steps
This galaxy cake for beginners works because each stage has one job: background, stars, then focal point. Finish one stage before starting the next so you do not keep adding details in search of a finished look.
Step 1: Make the space background. Frost the cake in your main dark color. Add a few small spoonfuls of blue, purple, and white frosting on the top and, if you like, on part of the sides.
Use your spatula to pull each color in one or two broad, curved strokes. Stop before every color blends into gray. You want visible patches of color, like distant clouds of light, rather than a fully mixed surface.
For an 8-inch cake, limit yourself to three to five colored swipes total. Try one blue sweep, one purple sweep, and one small white highlight across the top. For a sheet cake, make one wide diagonal band instead of several separate swirls.
Step 2: Add stars. Sprinkle on a light amount of white stars, white confetti sprinkles, or silver decorations if the package identifies them as edible. Concentrate them in a few areas instead of covering every inch of frosting.
For a splatter effect, thin a small spoonful of white frosting with a few drops of water until it can flick from a food-only paintbrush. Test the splatter on parchment first, protect your work area, then flick tiny amounts over the cake from several inches away.
Less is more. Too many stars can make the surface look busy and distract from the centerpiece. If the cake has a large topper, leave some clear dark space around it so the shape stands out.
Step 3: Add one focal detail. This is where the easy Star Wars birthday cake becomes unmistakably themed. Choose one main decoration and place it slightly off-center or directly in the middle.
Simple Star Wars cake decorations include:
- A black edible silhouette of a starship against a lighter galaxy area
- A round edible planet disk, such as a gray moon or striped orange planet
- One licensed edible image made for cake use
- Red and yellow buttercream stripes arranged like crossing lightsabers
- One food-contact-safe cake topper positioned above the cake
For an edible silhouette, cut a simple ship outline from black fondant, dark chocolate modeling material, or black edible wafer paper specifically intended for cake decorating. Keep the outline bold; tiny windows and delicate cutouts are unnecessary.
If the frosting is uneven, place the focal topper over the roughest spot. If the galaxy colors turned muddy, add a small planet or ship silhouette to create contrast. Do not add decorations just to fill empty space; empty dark space is part of the design.
Use Toppers, Cake Picks, and Printed Decorations Safely
Cake decorations fall into two categories: edible items and non-edible display pieces. Knowing the difference makes serving easier and helps prevent materials that are not intended for food contact from touching the cake.
Edible decorations include frosting, sprinkles, candy, fondant, and products clearly sold and labeled as edible cake toppers or edible images. Check the packaging before use, especially if you are unsure whether an image sheet, wafer decoration, or glitter product is meant to be eaten.
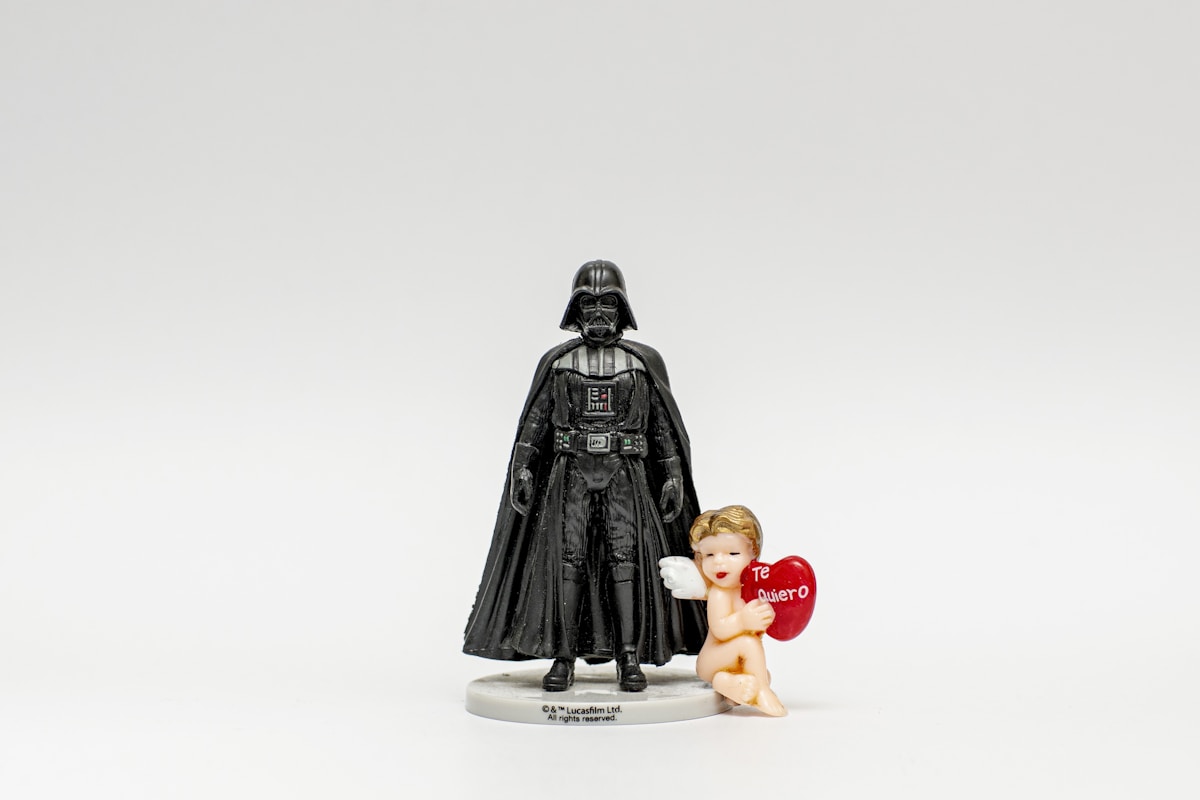
Non-edible decorations may include plastic figurines, paper picks, acrylic signs, wooden toppers, plastic cupcake rings, and decorative cake flags. These can look festive, but they should be removed before the cake is served.
Do not place ordinary printed paper, craft paper, unverified ink, craft glitter, or home-printed images directly on frosting. For a printed character design, choose a product intended for edible cake decoration or use a non-edible topper that stays above the cake rather than resting in the icing.
Follow the product labeling for food-contact guidance. If a non-edible topper has a stick or pick, use it only as directed and remove it before slicing. Keep sharp picks, loose small pieces, and detachable decorations away from young children.
Store-bought decorations can also contain ingredients that matter to guests. Check the current ingredient list and allergen statement on sprinkles, candies, edible images, frosting tubs, and toppers. Do not assume a decoration is free of a particular allergen because it looks simple or because a similar product worked for someone else.
For the fastest easy cake topper ideas, choose a licensed edible image, a clearly food-contact-safe topper, or a themed topper displayed above the cake. The galaxy frosting supplies the space setting; the topper supplies the story.
Make the Party-Day Plan Easier, Then Adapt It for Cupcakes
A simple schedule keeps this movie themed birthday cake from becoming a last-minute project. Separate baking from decorating so you have time to fix a frosting issue without rushing.
Two days ahead: Decide on the serving format and focal design. Buy cake ingredients, frosting ingredients, candles, sprinkles, and approved decorations. Check ingredient and allergen information relevant to your guests.
Party eve: Bake the cake layers or sheet cake. Cool completely before wrapping or storing according to your recipe guidance. Make the frosting, tint the main dark portion, and set aside small portions of blue, purple, and white for galaxy swipes.
Prepare your work surface, cake board, topper, and serving knife. If using a non-edible topper, keep it clean and separate until you are ready to place it.
Party day: Assemble and frost the cake. Add the galaxy effect, then the stars, then the focal decoration. Place delicate toppers close to serving time, take photos, and remove every non-edible piece before slicing.
For cupcakes, frost each one with dark blue or black frosting using a knife, small spatula, or piping bag. Add a few stars and one simple accent per cupcake: a red frosting line, yellow sprinkle cluster, tiny edible image, or approved cupcake ring removed before eating. You do not need a different design on every cupcake.
For a sheet cake, spread the dark frosting in broad strokes, add one diagonal blue-and-purple galaxy band, and center a large ship silhouette or edible image. This is one of the most forgiving Star Wars cake ideas because the large flat surface makes the design easy to read across the party table.
FAQ: Easy Star Wars Birthday Cake Planning
What is the easiest Star Wars birthday cake design for a beginner?
A dark blue or black sheet cake with white star sprinkles and one focal topper is usually the easiest choice. It avoids stacking and gives you a large surface for one edible image, ship silhouette, or planet decoration.
Can I put Star Wars toys or paper decorations directly on a cake?
Treat toys, paper decorations, plastic figures, and craft materials as non-edible unless the product clearly states otherwise. Do not place ordinary paper or unverified printed items directly on frosting, and remove all non-edible decorations before serving.
How far ahead can I make a galaxy cake for a birthday party?
You can reduce party-day work by baking the cake and preparing frosting the day before, then decorating on the day of the event. Exact storage needs depend on the recipe, filling, frosting, and package instructions, so follow the guidance for the ingredients you use.
A successful easy Star Wars birthday cake is not about reproducing every detail from the screen. A dark sky, a few stars, and one strong symbol are enough to create a festive, recognizable cake that is achievable in a home kitchen.