I can picture it now: you and your little one, heads bent together in a secret kitchen conference. Whispers of “What should we make for Mommy?” hang in the air, filled with that wonderful, conspiratorial excitement that only a surprise for a loved one can bring.
Mother’s Day is such a special time, and for a young child, the desire to give a gift they made all by themselves is so powerful. But let’s be honest, the thought of a four-year-old near a hot stove or a seven-year-old with a grand culinary vision can be a little… daunting. The potential for a flour explosion or a sticky situation of epic proportions is very real.
But that’s okay! My name is Beatrice, and I’m here to tell you that the most meaningful gifts from our little ones aren’t about perfection. They’re about the love, the effort, and the uncontainable pride in their voice when they present their creation. The kitchen is where families grow together, and this is one of those beautiful growing moments. So, let’s put away the complicated recipes and focus on simple, joyful projects where your child can be the true head chef.
The Secret Ingredient is Ownership
Before we even talk about ingredients, let’s talk about the most important part of this whole plan: letting your child feel a genuine sense of ownership. A young child’s contribution is more than just “helping”—it’s their entire expression of love. The goal is to choose a recipe where they can safely and confidently perform most, if not all, of the steps.
When a child can look at the finished dish and say, “I made this for you!” without a grown-up having to add, “…well, I did most of it,” the gift becomes infinitely more special. This is their moment to shine!
To set them up for success, we borrow a fancy term from professional kitchens: mise en place. It simply means “everything in its place.” Before you invite your little chef to begin, get everything ready. Measure out the oats into a small bowl, wash and slice the strawberries, put the sprinkles into little cups. This way, the process is smooth, focused, and all about the fun parts: the mixing, the assembling, and the decorating.
The “I Did It All By Myself” Breakfast Parfait
A beautiful fruit and yogurt parfait is the perfect starter recipe. There’s no heat, no sharp tools (for the child, anyway!), and the result looks like something from a fancy cafe. Using a clear glass or a small Mason jar is key, as your child will be able to see the lovely layers they’re creating.
What You’ll Need:
- 1 cup Greek yogurt (plain or vanilla works beautifully)
- 1/2 cup granola (your family’s favorite store-bought kind is perfect)
- 1 cup mixed berries (blueberries and raspberries are great whole; have a grown-up slice any strawberries beforehand)
- A clear glass or jar
- A big spoon for scooping
The Little Chef’s Instructions:
- Be the Master Builder: Your job is to build a delicious tower! Start by putting a big spoonful of yogurt into the bottom of the glass. Use the back of the spoon to gently pat it down.
- Add the Crunch: Next, sprinkle a layer of granola right on top of the yogurt. It’s okay if a few pieces fall on the counter—that’s just part of the fun!
- Paint with Berries: Now for the color! Carefully place a layer of berries on top of the granola. You can make a pattern or just a happy pile.
- Do It Again! Repeat the layers: another scoop of yogurt, another sprinkle of granola, and another handful of berries until your glass is full.
- The Final Touch: You can add one special raspberry right on the very top to make it look extra fancy. Now, go wake up Mommy with her beautiful breakfast!
(A little tip for the grown-up assistant: place the glass on a small baking sheet to catch any spills and make cleanup a breeze.)
No-Bake “Hugs in a Ball” Energy Bites
If there’s one thing kids love, it’s getting their hands messy in a productive way. These no-bake energy bites are fantastic for that. They involve lots of squishing and rolling, which is a wonderful sensory experience. Plus, they’re a treat Mom can enjoy with her coffee or as an afternoon pick-me-up.
What You’ll Need:
- 1 cup old-fashioned rolled oats (like the ones from Quaker)
- 1/2 cup creamy peanut butter (or sunflower seed butter for a nut-free option)
- 1/3 cup honey or maple syrup
- 1/4 cup mini chocolate chips
- A big mixing bowl
The Little Chef’s Instructions:
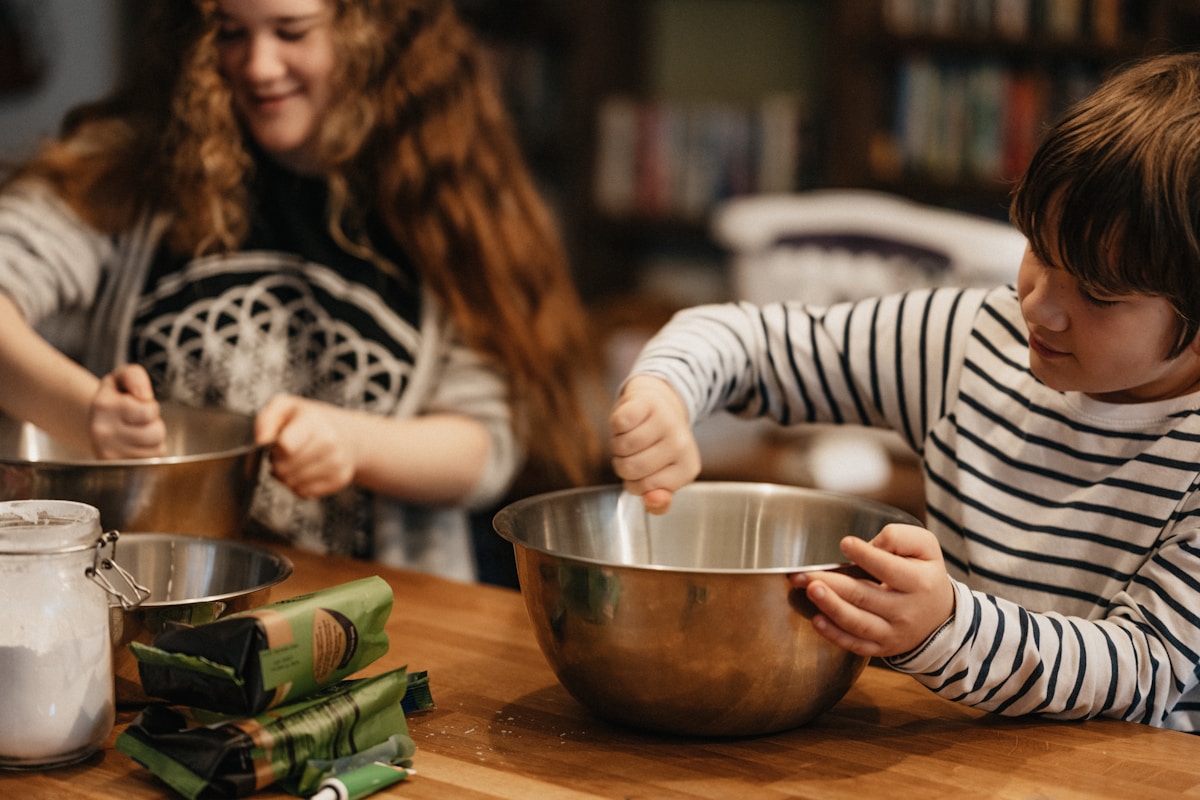
- Dump Everything In! This is the best part. Take all the ingredients you see in the little bowls and dump them right into the big bowl. Oats, peanut butter, honey, and chocolate chips—everyone in the pool!
- Time to Squish: Use a big spoon or your super clean hands to mix and squish everything together. You want to make sure everything is sticky and combined. It will feel a little gooey, and that’s how you know it’s working.
- Let it Chill: (This is a grown-up step.) Once mixed, cover the bowl and pop it in the refrigerator for about 20-30 minutes. This is my little kitchen hack—it makes the dough much less sticky and so much easier for little hands to roll.
- Roll ’em Up: Take the bowl out of the fridge. Grab a little bit of the mixture and roll it between your palms to make a small ball, about the size of a big gumball. Place each finished ball on a plate.
- Arrange the Gift: Once you’ve rolled all the dough, you can arrange the balls on a special plate for Mom. You’ve just made delicious hugs in a ball!
The Little Artist’s Cookie Decorating Studio
Sometimes, the best way to a mom’s heart is through a wildly decorated, sprinkle-covered sugar cookie. This activity puts your child firmly in the role of “artist.” The pressure of baking is gone; this is pure, edible creativity.
You can bake a batch of simple sugar cookies a day ahead, or—and there is absolutely no shame in this—buy some plain, pre-baked sugar cookies from the store. The magic here is in the decoration.
Setting Up Your Studio:
- The Canvas: Plain sugar cookies.
- The Paint: Divide some store-bought vanilla frosting into a few small bowls. Add one or two drops of different food coloring to each bowl and let your child mix it up to create their color palette.
- The Glitter: Sprinkles! All the sprinkles. Rainbow nonpareils, sparkly sanding sugar, little stars—the more, the better.
- The Workspace: Give your little artist a rimmed baking sheet to work on. This is a game-changer for containing the inevitable sprinkle shower. Provide them with craft sticks or the back of a small spoon for spreading the frosting.
Let them go to town. The cookies will not look like they belong in a bakery window. They will be lumpy, the colors might mix into a questionable shade of brown, and there will likely be more sprinkles on the cookie than frosting. And that is what makes them perfect. Each one is a tiny masterpiece made with love.
You Are the Official Breakfast Sous-Chef
If a cooked breakfast is the Mother’s Day tradition in your house, your child can still play a starring role as the official Sous-Chef (that’s French for “under-chef,” a very important job!).
- The Egg Whisking Expert: For scrambled eggs, a child can absolutely crack the eggs into a bowl (have a spare bowl ready for shell-fishing, just in case) and whisk them with a fork or a small whisk. The grown-up, of course, handles the hot pan on the stove.
- The Toppings Manager: Are you making pancakes or waffles? The adult handles the cooking, but the child is in charge of the grand finale. They can arrange berries into a smiley face, add a sprinkle of chocolate chips, or use a small sieve to dust the stack with a magical cloud of powdered sugar.
In all these scenarios, remember to be clear about kitchen safety. The rule is simple: “Grown-ups handle the ‘hots’ and the ‘sharps’.” This isn’t about limiting them; it’s about teamwork.
No matter which path you choose, remember to take a picture of your little chef with their creation. The joy on their face will be the second-best gift Mom gets all day. The mess can always be cleaned, but the memory of making something special together will last a lifetime. Happy memory-making in the kitchen!