You’ve seen them on social media: those stunning cakes with a velvety, matte finish that looks almost too perfect to eat. The technique is called “velvet” or “velour” and it’s achieved by spraying a thin layer of colored cocoa butter onto a frozen cake using a paint gun (also called an airbrush system). When a home baker on Reddit posted a mango-raspberry mousse cake finished with this method using a new paint gun, the comments immediately lit up with both awe and skepticism. Is the gadget really necessary? Can a beginner pull it off? And is the cleanup worth the headache? I’ve spent years testing kitchen gear, from immersion blenders to stand mixers, and I’ve watched the airbrush trend creep from pro patisserie shops into home kitchens. Here’s my honest take — no brand loyalty, just practical advice to help you decide if a cake paint gun belongs in your kitchen.
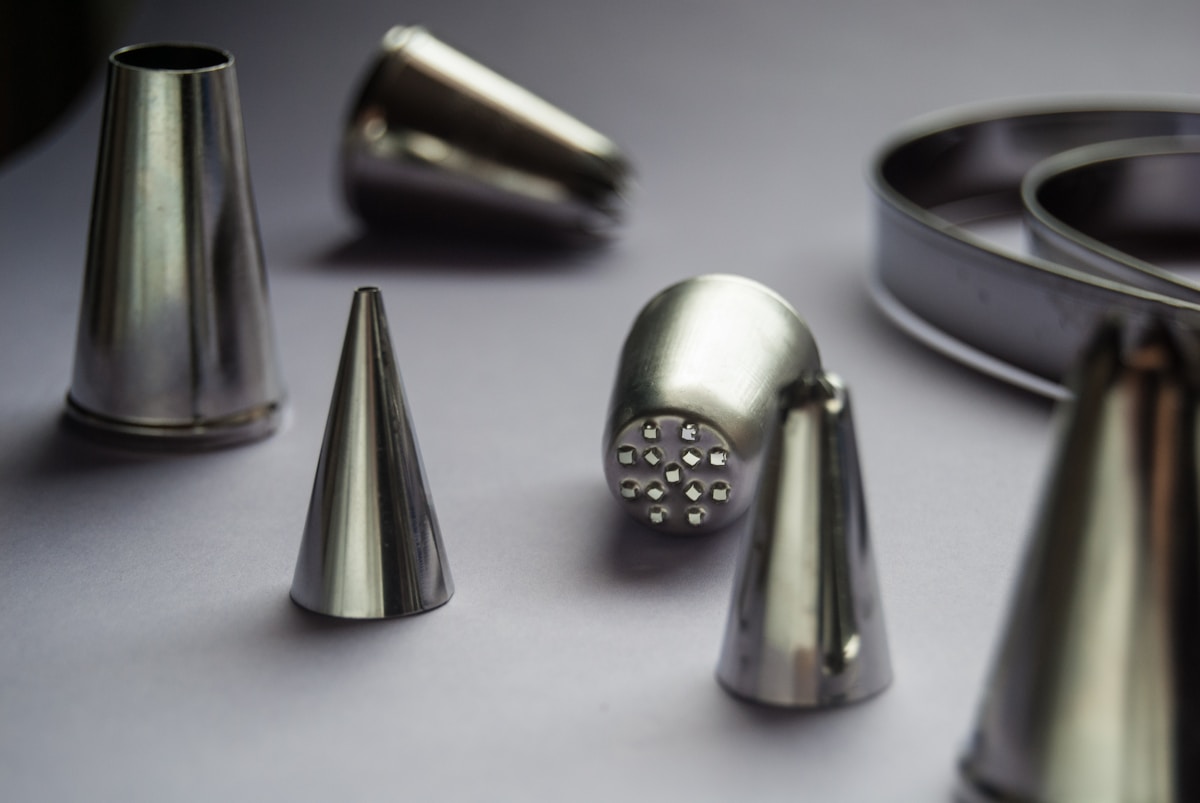
What Exactly Is a Cake Paint Gun?
A cake paint gun is simply an airbrush system repurposed for food. It uses compressed air to atomize a liquid (in this case, melted cocoa butter mixed with oil-based food coloring) into a fine mist. The spray lands on a frozen cake and instantly solidifies, creating that signature velvet texture. The setup typically includes an airbrush pen, a hose, and a small air compressor. For cake work, you’ll also need a turntable and a well-chilled cake (usually around -18°C / 0°F) so the cocoa butter sets on contact.
Models range from entry-level kits around $30–$60 (like the Master Airbrush G22 or DecoArt DecoAir) to professional units costing $100 or more (Iwata or Paasche). The cheaper ones often have plastic components and less consistent airflow, while pricier models offer metal nozzles, better control, and easier cleaning. But remember: price doesn’t always equal quality — I’ve seen $40 kits produce beautiful results with careful technique.
The Velvet Finish Technique: Step by Step
If you’re tempted to try this at home, here’s how it works. First, you need a frozen cake — ideally one that’s been in the freezer for at least 4–6 hours, or overnight. The cake surface must be completely solid and free of condensation (wipe it with a paper towel if needed). Next, melt food-grade cocoa butter to about 35°C / 95°F. Add oil-based candy coloring — not water-based, or it will seize in the gun. Load the paint cup, test spray on a piece of parchment to check consistency, then hold the gun about 6–8 inches away and spray in even, overlapping passes. The instant the mist hits the frozen cake, it turns into a velvet crust. Let the cake sit at room temperature for a few minutes before serving.
A note on temperature: if the cocoa butter is too hot (above 40°C / 104°F), it will melt the cake surface instead of freezing on contact. Too cold, and it will clog the nozzle. A kitchen thermometer is essential here. (Trust me, guessing doesn’t work.)
The Cost Breakdown
Let’s talk money. A basic airbrush kit runs $30–$60. You’ll also need a small air compressor — some kits include a mini compressor, but many require a separate purchase (another $40–$80). Food-grade cocoa butter is about $8–$15 per pound, and oil-based colors add another $5–$10 per bottle. For a few practice cakes, you’re looking at a total investment of $80–$150. Compare that to a single custom velvet cake from a bakery, which can cost $60–$100. If you plan to make more than two such cakes, the paint gun quickly pays for itself. But if you’re only doing one special occasion, renting a gun or borrowing from a friend might be smarter.
The Learning Curve and Common Issues
The Reddit thread was full of warnings: “It takes practice,” “Cheaper models clog and spit,” “Cleaning is a nightmare.” All true. The learning curve is real. Expect to waste your first few attempts — the spray can come out blotchy, drippy, or too thick. You’ll need to learn how to thin the cocoa butter (usually with a little more cocoa butter or special thinner), adjust air pressure, and move your hand smoothly. Common issues include:
- Clogging: Cocoa butter that’s too cool or contains lumps will clog the nozzle. Filter your mixture through a fine mesh strainer before pouring into the cup.
- Spitting: Air bubbles in the mixture or a dirty nozzle cause sputtering. Tap the cup to release bubbles, and clean the nozzle with a dedicated airbrush cleaner (isopropyl alcohol works, but rinse thoroughly).
- Uneven coating: Holding the gun too close or too far. Keep a consistent distance and use overlapping passes.
- Drips: The cake is not cold enough, or you’re spraying too heavy a coat. Work in thin layers.
Cleaning is non-negotiable. If you let cocoa butter dry inside the gun, it’s a pain to remove. You must disassemble the nozzle, flush with warm water and mild soap, then dry thoroughly. Many beginners give up after the first messy cleanup. (Your future self will thank you if you buy a kit with a wide cleaning brush and a cleaning pot.)
Alternatives to the Paint Gun
If you’re not ready to commit to the paint gun, you can achieve a similar effect with a few other methods:
- Stenciling with a fine brush: Melt cocoa butter, tint it, and dab it onto a frozen cake with a stiff brush to create a textured finish. It’s slower but cheaper and easier to clean.
- Spray bottle: Use a fine-mist spray bottle (like those for hair) to spritz melted cocoa butter. The result is less uniform but can look charmingly rustic.
- Velvet powder: Some brands sell ready-made velvet cake sprays in aerosol cans (e.g., The Cocoa Butter Company’s Velvet Spray). They cost about $15 per can and require no equipment — just spray and go. Great for occasional use.
None of these match the precision of a paint gun, but they’re valid options if you’re on a tight budget or only doing one cake.
Final Verdict
So, is a cake paint gun worth it? It depends. If you love baking as a hobby and want to level up your presentation for birthdays, holidays, or online sharing, the investment is justified — but only if you’re willing to practice and clean diligently. Start with a mid-range kit like the Master Airbrush G22 ($40–$50) instead of the absolute cheapest. Practice on frozen buttercream or even a styrofoam dummy cake before using your masterpiece cake. And if you only need the look once, try the aerosol velvet spray — it costs less and creates zero cleanup headaches.
Remember: the right tool makes cooking easier, but the most expensive tool isn’t always the right one. A paint gun can unlock stunning results, but it demands patience and respect for the process. If that sounds like fun, go for it. If it sounds like a chore, skip it — your cakes will still taste wonderful without the velvet coat. (And honestly, a simple dusting of powdered sugar never hurt anyone.)