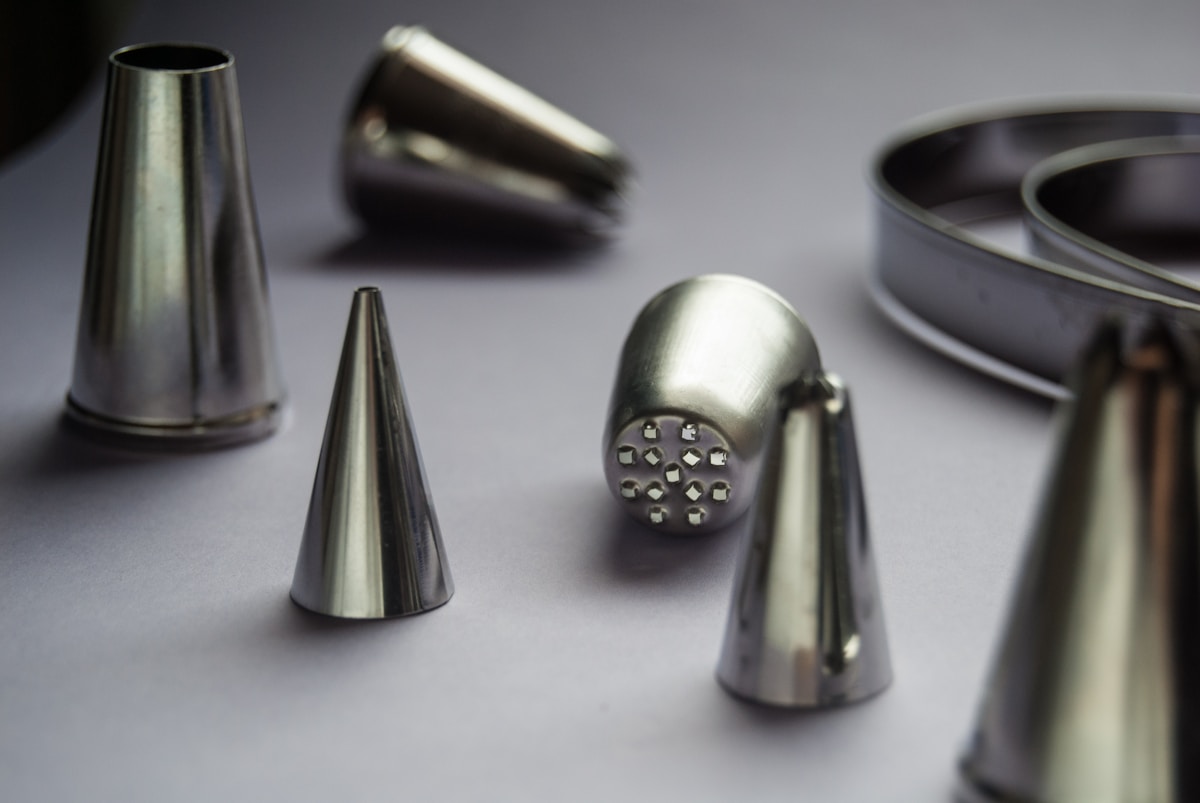
You’ve just baked your first cake from scratch. The layers are level, the crumb coat is smooth, and now you’re staring at a display case filled with dozens of piping tips. Which ones do you actually need? If you’re a beginner, the answer is simpler than you think. Stick with a small set of versatile tips and you’ll be able to pipe stars, rosettes, borders, leaves, and simple flowers without buying out the store.
Key Takeaways
- Start with five essential tip types: large open star, small star, round, leaf, and petal.
- Each tip handles multiple decorations, so you don’t need a large set early on.
- Pair tips with a standard coupler and 12–16-inch piping bag for easy swapping.
- Use medium-stiff buttercream for best results with most tips.
- Clean tips immediately after use and store in a partitioned container to avoid damage.
Why Start with a Small Set?
Beginners often feel pressured to buy a 50-piece set right away. But more tips mean more choices, and more choices lead to decision fatigue. You end up using only three or four tips and the rest collect dust. A focused starter set saves money and builds foundational skills faster. You’ll learn how each tip behaves with different frosting consistencies, and you’ll develop control over pressure and angle. Once you’ve mastered a handful of shapes, expanding to specialty tips becomes much easier.
Another advantage: fewer tips mean less time cleaning. Piping tips need to be rinsed and dried promptly, and a small set makes that routine manageable. Starting small also lets you invest in better quality metal tips rather than a bulk pack of plastic ones.
The Top 5 Essential Piping Tips for Beginners
Every beginner should own at least these five tip types. They cover the most common cake decorations and can be used with buttercream, royal icing, or even whipped cream.
Large Open Star Tip (e.g., Wilton 1M)
This is the most versatile tip in your kit. Use it for rosettes, large star borders, and big swirls on cupcakes. To produce defined ridges, aim for a medium-stiff buttercream that holds its shape without being too firm. Hold the tip slightly above the surface and apply steady pressure. For a rosette, start in the center and pipe outward in a spiral, then pull straight up and release. Practice on a parchment sheet before moving to the cake.
Small Star Tip (e.g., Wilton 18 or 21)
A smaller open star tip lets you pipe tiny stars, shells, and bead borders. It’s also great for filling gaps or adding texture to side borders. Because the opening is smaller, you’ll need a slightly softer frosting than you used with the large star. Squeeze gently and lift quickly to create a star shape. For a shell border, start with a tight squeeze, then reduce pressure as you drag the tip forward, and release to form a tail.
Round Tip (e.g., Wilton 12 or 1A)
Round tips are essential for writing messages, making dots, and outlining designs. They are also the best tool for practicing pressure control. Start with a medium round tip (about 1/4 inch opening) and use a flowable buttercream or royal icing. For lettering, hold the tip just above the surface and let the icing flow as you move. Even pressure keeps lines uniform. You can also use a round tip to pipe simple borders like dots or pearls.
Leaf Tip (e.g., Wilton 352 or 67)
Leaf tips have a V-shaped opening that creates realistic leaves, ruffles, and even grass. For a basic leaf, hold the tip at a 45-degree angle, squeeze, then gently lift and pull to a point. The angle of the tip determines whether the leaf lies flat or stands up. For a textured leaf, pulsate the pressure as you pull. Leaf tips also work for piping fur, hair, or fabric folds on themed cakes.
Petal Tip (e.g., Wilton 127 or 104)
Petal tips have a wide, curved opening that allows you to create flower petals and ruffles. For a simple five-petal flower, pipe a small dot in the center, then hold the tip with the wide end toward the center and pipe each petal by squeezing and lifting. Overlap the base of each petal slightly. You can also use a petal tip for ruffled borders by angling the tip and moving it in a zigzag while applying even pressure. This tip takes a little practice, but it opens up a huge range of decorative options.
How to Pair Tips with Piping Bags and Couplers
You can’t use a tip without a bag and a coupler. Here’s what you need to know.
Piping bags come in reusable (cloth or silicone) and disposable (plastic) versions. Disposable bags are convenient for quick clean-up, but they can split under pressure if you use thick buttercream. Reusable bags are more durable and eco-friendly, but they require thorough washing. For a beginner, starting with a pack of disposable bags is fine. Choose 12- or 16-inch bags to allow enough room for frosting and a tight twist.
A coupler is a two-part plastic piece that lets you swap tips without changing the bag. It consists of a base that goes inside the bag and a ring that screws on over the tip. To use it:
- Insert the coupler base into the bag and push it all the way to the tip of the bag.
- Mark where the coupler ends and cut the bag tip just past that mark.
- Push the coupler base through the hole so the threads are exposed.
- Place the piping tip over the coupler base.
- Screw the coupler ring over the tip to hold it in place.
Most standard tips fit a standard coupler. Some specialty tips (like large petal tips) may require a larger coupler. Check the diameter of your tip before buying. Once the coupler is set, you can twist the open end of the bag to seal it and start piping.
Open Star vs Closed Star Tips: Which to Choose?
You’ll often see two styles of star tips: open and closed. The difference affects the final look.
Open star tips (like the 1M) have cuts that create sharp, angled ridges. They produce crisp, star-shaped swirls with distinct points. They are ideal for standalone rosettes and large star borders because the ridges hold their shape well. The open cut also allows thicker frosting to pass through without clogging.
Closed star tips (like the 2D) have more subtle cuts that produce rounder, smoother swirls. They are often used for borders that need a softer look, such as shell borders or drop flowers. The closed shape creates more defined lines but less sharp points.
For a beginner, the best approach is to buy one of each. Try both on a practice sheet and see which look you prefer. Many bakers keep both in their kit because they serve slightly different purposes. If you only buy one, start with a large open star tip like the 1M because it is more versatile.
Care and Cleaning of Piping Tips
Proper care keeps your tips in good shape for years. Follow these steps after each use.
First, rinse the tip immediately under warm running water. Frosting dries fast, and dried buttercream can clog the smallest openings. Use a small brush (like a pipe cleaner or a dedicated tip brush) to scrub the interior. Avoid using a dishwashing brush that might have residual grease.
Do not put piping tips in the dishwasher unless they are specifically rated as dishwasher-safe. Dishwasher detergents and high heat can dull metal finishes and warp plastic tips. Hand washing is gentler and more thorough.
After washing, dry each tip completely with a soft cloth. Then let them air dry on a towel for a few hours before storing. Moisture trapped inside a tip can cause rust on metal tips or mold on plastic. Store tips in a partitioned box, a tip carrier, or a small plastic container with dividers. This prevents dents and keeps the openings clean.
Frequently Asked Questions
Q: Can I use plastic piping tips as a beginner?
Plastic tips are affordable and lightweight, but they usually lack the precision of metal tips. Metal tips (stainless steel) produce sharper details and last longer. Start with metal for the best results; you can always add plastic later for specific tasks like writing or large flooding.
Q: How many piping tips do I really need to start?
The five tips listed above cover the vast majority of beginner projects: stars, rosettes, borders, leaves, and simple flowers. You can expand later if you want to make roses, basketweave patterns, or specialty borders. Resist the urge to buy a full set until you’ve mastered these.
Q: What is the best frosting consistency for beginners?
Medium-stiff buttercream works best for most tips. It should hold its shape on the spatula but still pipe smoothly. If it’s too stiff, you’ll have trouble squeezing, and the ridges may break. If it’s too soft, the decoration will flatten. Adjust by adding a tablespoon of milk or more confectioners’ sugar until the consistency feels right. Test on a plate before piping on the cake.