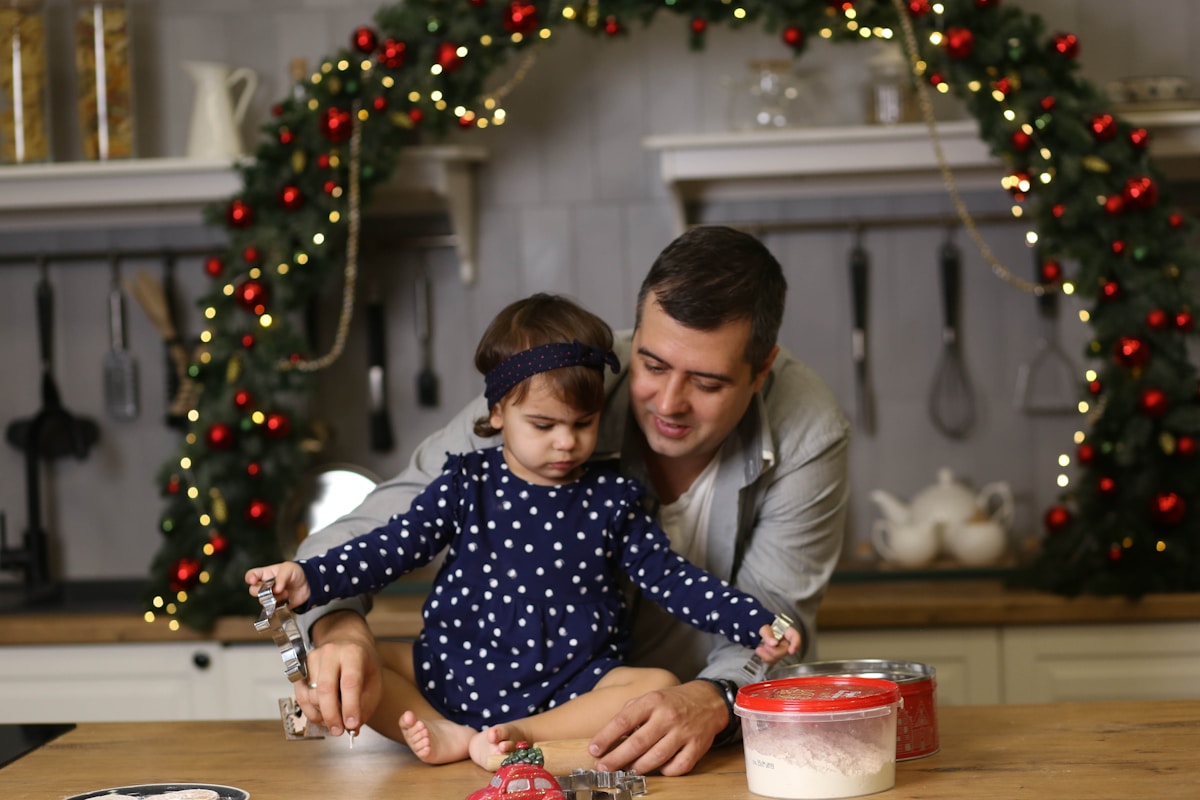
There’s a special kind of magic that happens in the kitchen, isn’t there? It’s a quiet Sunday afternoon, maybe Mom’s birthday is around the corner, and a wonderful idea sparks: “Let’s bake her a surprise!” The pitter-patter of little feet races to the pantry, and suddenly, you’re surrounded by hopeful eyes, a cloud of flour, and the daunting task of turning it all into something delicious.
If that scene fills you with equal parts excitement and panic, take a deep breath. You’ve come to the right place. I’m Beatrice, and I believe the kitchen is where families grow together. It’s not about creating a perfect, bakery-worthy cake on the first try. It’s about the shared giggles, the sticky fingers, and the proud smiles that come from making something together. The secret isn’t a complicated recipe; it’s choosing a project where everyone can have fun and feel like a hero.
So, let’s tie on those aprons (one for you, and a couple for your little helpers) and get ready to bake some memories. These projects are hand-picked for maximum fun and minimum fuss.
The Golden Rules of Baking with Little Helpers
Before we crack a single egg, let’s set ourselves up for success. A little preparation turns potential chaos into joyful creation. Think of these as our baking pact—a promise to have fun, no matter how much frosting ends up on the counter.
-
Read the Recipe First, Together: Sit down for two minutes and read the recipe from start to finish. It’s a great habit for any baker! You can point out the steps and ask your little one, “Which part do you want to do?” This gives them ownership and helps them understand the process.
-
Mise en Place (A Fancy Term for “Get Ready!”): This is a French kitchen term that simply means getting all your ingredients measured and ready before you start mixing. For kids, this is the best part! Let them scoop the flour (help them level it with a butter knife), pour the sugar, and count the chocolate chips. Having everything in little bowls makes the mixing process smooth and prevents that frantic search for the baking soda mid-recipe.
-
Embrace the Mess: I’ll say it plainly: there will be flour on the floor. An egg might miss the bowl. Sprinkles will find their way into every corner of the kitchen. And that is perfectly okay. A washable apron, a non-slip mat under your workstation, and a roll of paper towels are your best friends. The mess is temporary, but the memory of laughing about it will last a lifetime.
-
Safety is a Priority: The kitchen has hot spots and sharp spots. Establish clear, simple rules. The oven and stovetop are grown-up zones. We wash our hands before we start and after we touch raw eggs. And we never, ever lick the beaters while the mixer is still plugged in. (That’s a good rule for dads, too!)
Project #1 The Unbeatable Chocolate Chip Cookie
Is there anything more heartwarming than the smell of chocolate chip cookies baking? This is the perfect starting point. The steps are simple, and the reward is a warm, gooey cookie in under 30 minutes.
Why it’s great for kids: Measuring dry ingredients, dumping them into the bowl, cracking eggs (into a separate small bowl first, just in case a bit of shell gets in), and the all-important job of stirring in the chocolate chips. The best part? Scooping the dough onto the baking sheet.
Our Foolproof Cookie Recipe:
- Prep Time: 15 minutes
- Bake Time: 9-11 minutes
- Oven: 375°F (190°C)
Ingredients:
- 2 1/4 cups all-purpose flour (King Arthur is wonderfully reliable)
- 1 teaspoon baking soda
- 1 teaspoon salt
- 1 cup (2 sticks) unsalted butter, softened
- 3/4 cup granulated sugar
- 3/4 cup packed brown sugar
- 1 teaspoon vanilla extract
- 2 large eggs
- 2 cups semi-sweet chocolate chips (you can’t go wrong with Nestlé Toll House or Ghirardelli)
Simple Steps:
- Grown-up Step: Preheat your oven to 375°F (190°C).
- Kid Step: In a small bowl, whisk together the flour, baking soda, and salt. Let them do the stirring!
- In a larger bowl, beat the softened butter, granulated sugar, and brown sugar together until it’s light and fluffy. An electric mixer makes this easy, but you can absolutely do it by hand for a good arm workout.
- Kid Step: Add the vanilla and then the eggs, one at a time. Let your helper crack the eggs into a small cup first.
- Slowly add the flour mixture to the wet ingredients. Mix until just combined—don’t overdo it!
- Kid Step (The Best One!): Pour in the chocolate chips and stir them in with a big spoon or spatula.
- Drop rounded tablespoons of dough onto an ungreased baking sheet. A cookie scoop is a fantastic tool for little hands.
- Grown-up Step: Bake for 9 to 11 minutes, or until the edges are golden brown. Let them cool on the baking sheet for a few minutes before moving to a wire rack.
Beatrice’s Kitchen Tip: Want perfectly round, professional-looking cookies? As soon as they come out of the oven, take a round glass or cookie cutter that’s slightly larger than the cookie. Place it over the hot cookie and gently swirl it around. The soft edges will magically form into a perfect circle. It’s a fun trick to watch!
Project #2 The World’s Easiest Fudgy Brownies
Sometimes, you want a guaranteed win with minimal measuring. For that, a high-quality brownie mix is your secret weapon. It delivers that deep, chocolatey flavor and lets you and your little one focus on the fun of mixing and, of course, decorating.
Why it’s great for kids: There are only a few ingredients to add (usually oil, water, and eggs), making it a quick and easy process. Whisking the batter is a satisfying task, and watching it transform in the oven is pure magic.
Our Go-To Brownie Plan:
- Grab a box of your favorite brownie mix. I’m partial to the Ghirardelli Double Chocolate mix, as it comes with a rich chocolate pouch that makes the brownies incredibly fudgy. Betty Crocker is another classic that never disappoints.
- Follow the package directions for preheating your oven, usually around 350°F (175°C).
- Kid Step: Let your child be in charge of adding the water, oil, and eggs. This is fantastic practice for following instructions.
- Fun Add-in: Before you pour the batter into the pan, stir in a handful of extra chocolate chips, chopped walnuts (check for allergies!), or even a cup of colorful sprinkles for a “funfetti” brownie.
- The Toothpick Test: Show your child how to check for doneness. When the baking time is nearly up, a grown-up can help them carefully insert a wooden toothpick into the center of the brownies. If it comes out with a few moist crumbs attached, they’re ready! If it’s covered in wet batter, they need a few more minutes.
Project #3 No-Fuss Vanilla Cupcakes (with a Decorating Party!)
Cupcakes are the ultimate canvas for a child’s creativity. The baking is just the warm-up act; the decorating is the main event! This simple, one-bowl recipe means less cleanup and more time for sprinkles.
Why it’s great for kids: Scooping batter into liners is a great motor-skills challenge, and the decorating possibilities are endless. This is where their personality truly gets to shine.
Our Simple One-Bowl Cupcake Recipe:
- Prep time: 10 minutes
- Bake time: 18-22 minutes
- Oven: 350°F (175°C)
- Yields: 12 cupcakes
Ingredients:
- 1 1/2 cups all-purpose flour
- 1 cup granulated sugar
- 1 1/2 teaspoons baking powder
- 1/2 teaspoon salt
- 1/2 cup (1 stick) unsalted butter, softened to room temperature
- 1/2 cup milk
- 2 large eggs
- 1 teaspoon vanilla extract
Simple Steps:
- Grown-up Step: Preheat oven to 350°F (175°C) and line a muffin tin with 12 paper liners.
- Kid & Grown-up Step: In a large bowl, combine the flour, sugar, baking powder, and salt. Add the softened butter and mix on low speed until the texture resembles sandy crumbs.
- In a separate measuring cup, whisk together the milk, eggs, and vanilla.
- Pour half of the wet mixture into the dry ingredients and mix until just combined. Scrape down the sides of the bowl, then add the remaining wet mixture and beat for another 30 seconds until the batter is smooth.
- Kid Step: Use an ice cream scoop to fill the cupcake liners about two-thirds full. (This is so much less messy than using spoons!)
- Grown-up Step: Bake for 18-22 minutes, or until a toothpick inserted into the center comes out clean. Let them cool completely before the fun begins.
The Decorating Party: This is a “more is more” situation. Don’t worry about perfection! Set out bowls of toppings and let the artists get to work. Canned frosting is your friend here—Pillsbury Funfetti is always a hit. Arm yourselves with sprinkles, mini M&Ms, gummy worms, crushed Oreo cookies, and anything else you can imagine.
When in Doubt Go No-Bake!
If the oven feels like one step too many for today, that’s perfectly fine! Some of the best kitchen memories require no heat at all.
-
Classic Rice Krispie Treats: Has there ever been a more perfect kid-friendly recipe? You just need a bag of marshmallows, a few tablespoons of butter, and a box of Kellogg’s Rice Krispies cereal. A grown-up can melt the butter and marshmallows on the stove or in the microwave, and then the kids can take over the very important job of stirring in the cereal (use a sturdy, greased spatula!). Press into a pan, let it cool, and slice. Done!
-
Pudding “Dirt” Cups: Layer chocolate pudding and crushed Oreo cookies in a clear cup. Top it with a few gummy worms poking out of the “dirt.” It’s silly, it’s delicious, and it takes about five minutes to assemble.
No matter which path you choose, remember what this is all about. It’s about creating a moment of connection. When your child proudly presents that lopsided, sprinkle-covered cupcake, the love and effort baked into it make it the most delicious dessert in the entire world. You’re not just teaching them how to bake; you’re teaching them that making things for people you love is one of the greatest joys in life. Now that’s a recipe worth passing down.


