Introduction
Picture this: It’s a friend’s birthday, and you want to bring something unforgettable. Not just any cake, but something that makes people do a double-take — maybe a creepy cake with blood-red drips and a furrowed monster face. You’re not a professional baker, and the thought of piping perfect rosettes makes your hands sweat. But here’s the secret: creepy cakes are actually easier than pretty ones. (Seriously.) Mistakes become features. Imperfections add character. And the whole process is way more forgiving than trying to make a flawless wedding cake. Let’s dive into how you can create a showstoppingly spooky cake — even if you’ve never held a piping bag before.
Why Creepy Cakes Are Your Best Friend in the Kitchen
If you’ve ever felt intimidated by elaborate cake decorating, you’re not alone. Many home bakers avoid it because they think they need years of practice. But creepy or humorous cakes flip that script. The bar for “pretty” is lowered, and the goal is to make something that looks purposely unsettling. A lopsided frosting blob? That’s a wart on a witch’s face. A crack in the icing? Perfect for a zombie’s scar. There is no “failure” — only happy accidents that add to the horror. This mindset shift is liberating. You can relax, have fun, and learn the basics of piping and frosting without the pressure of perfection. Plus, the reactions are priceless.
Your Creepy Cake Tool Kit
You don’t need a fancy bakery setup. Here are the essentials, all available at most grocery stores or online:
- A piping bag (or a sturdy zip-top bag) — Disposable or reusable, whichever you prefer. Wilton makes great disposable ones for under $5.
- A star piping tip (like Wilton 1M) — This creates the classic rosette and fur textures. You can also use round tips for drips and writing.
- An offset spatula — For smoothing frosting and creating scary swipes. A small angled one is perfect for detail work.
- Gel food coloring — Wilton’s gel colors are concentrated and won’t thin your frosting. For blood red, use “No-Taste Red.” For black, try “Black.”
- Edible eyeballs — Found at craft stores or online. They instantly make any cake creepy.
- Black decorating gel — Wilton’s tube gel is perfect for drawing mouths, spider legs, or stitches.
- A fork — For creating fur textures on monster cakes (more on that below).
- A cake board or cardboard round — Essential for practicing before the final cake, as Reddit users often suggest.
Step-by-Step: From Plain to Spooky
Let’s assume you already have a baked and cooled cake (two 8-inch rounds work great). You can use a box mix — nobody will judge. Now follow these steps to turn it into a creepy masterpiece.
1. Apply a crumb coat. This thin layer of frosting seals in crumbs and gives you a clean canvas. Use your offset spatula to spread a thin, even layer of buttercream (or canned frosting) over the entire cake. Don’t worry about perfection. Pop it in the fridge for 15 minutes to set.
2. Add the final layer of frosting. Use more buttercream, and smooth it with the spatula. For a monster face, don’t bother making it perfectly smooth — lumps and bumps add texture. If you want a blood-drip effect on the sides, keep the top relatively flat and let the frosting extend slightly over the rim at the top edge.
3. Create the blood drip effect. In a small bowl, mix 1/4 cup of corn syrup with a few drops of red gel food coloring until you get a deep, bloody hue. (If you want it even darker, add a tiny drop of black.) Using a spoon, drizzle the mixture along the top edge of the cake, allowing it to drip down the sides. You can control the length of drips by how much you pour. For extra gore, let it pool at the base.
4. Pipe on details. Switch to a piping bag fitted with a star tip. For a monster’s fur, use short, quick bursts of frosting — touch the tip to the cake and pull away. This creates tufts. Cover the entire top surface for a fluffy look. For spiderwebs, pipe a few concentric circles with white or black frosting, then drag a toothpick from the center outwards to create web lines.
5. Add eyes and mouth. Place edible eyeballs into the frosting. Press them in gently so they stay. Use black decorating gel to draw a crooked mouth or spider legs. If you want a fur texture on a face, use a fork: dip the tines into frosting and scrape across the surface to create lines.
6. Chill to set. Refrigerate the finished cake for at least 30 minutes before serving. This helps the drips and frosting firm up, especially if you’re transporting it.
Reddit-Approved Tips for Next-Level Creepiness
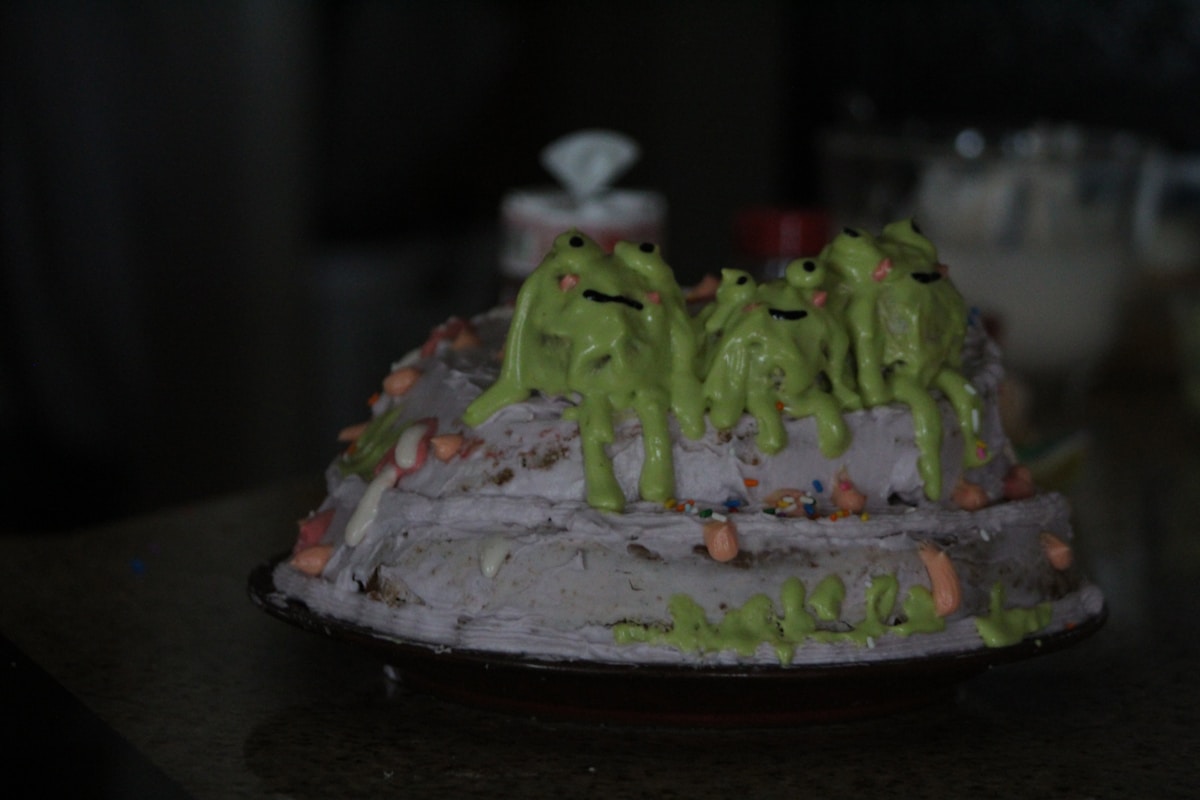
The Reddit baking community is full of wisdom. Here are some tricks they shared after a user posted a deliberately creepy cake recently:
- Practice on a cake board first. Before you wrangle the real cake, grab a piece of cardboard and practice your piping strokes, drip patterns, and fur textures. It takes the pressure off and lets you dial in the consistency.
- Embrace asymmetry. A perfectly symmetrical face looks too neat. Make one eye slightly lower, or one side of the mouth crooked. Imperfection is the soul of creepy.
- Use black gel for mouth lines. Draw a jagged line for a monster’s grin, then pipe a few small frosting teeth. It’s quick and effective.
- Create fur with a fork. If you’re making a werewolf or Sasquatch cake, frost the cake with a thick layer of brown or gray buttercream, then drag a fork through it in random directions. The ridges look exactly like fur.
- Don’t overmix your frosting. Buttercream should be soft but not runny. If it’s too stiff, add a tablespoon of milk. If it’s too thin, add more powdered sugar. The goal is piping consistency that holds its shape.
Try This Tonight: A Simple Spiderweb Cake
Ready to get started? Here’s a mini-recipe you can execute in under an hour once your cake is baked and cooled.
Ingredients:
- One 8-inch round cake (any flavor)
- 1 can (16 oz) vanilla frosting or 2 cups homemade buttercream
- Black and white gel food coloring
- Edible plastic spiders (optional)
Steps:
- Frost the cake with a crumb coat, chill 15 minutes, then apply the final layer of white frosting.
- Divide about 1/4 cup of frosting into two small bowls. Color one dark black and leave the other white.
- Fill a piping bag (with a small round tip) with black frosting. Pipe three concentric circles on top of the cake, starting from the center and working outwards.
- Use a toothpick or skewer to drag lines from the center outward through the circles, creating web segments.
- Dot the center with a black spot, then place a plastic spider on top. Chill for 15 minutes.
That’s it. You’ve made a spooky spiderweb cake that’s ready for Halloween or any creepy-themed party. The kitchen is a magic place, where even the scariest cakes can bring smiles. So grab your piping bag, channel your inner monster, and let the imperfections fly.
Happy baking — and happy scaring!


